9.6 How to Patch the Sandbox
When you need to patch a sandbox, you have to:
- Add the patch in your SYNC_SERVER – refer to 9.6.1 below
- Deploy the patch at least in one instance – refer to 9.6.2 below
9.6.1 Creating a patch on the SYNC_SERVER
First of all, you would need to have the .zip file that contains the patch. This .zip file is made up of:
- A file that describes the release. This file is called py and is saved in the root directory of the zip file.
- All the source code files that have to be updated or created. The structure is the same as in a UniField instance.
When a patch needs to be deployed, you need to define this patch at the SYNC_SERVER level.
| Click on Menu Administration 1, Synchronization 2, Manage Unifield Version 3 A pop up window opens. |  |
| Fill in: Revision 1: Enter the revision version Importance Flag 2: Select Required (Optional will warn the users but won’t force the upgrade) Comment 3: Fill in (e.g. with the revision number) Patch 4: Browse the .zip file Click on Add Revision 5 | 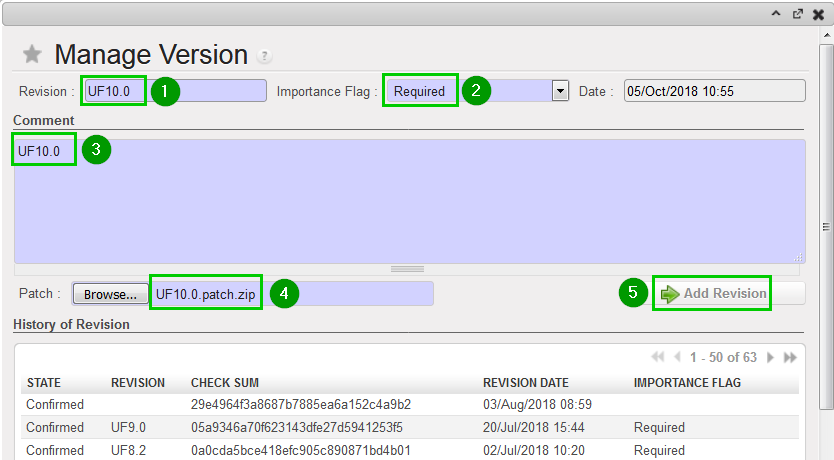 |
| In the bottom section “History of Revision” table, click on the blue arrow 1 to activate the patch. | 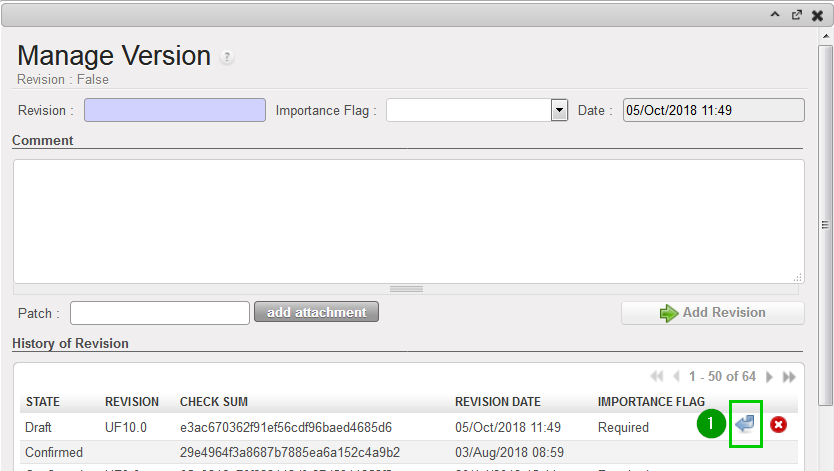 |
| A pop up window will ask you to confirm. Click on OK | 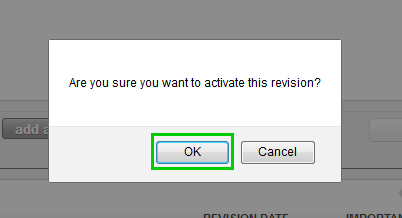 |
The patch is now activated in your SYNC_SERVER. All instances connected to this SYNC_SERVER are going to be upgraded the next time they synchronize.
Please keep in mind that the SYNC_SERVER has not been upgraded yet. What you have just done is to provide the other instances that connect to this SYNC_SERVER with a new patch.
9.6.2 Deploy the patch at least in one instance which is on the same computer
You can follow the steps described in chapter 6.1 Applying a patch on instances.
