PROCESS – Production instance decommission
This document will guide you on the process to follow when decommissioning a production instance (e.g. end of project / mission).
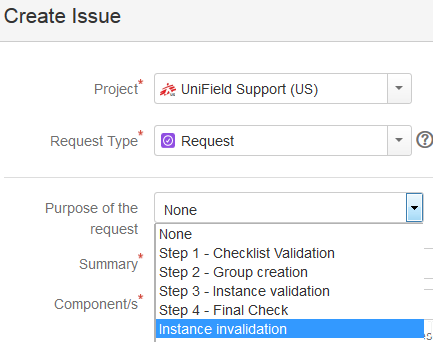
This step needs to be performed in Jira.
A ‘Request’ type ticket will be created for this step.
Please select the corresponding step
under the “Purpose of the request” field.
- Prerequisite before requesting an instance validation:
- Finance:
- Last registers are closed and have 0 balance
- All periods are closed (last production period included)
- No more unreconciled entries (In OCA we can let unreconciled entries. In this case, it is compulsory to write the agreement of this by the finance referent in the JIRA ticket)
- No drafts or open invoices/refunds/stock transfer vouchers, etc.
- All entries are hardposted
- No draft HQ entries
- Last Vertical Integration has been proceeded
- No more Commitment Vouchers in validated status
- No more Cost Center is target to this prop instance
- No data fixes to do after decommissioning
- For coordo instance, never do a FY Mission closure in a coordo instance that you will deactivate without waiting to do the HQ FY closure. When deactivating a coordo instance in the middle of the year, you need to check that the previous fiscal year is “HQ closed” and the current fiscal year is still “Open” and not “FY mission close”
- Supply:
- All order and stock transactions are closed or cancelled (IR, PO, FO, IN, Pick, Pack, Ship, Out, Internal move, Consumption Report.)
- Stock in all locations has 0 in quantity (export stock levels to check this). It may be necessary to do FO Donation> OUT to send products out, or otherwise Physical inventory to set to 0 (check with OC procedures for recommended process)
- Double synch to and between regular internal partners (I.e. Coordo if project, or other projects/coordo etc) to check no order is in synch pipeline.
- N.B.: It is assumed that when the instance is decommissioned, this is communicated to all relevant missions, and that these missions will undertake the cleaning of the partner records (I.e. deactivation of intermission/intersection/internal partners) as part of their regular Supplier maintenance process.
- Finance:
- OCs to create a request in Jira for the instance invalidation:
- Support team to ask confirmation from the OCs functional Finance and Supply
- Steps to perform:
Step 1 (OC): In HQ instance, reallocate the CC target of the instance to invalidate to another instance
Step 2 (OC): In HQ instance, launch a sync
Step 3 (Support Team Finance): In HQ instance, deactivate the prop instance and launch a sync
Step 4 (Support Team): In instance to decommission, launch a sync and ensure it receives in prop instance deactivation
Step 5 (Support team): In server’s instance to decommission:
- Disconnect connection manager and untick silent upgrade
- Untick Auto Sync
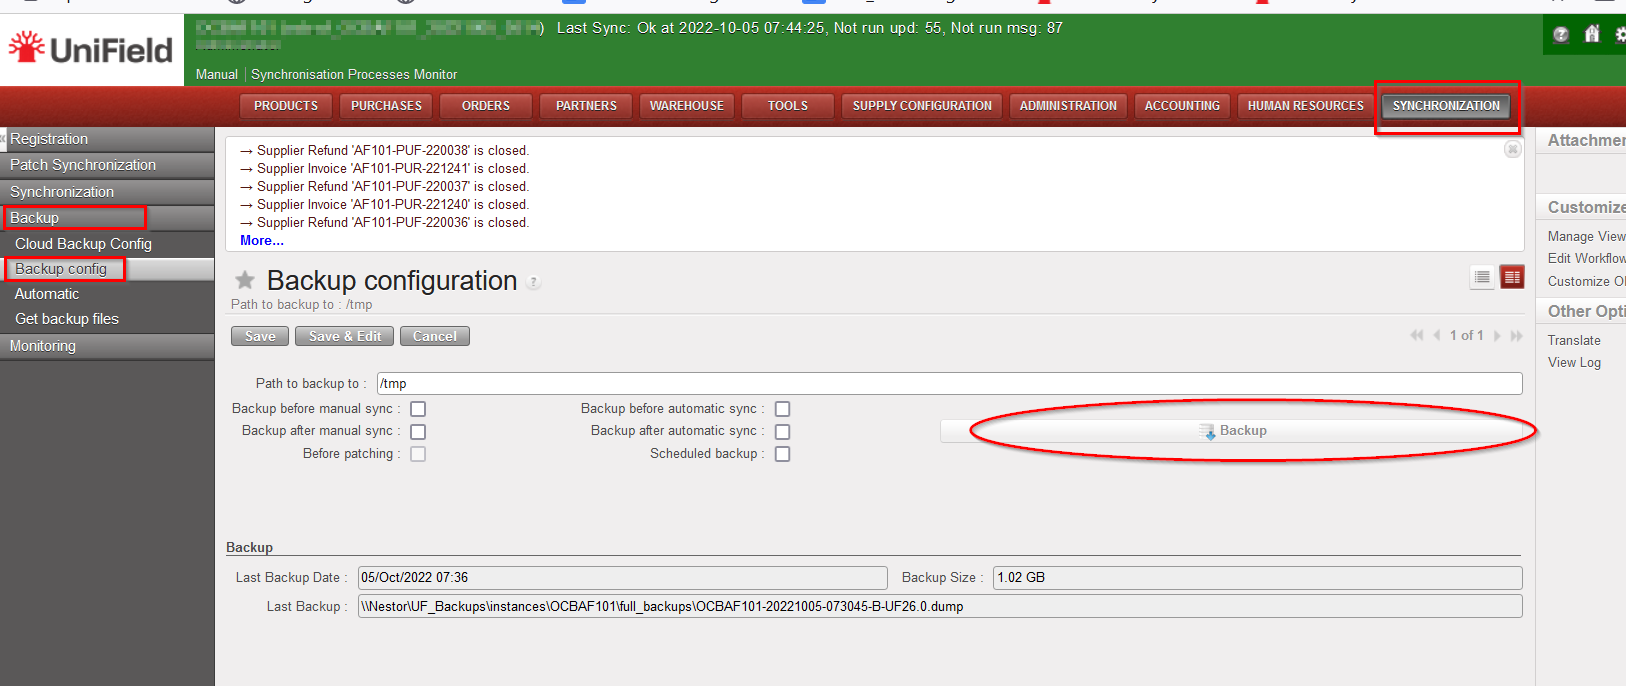
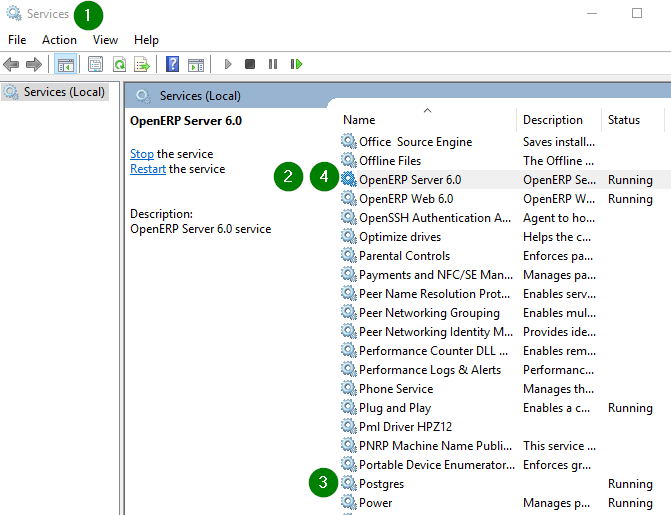
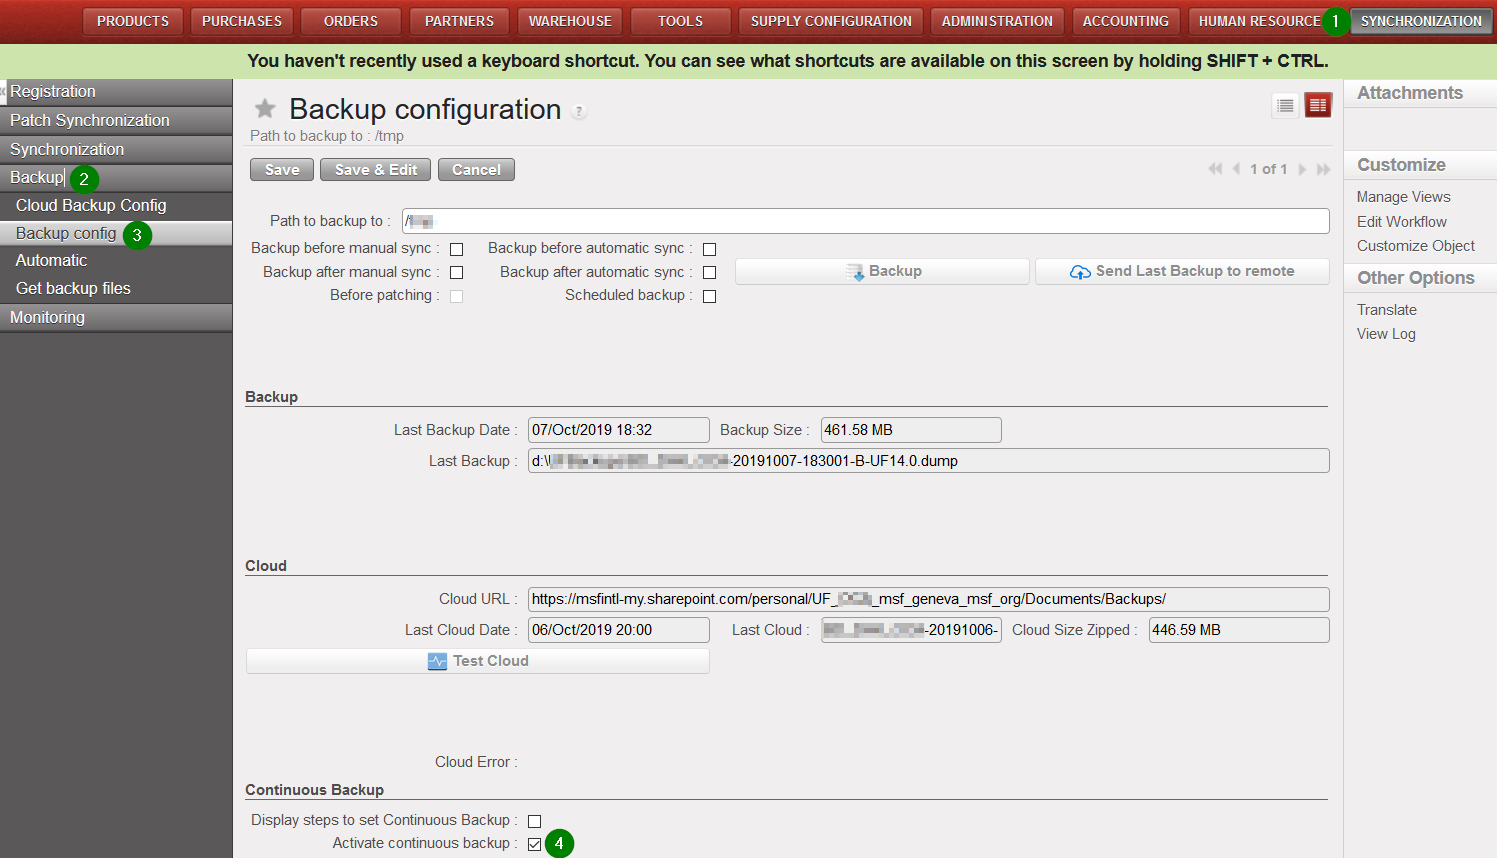
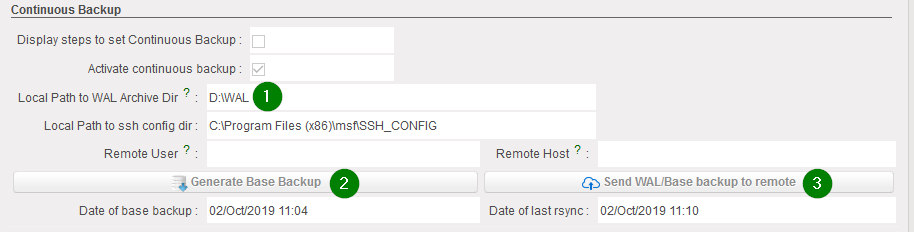
- Untick Auto Back up
- Do a last back up and put it in OneDrive folder “Decommissioned Instances”.
- Assign back to the IT ref to do a last back up on their side, drop the instance and dispose of the server
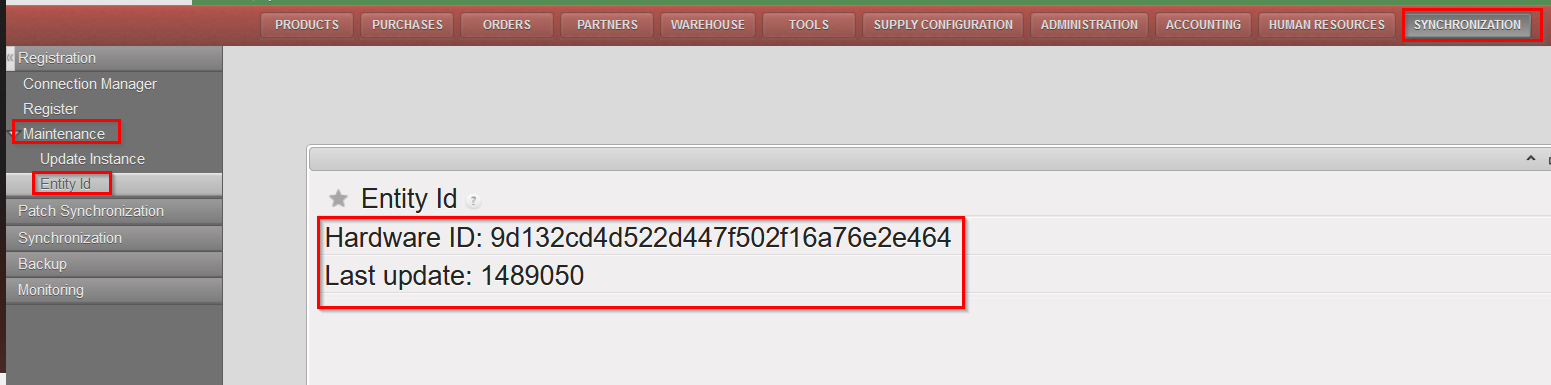
Step 6 (Support Team): In the sync server, invalidate the instance + close the request
END