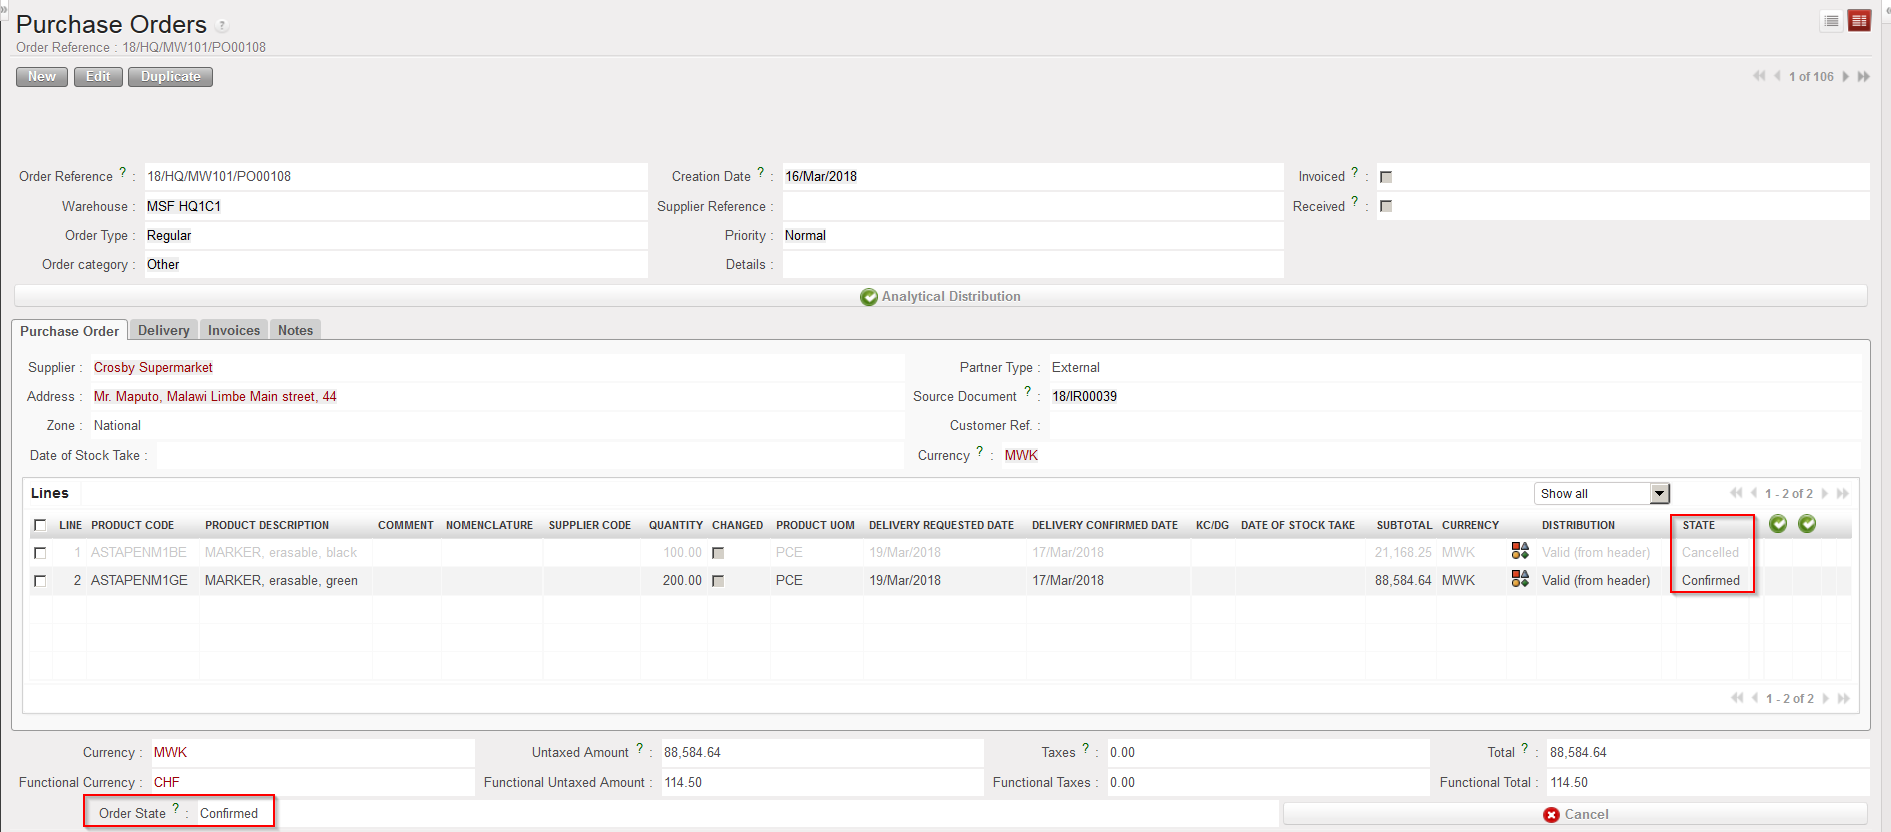
Supply User Manual ENG -> 5. Warehouse -> 5.2 LU-SU4101: Incoming Shipments -> P. HOW TO RECEIVE A KIT AND CREATE A KIT COMPOSITION LIST
P. HOW TO RECEIVE A KIT AND CREATE A KIT COMPOSITION LIST
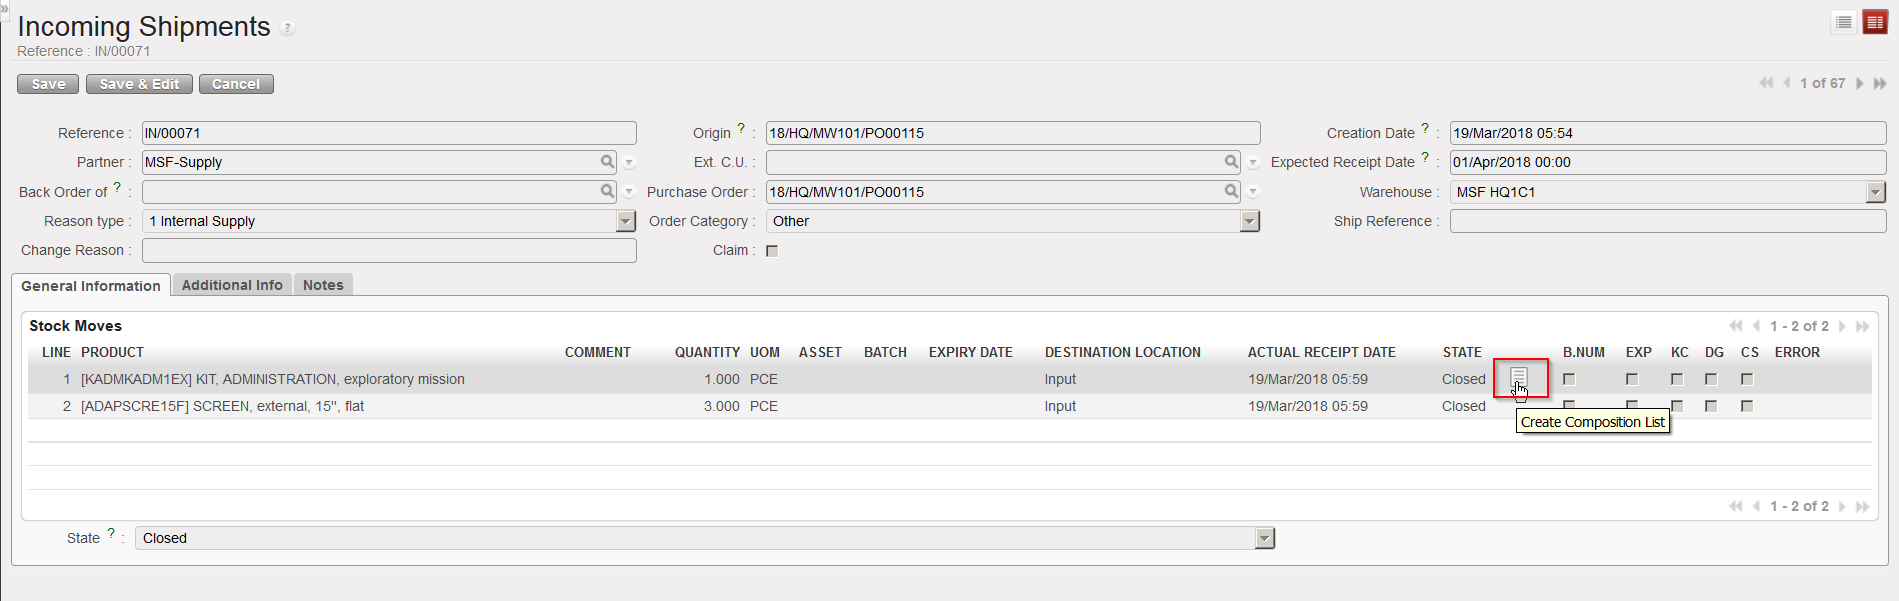
The reception of a kit doesn’t differ from the reception of a simple product. However, after reception of a kit, UniField offers the possibility to create a Kit Composition List from the closed Incoming Shipment by clicking on this icon  . This opens a blank Kit Composition List which should be filled with the kit components.
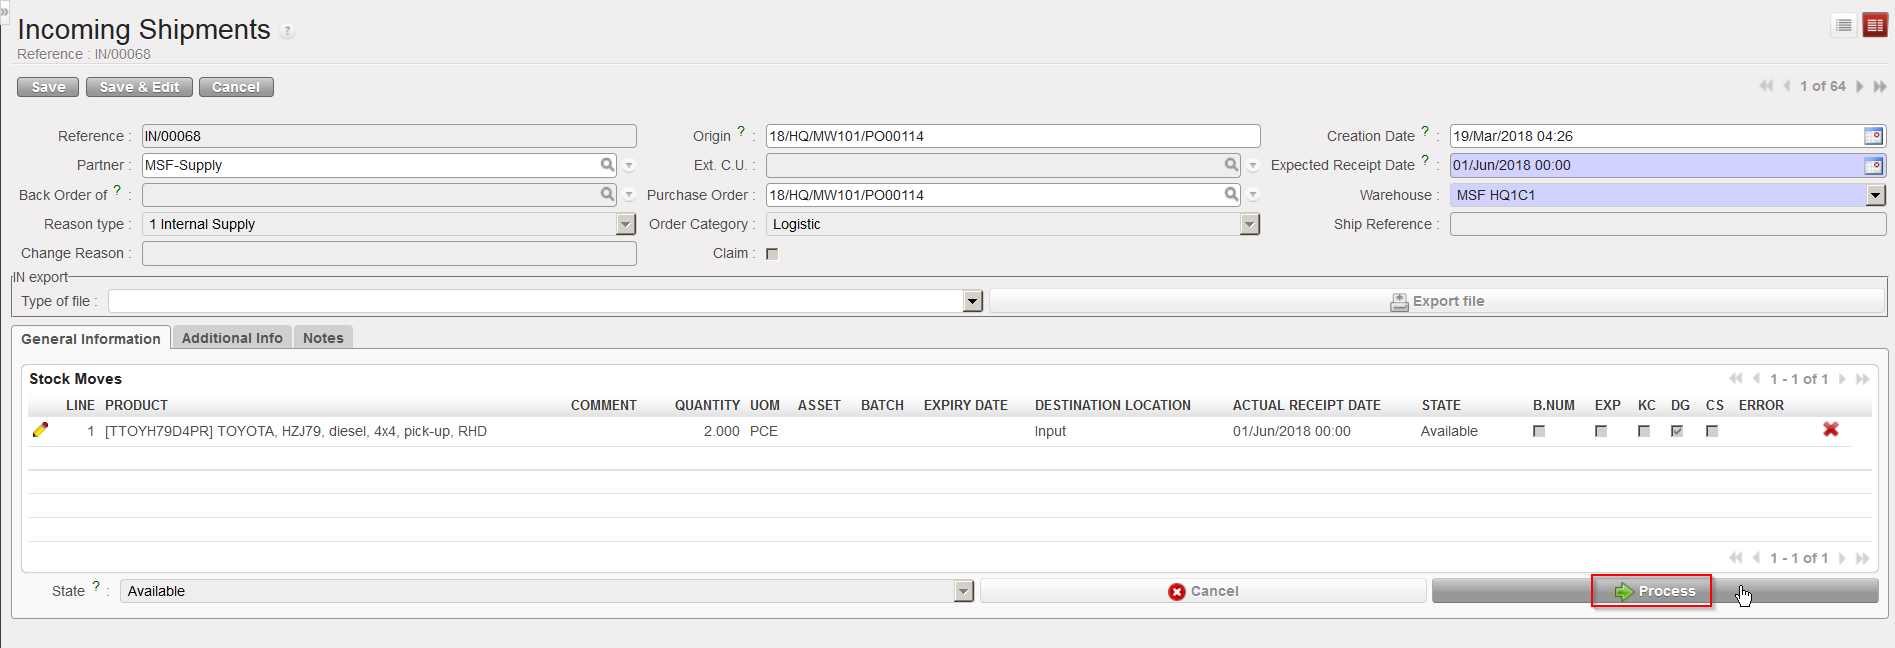
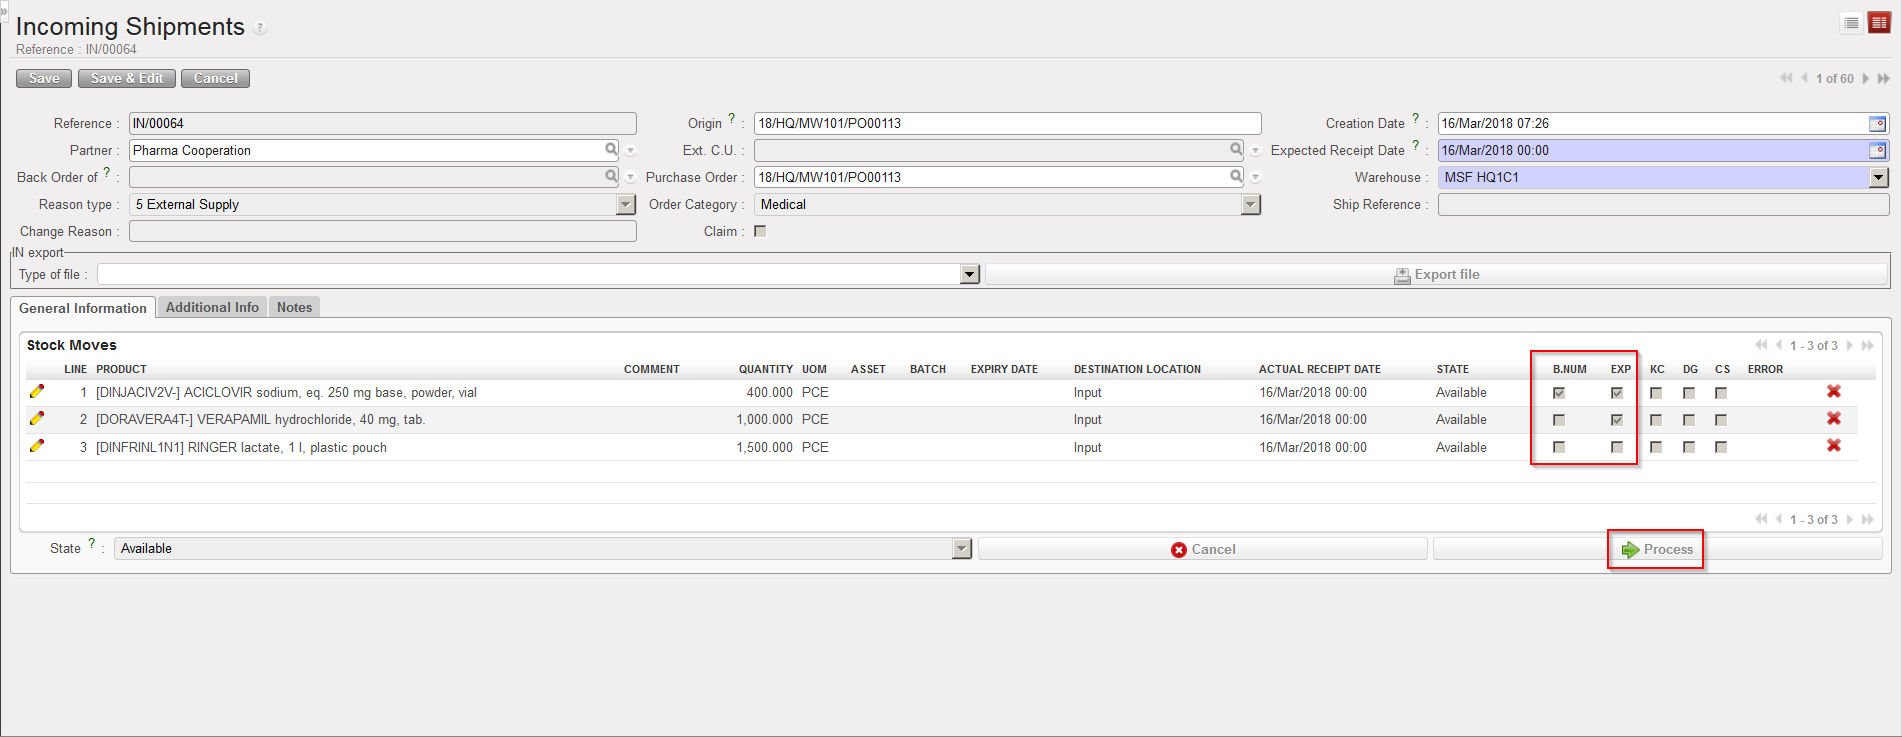
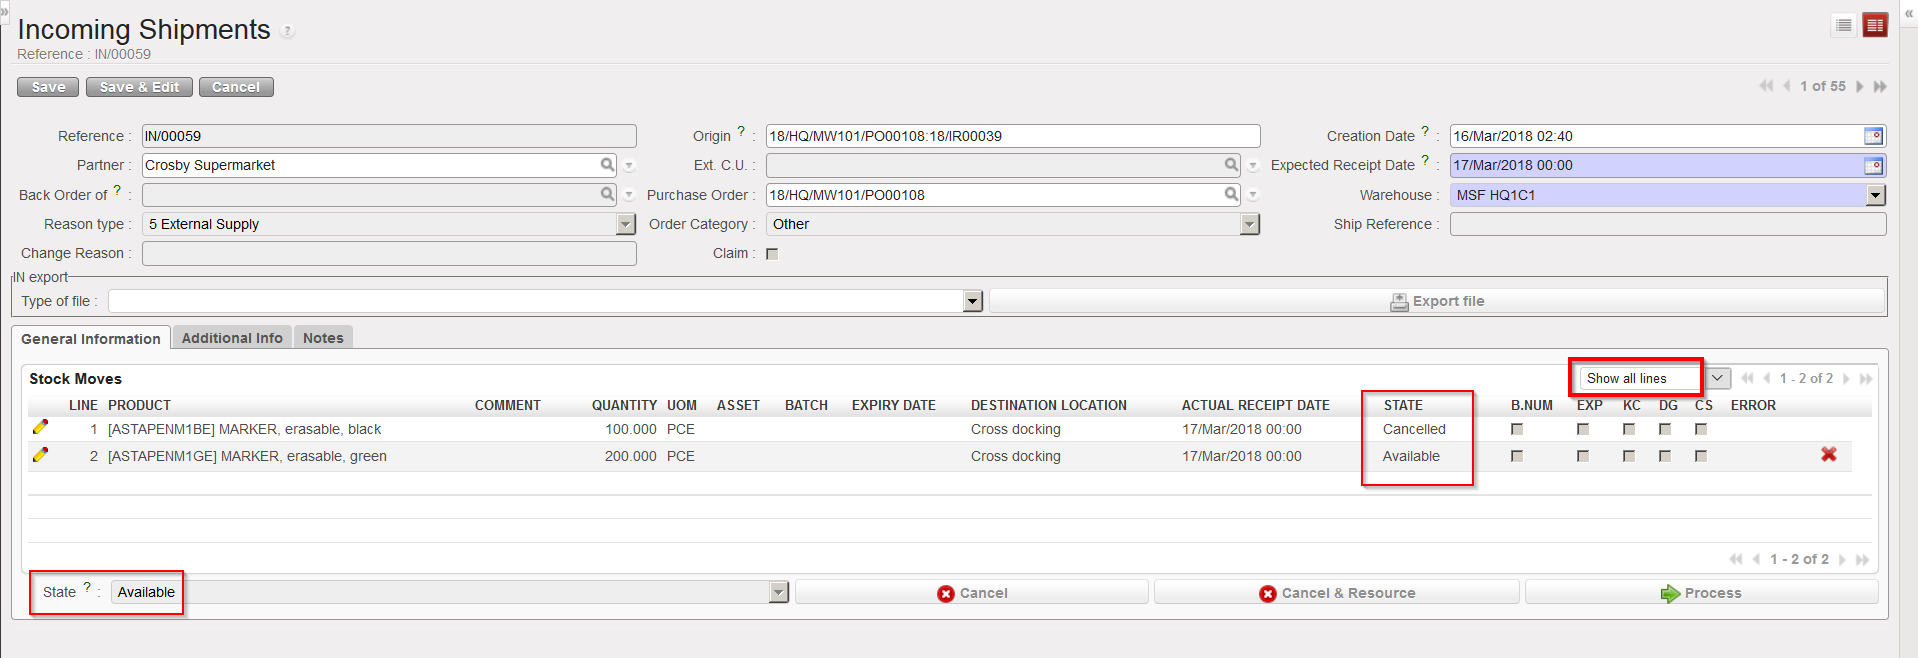
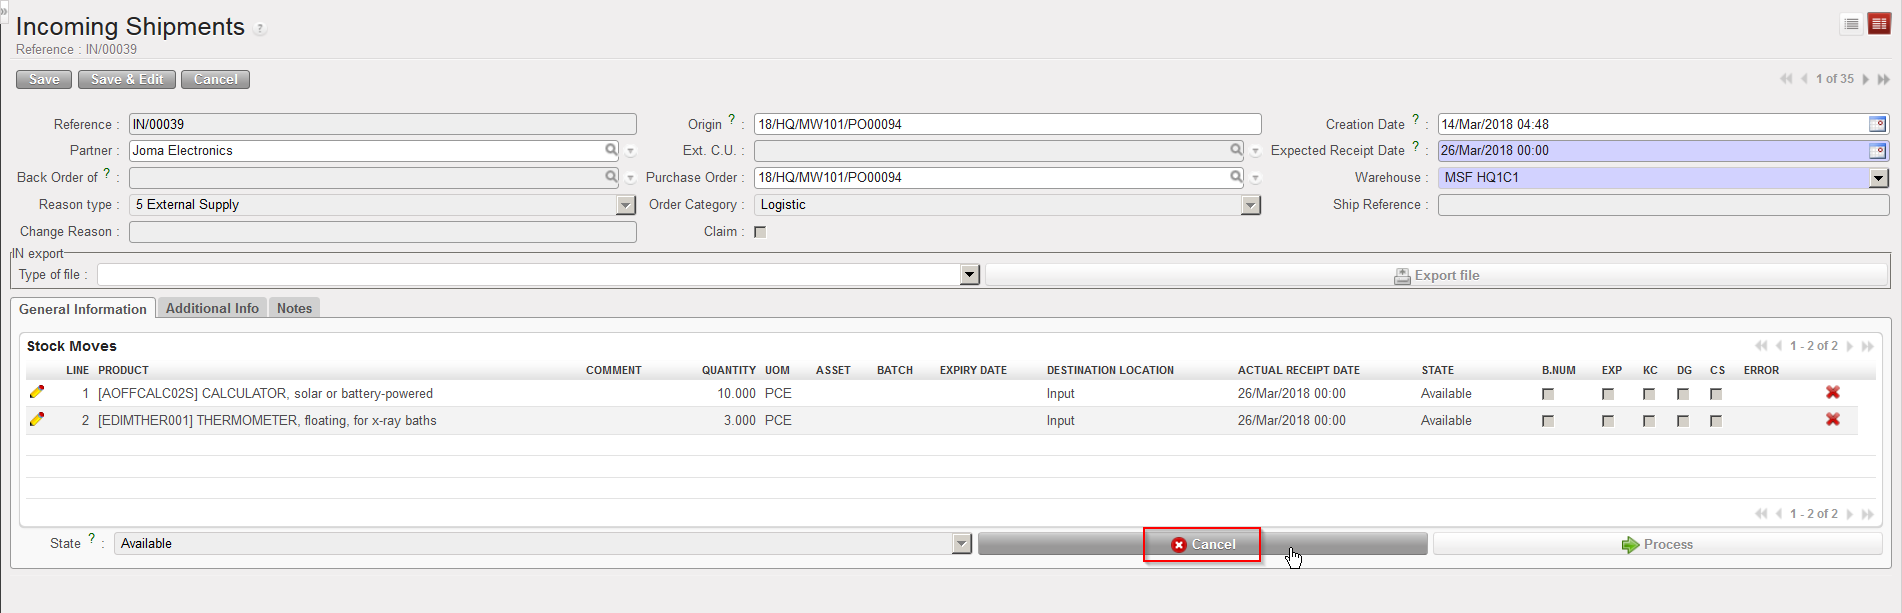
Go to: Warehouse / Warehouse Management / Incoming Shipments
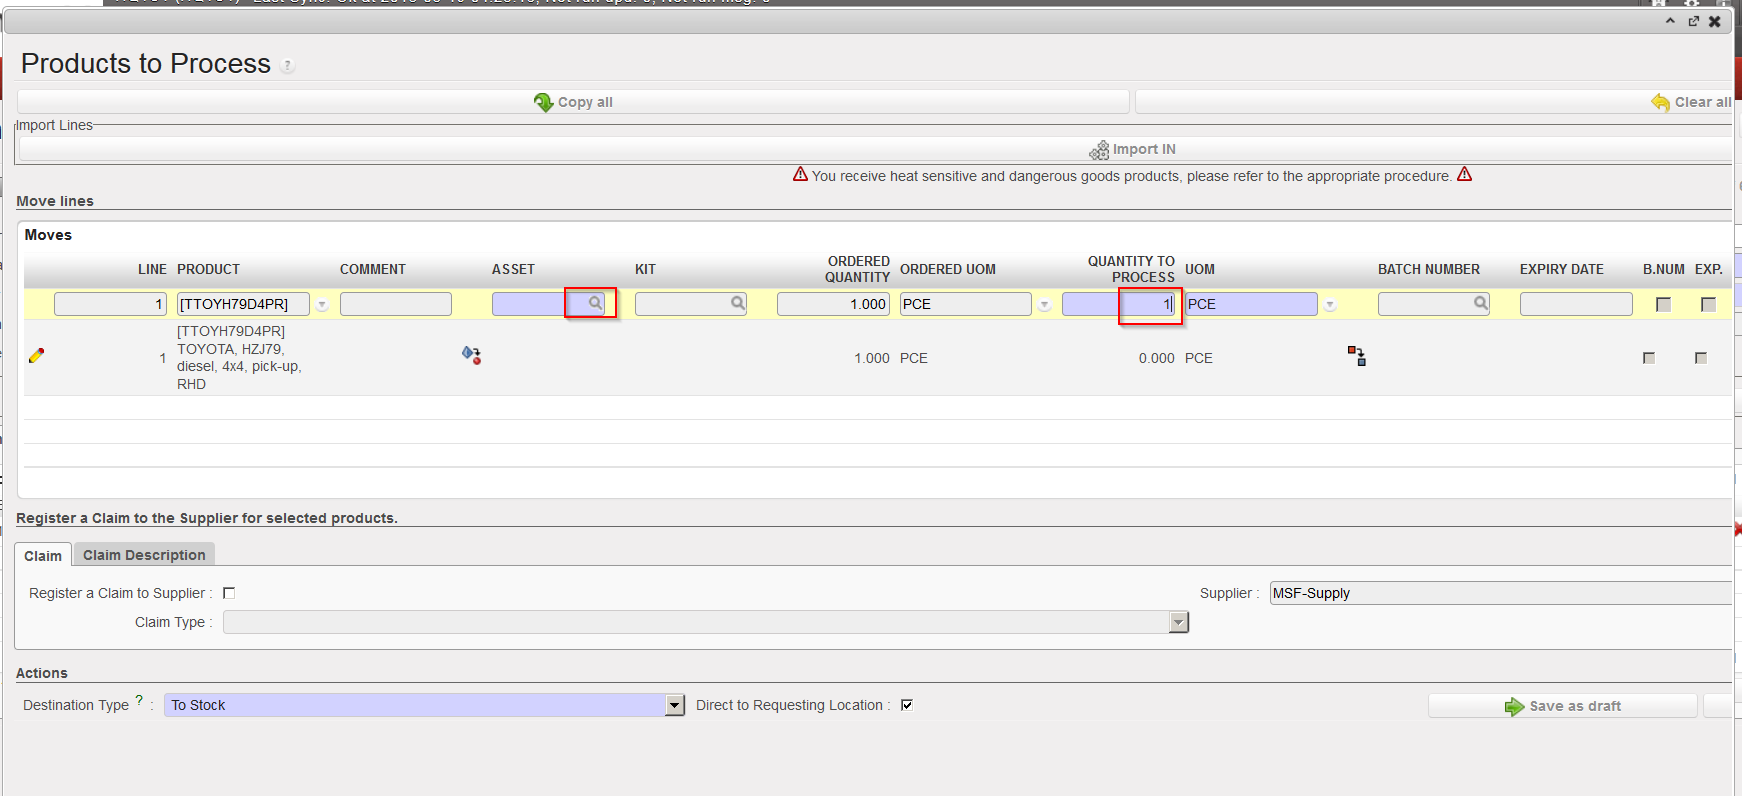
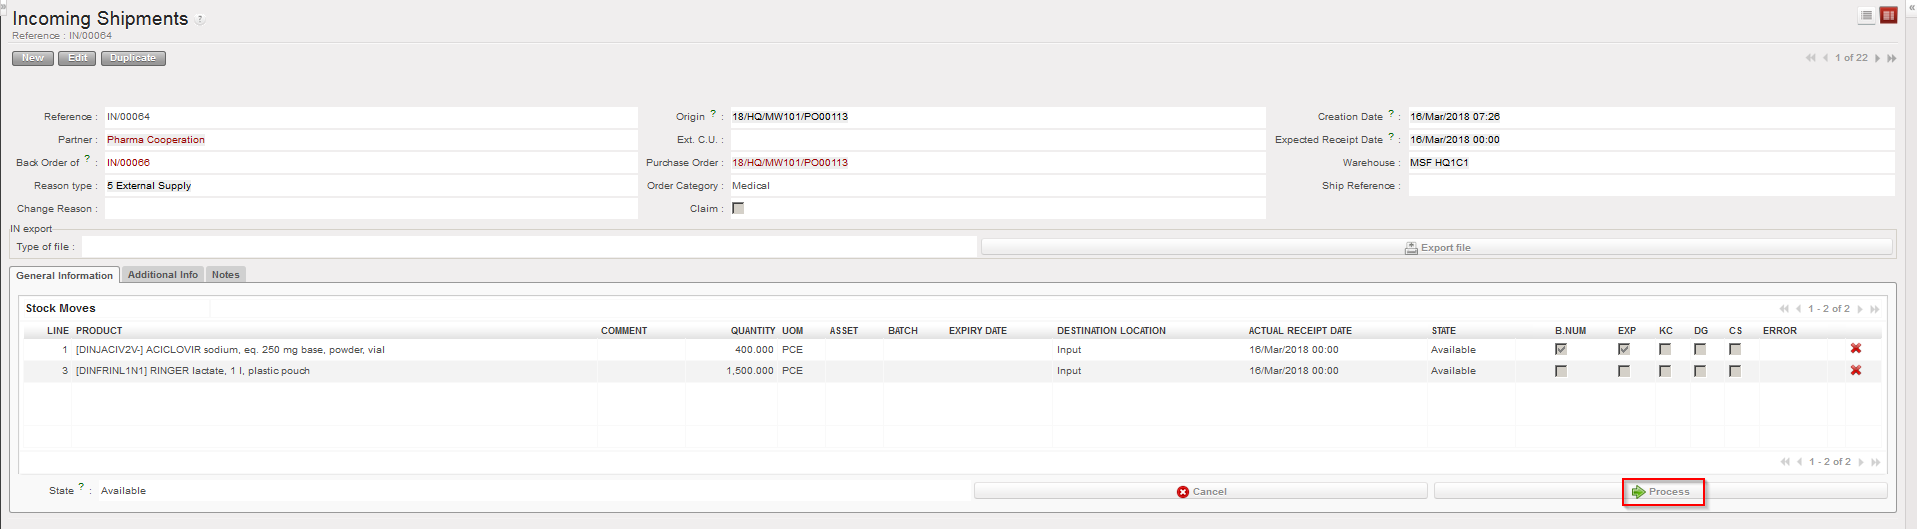
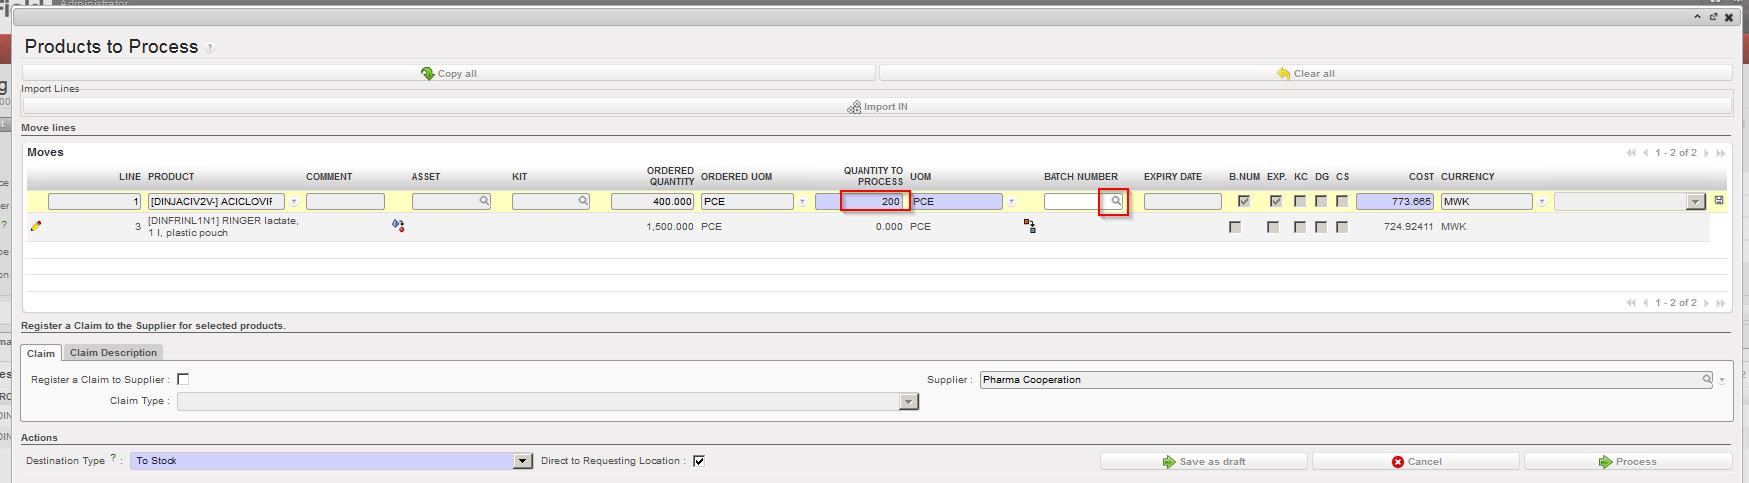
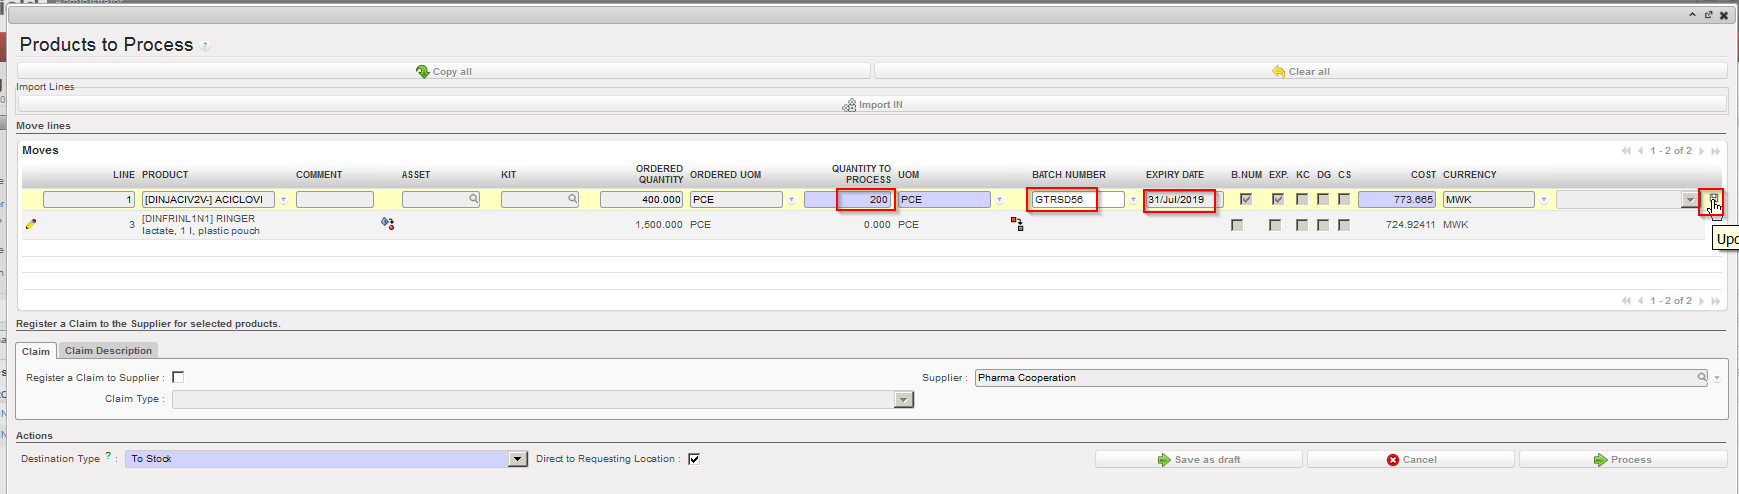
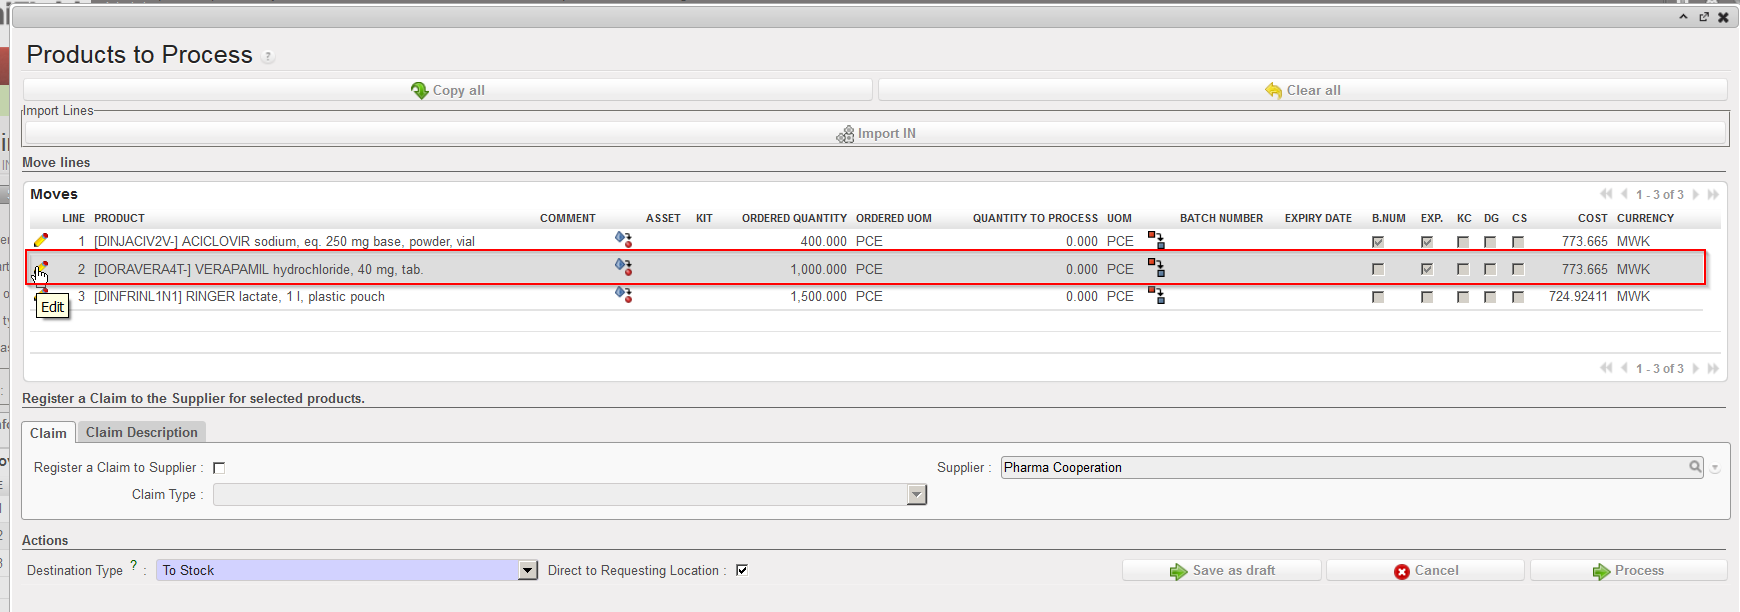
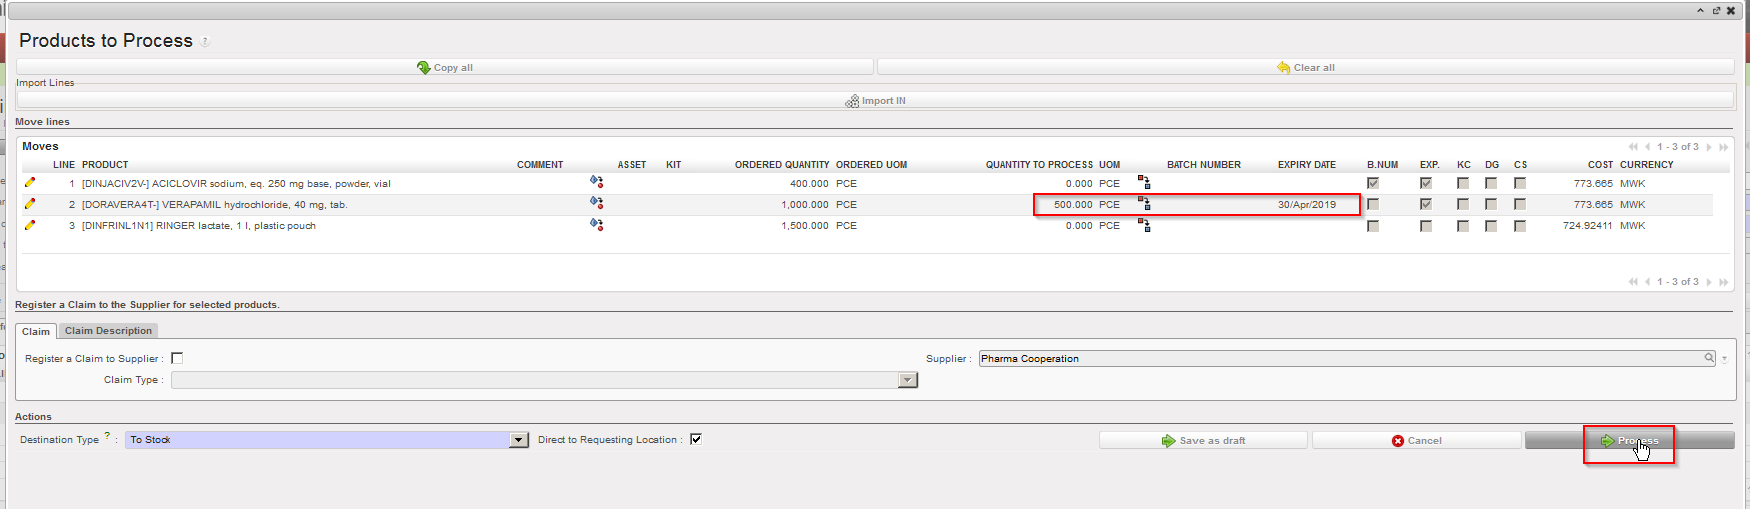
- Open the Incoming Shipment you wish to receive (it should a product whose sub type is Kit/Module in its PMD sheet).
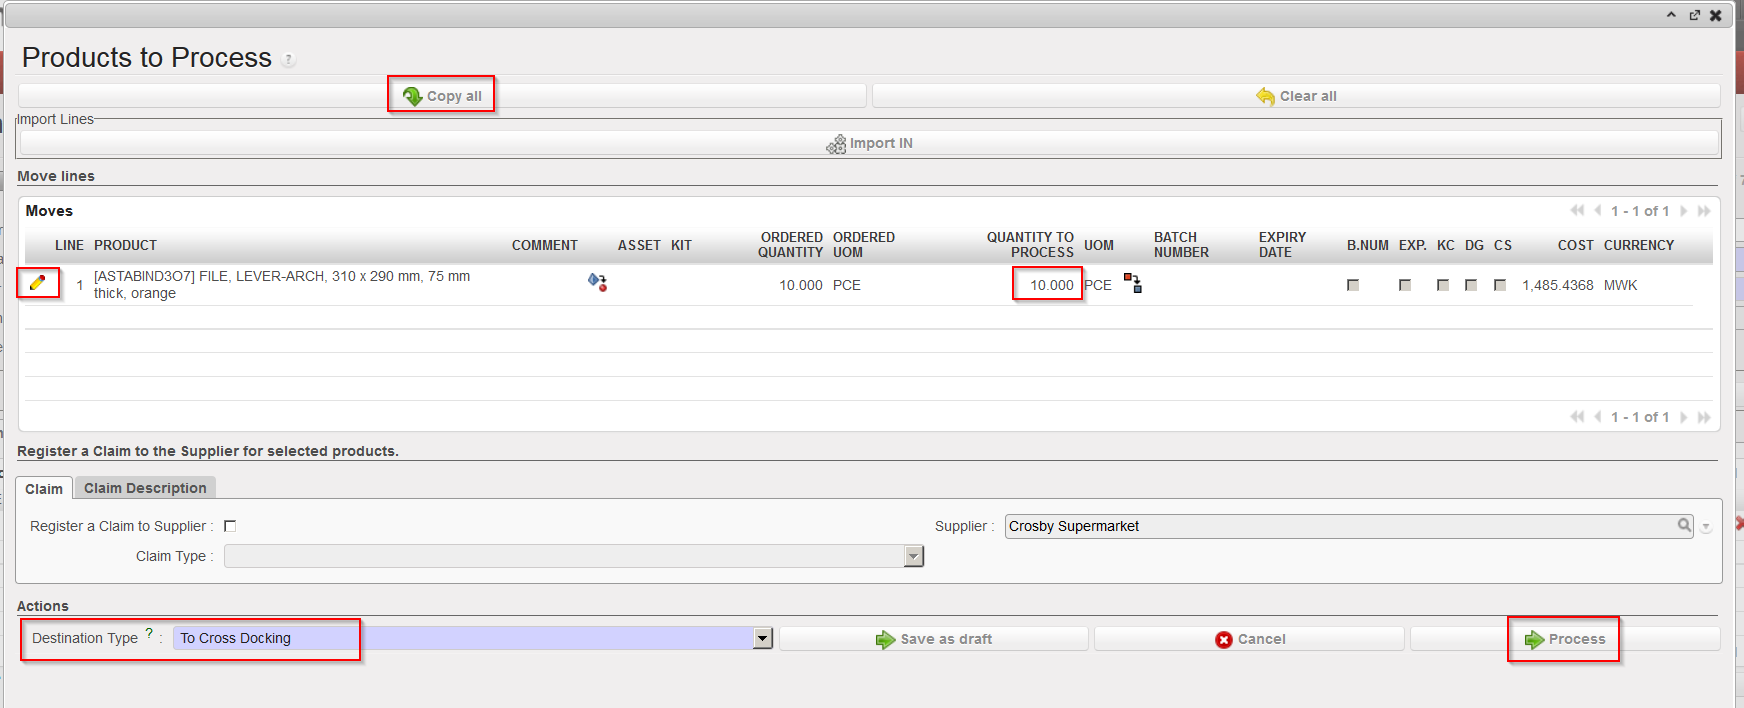
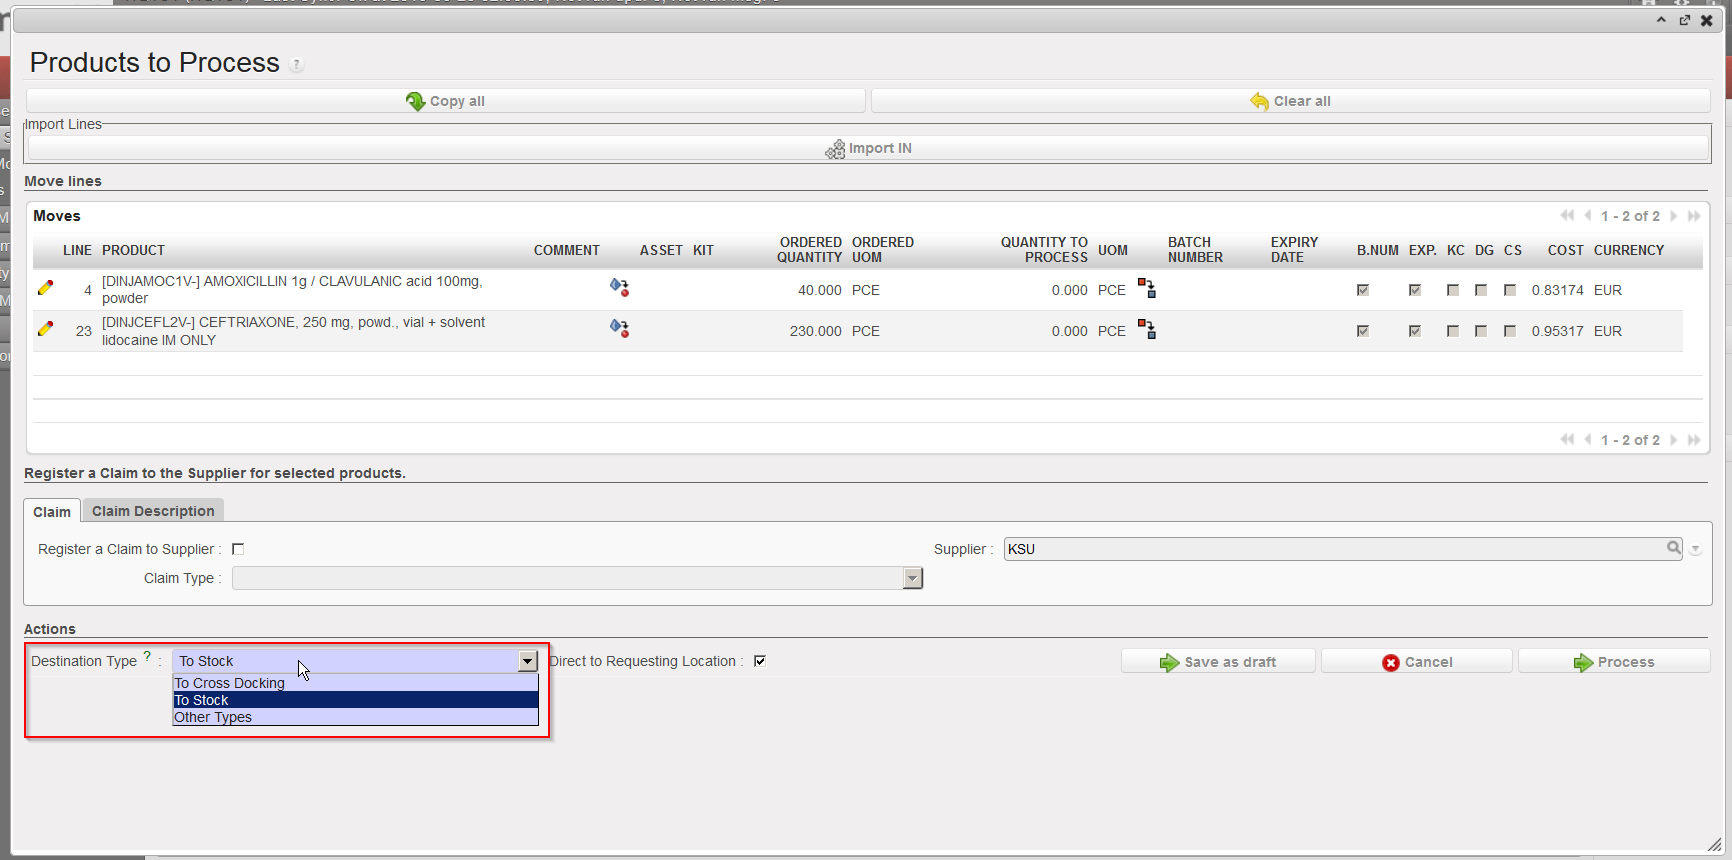
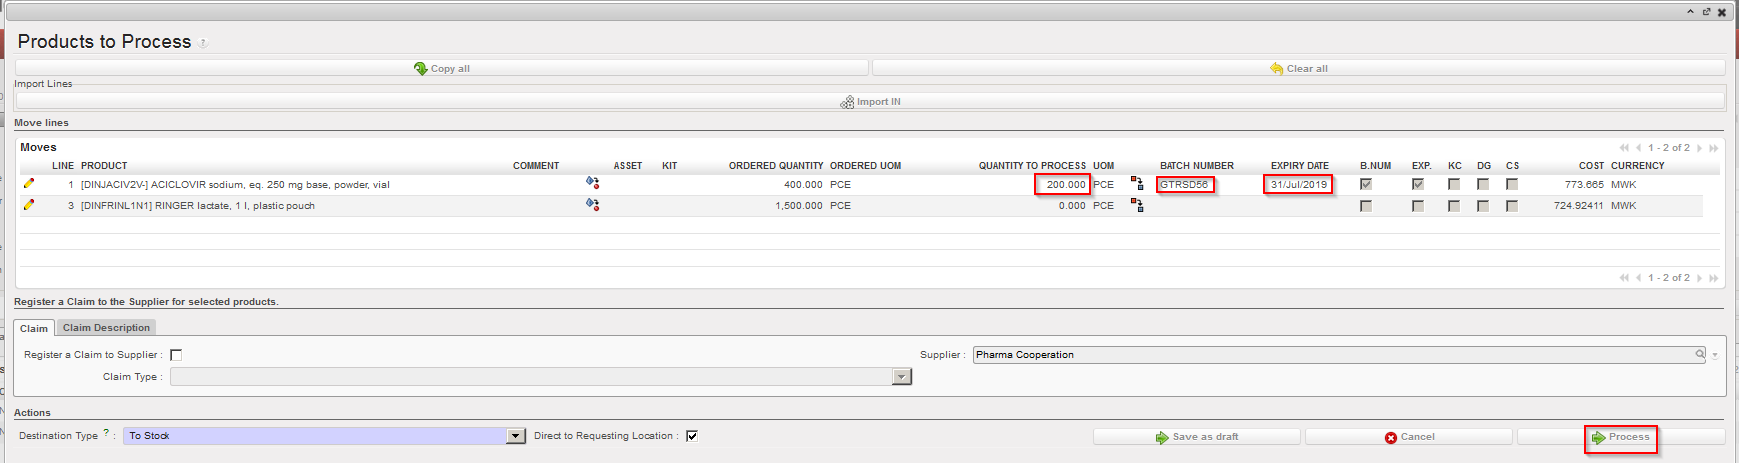
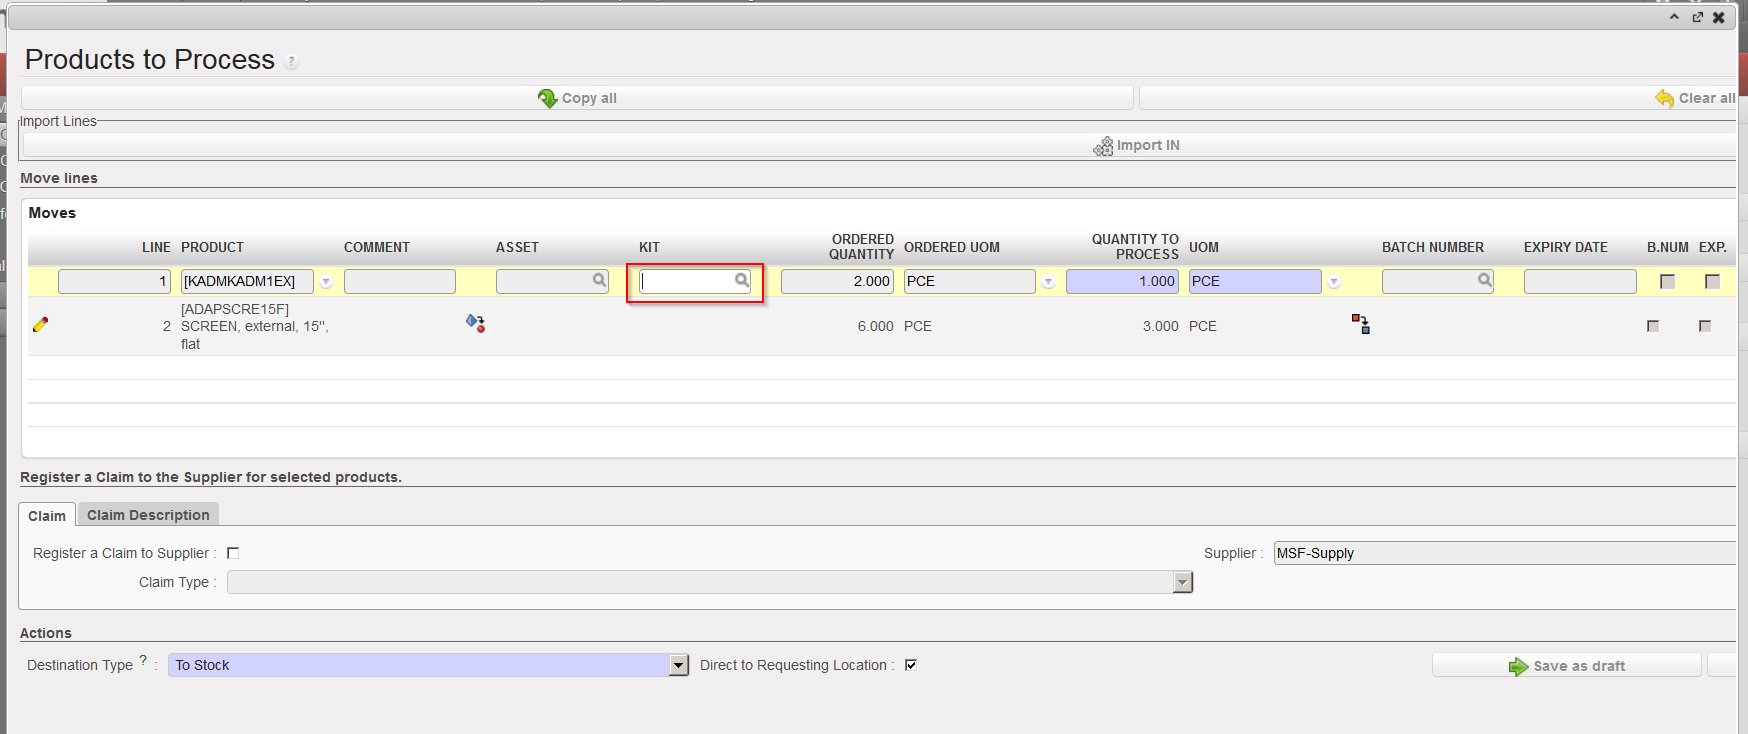
- Click on the “Process” button.
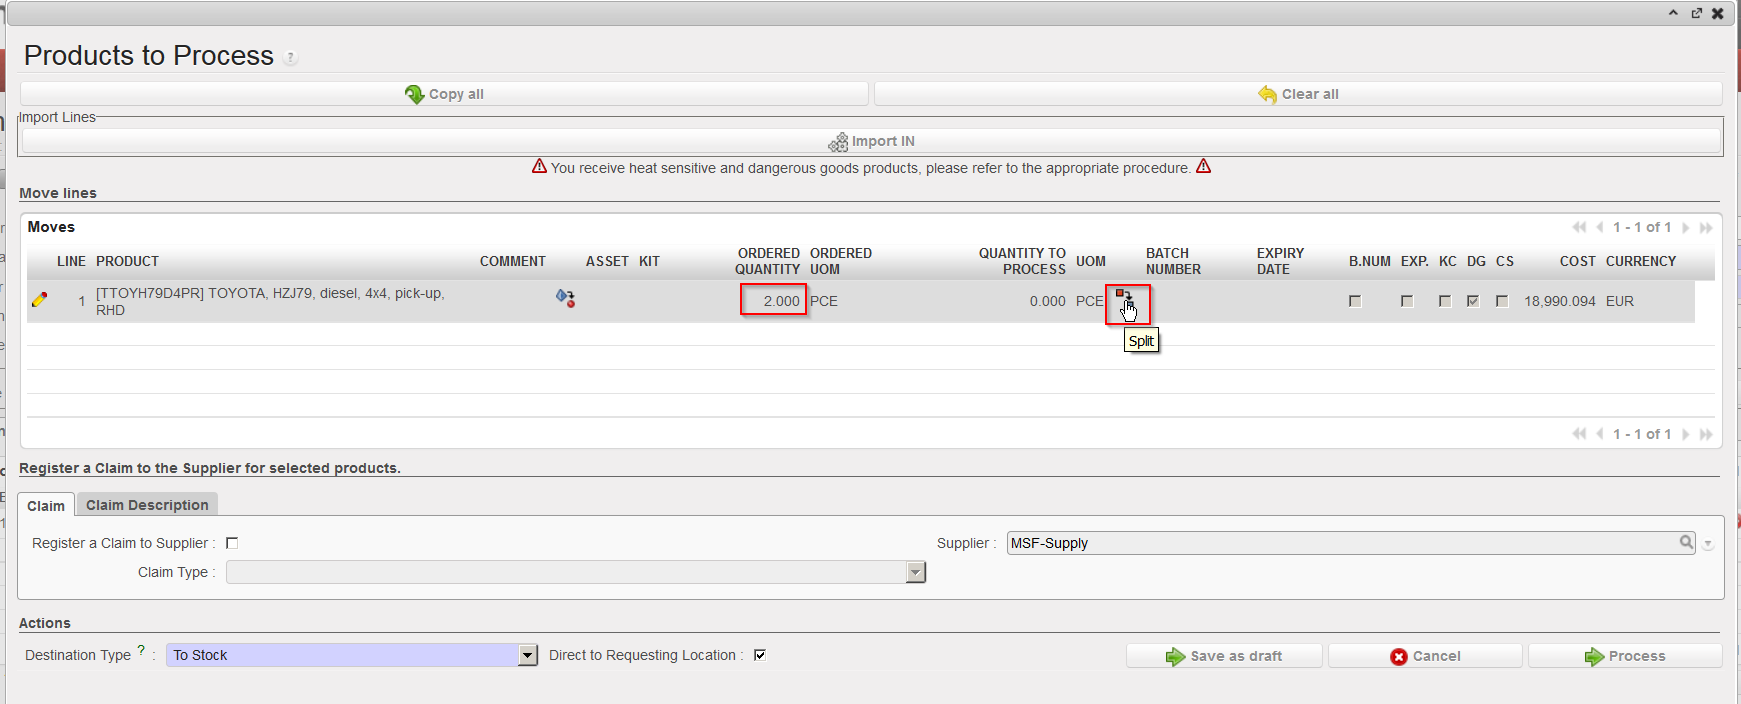
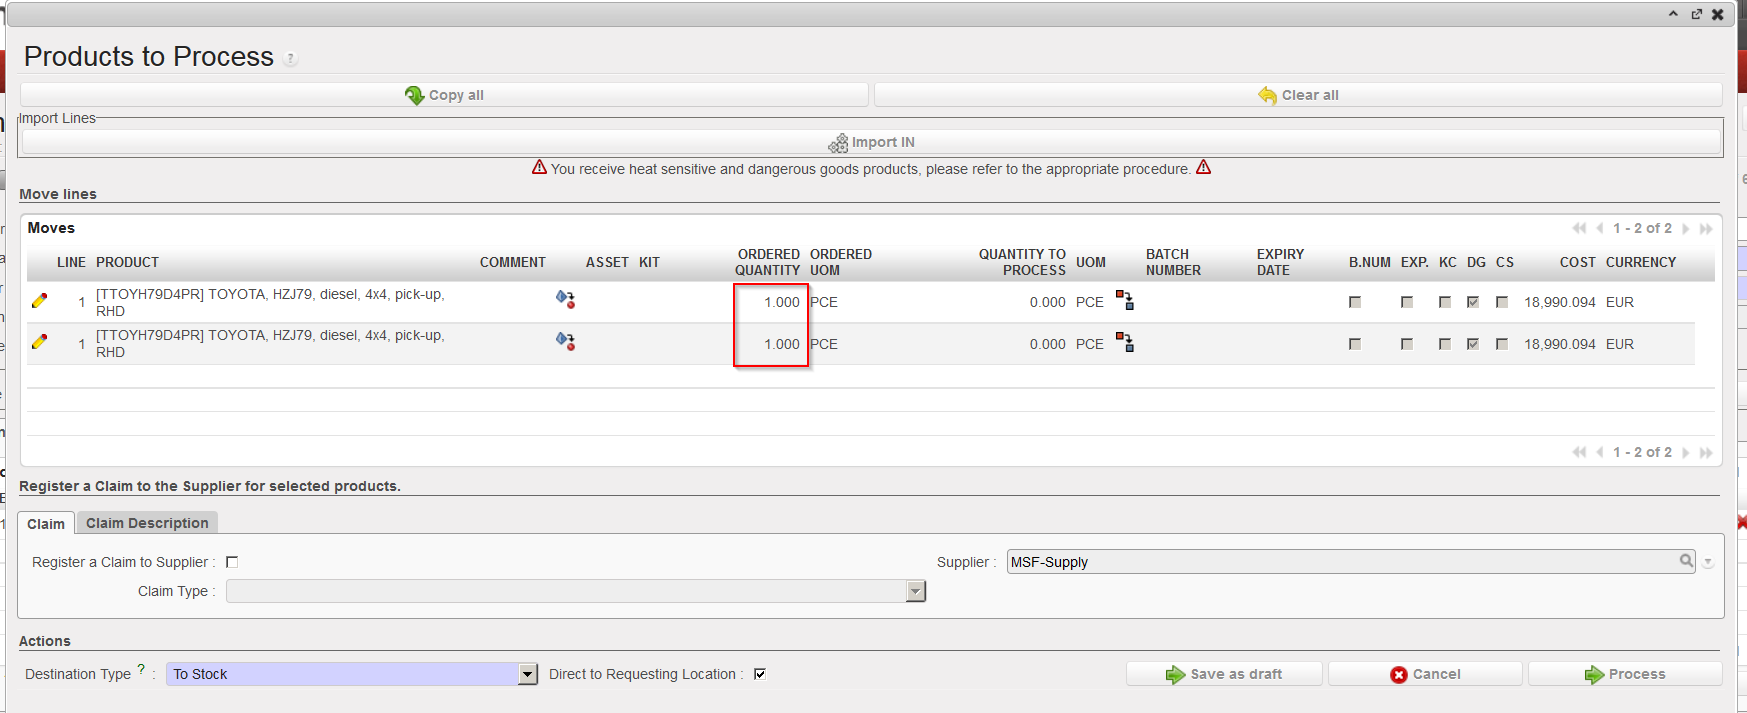
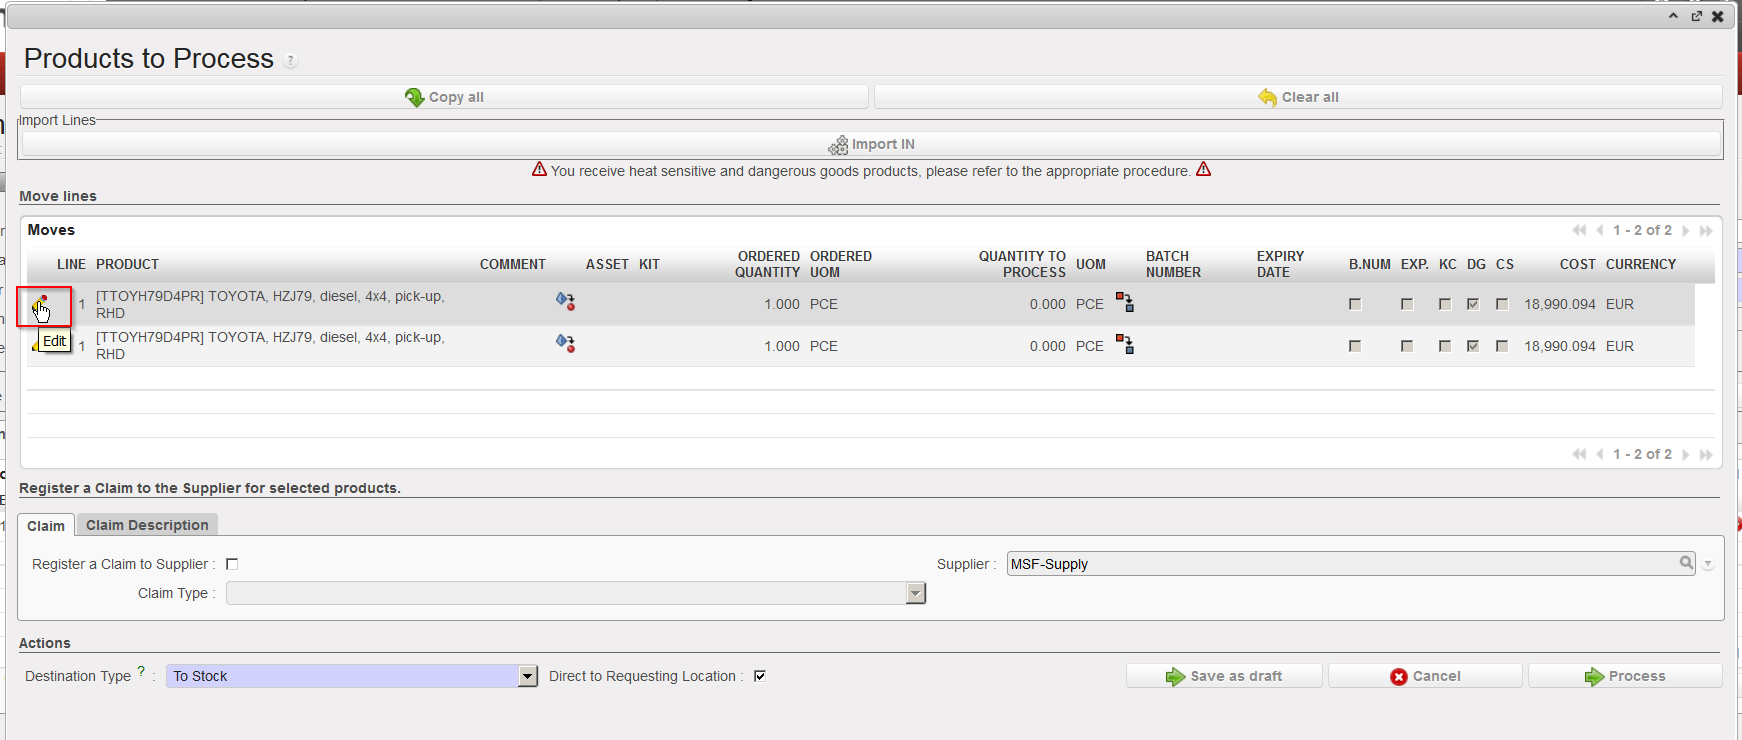
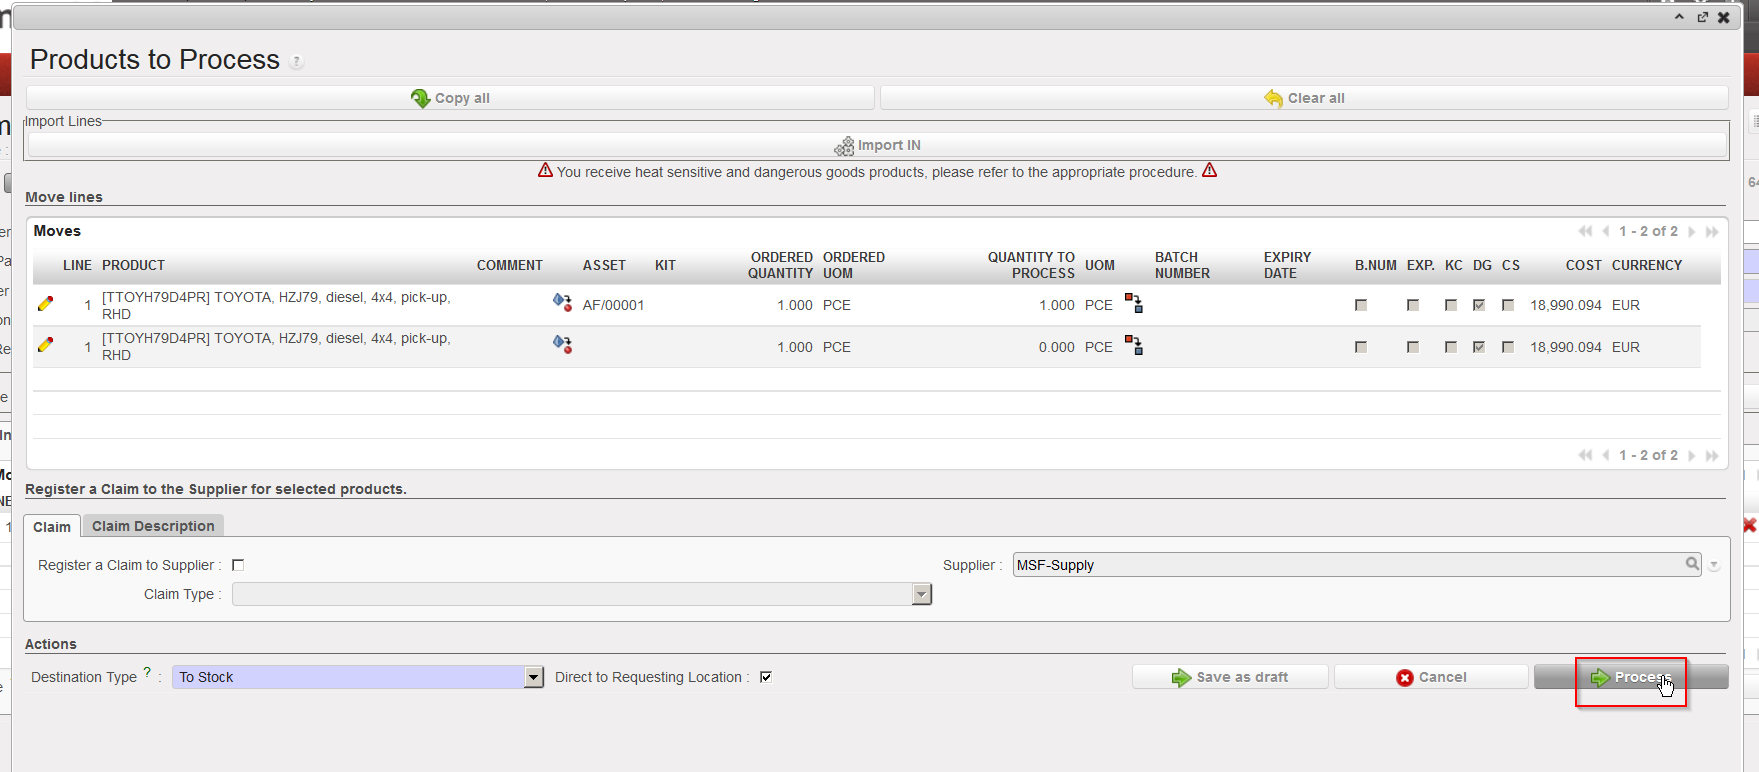
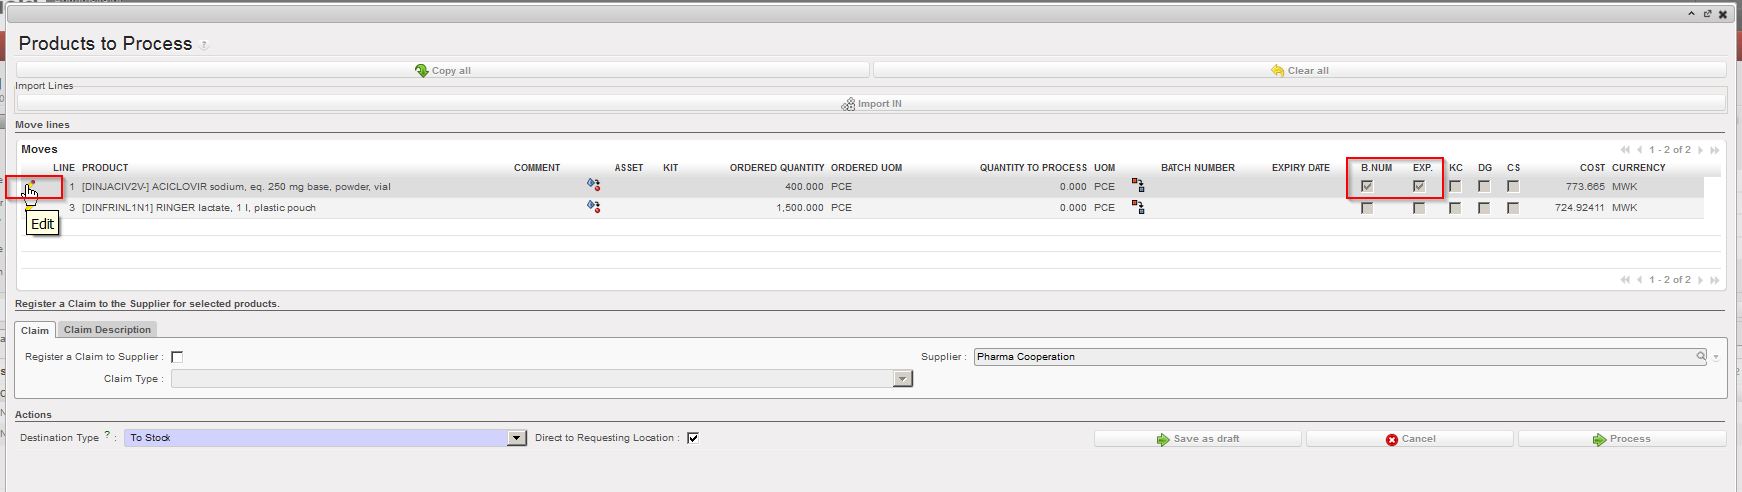
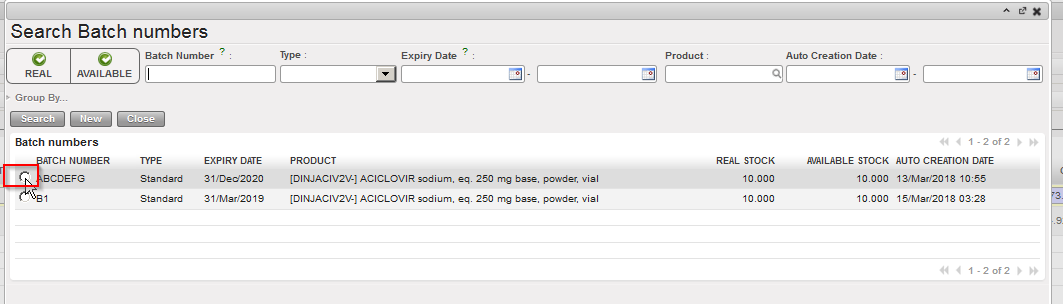
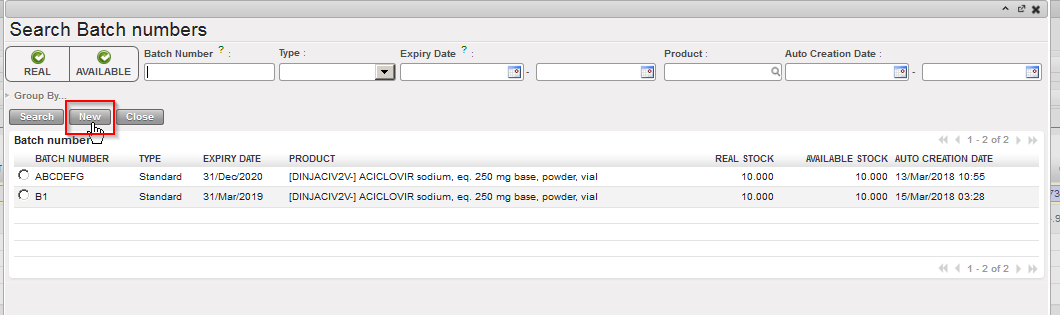
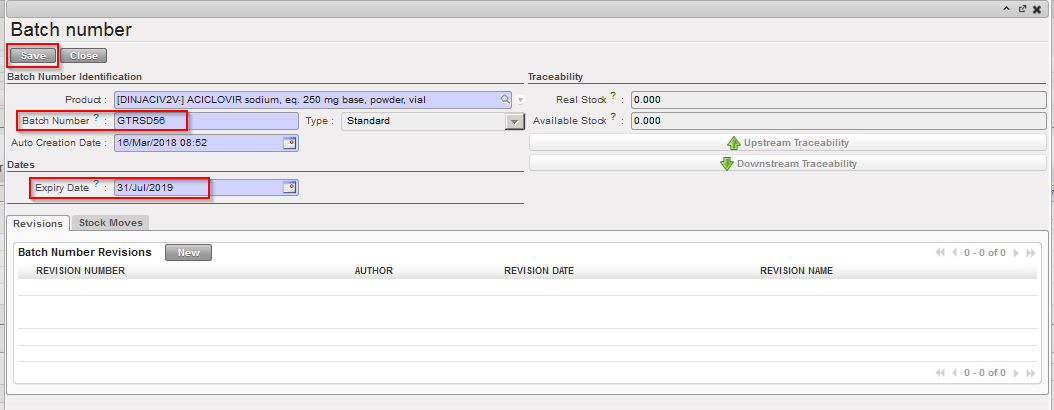
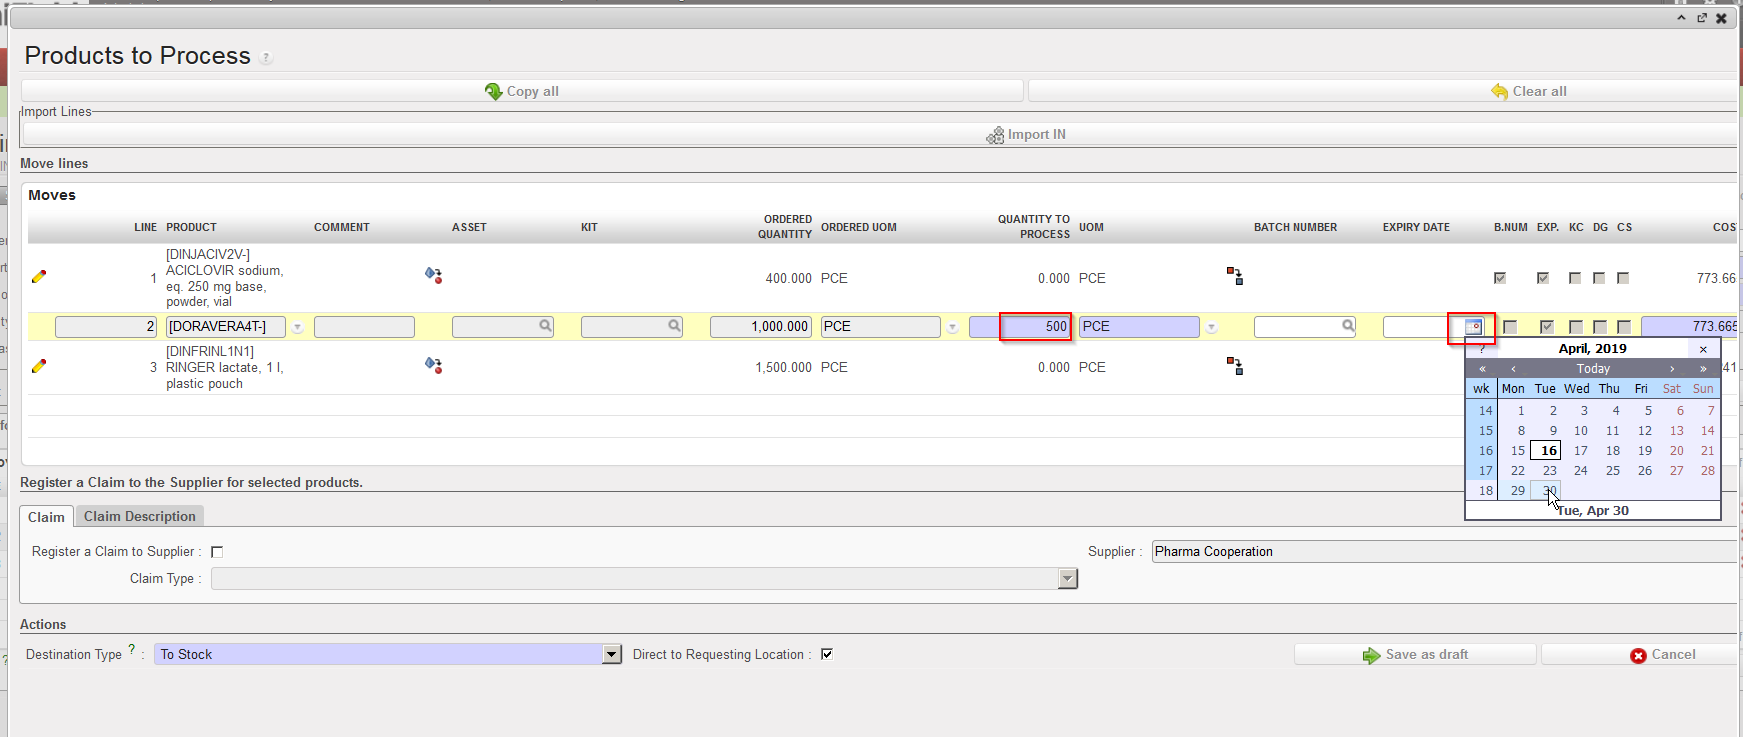
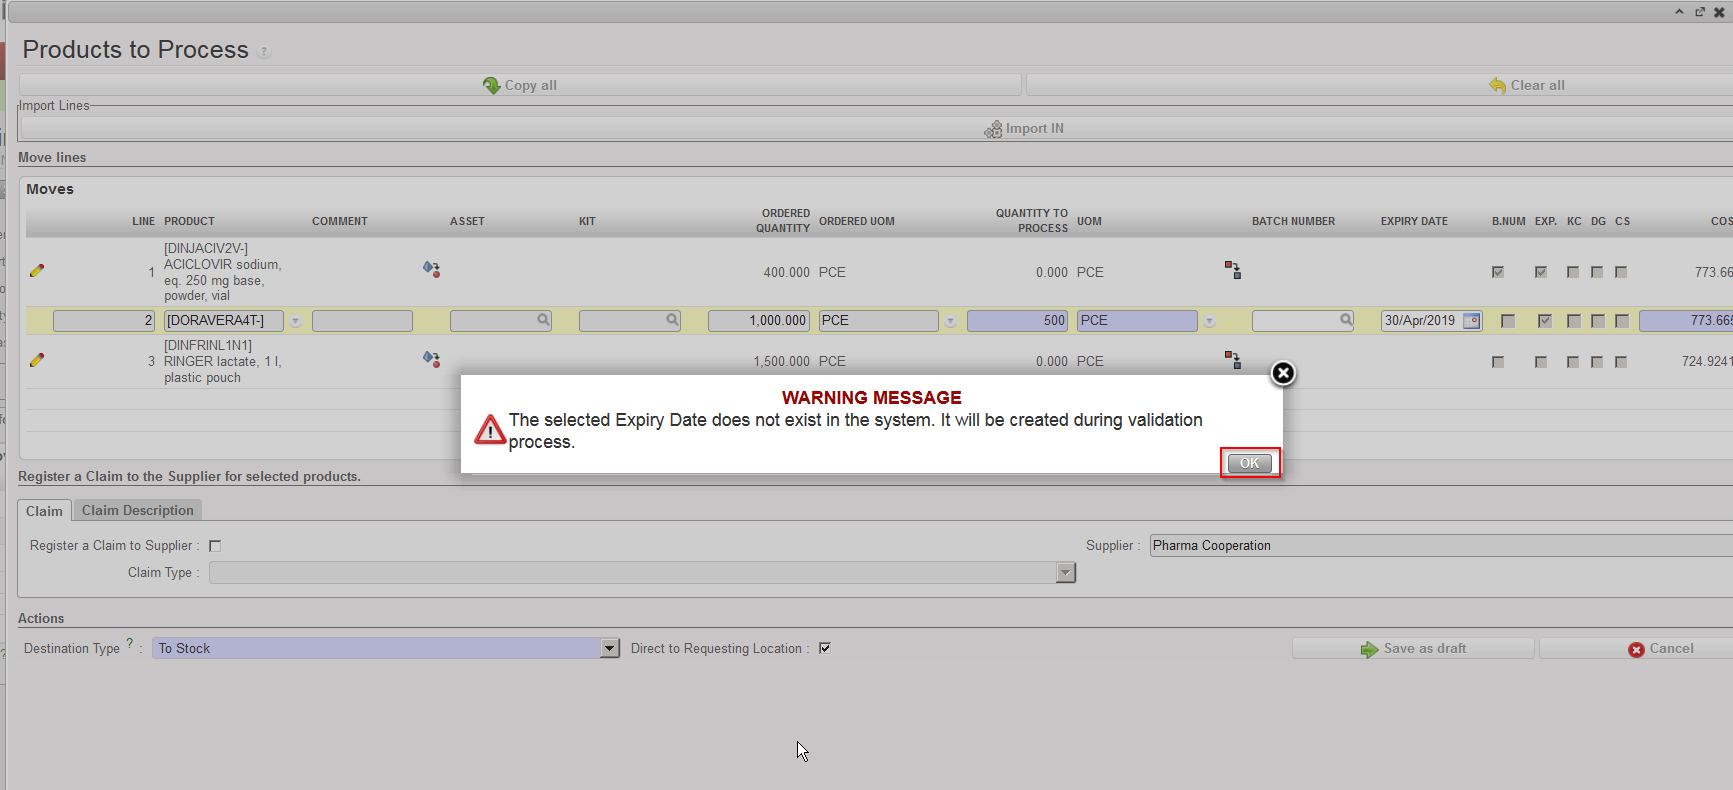
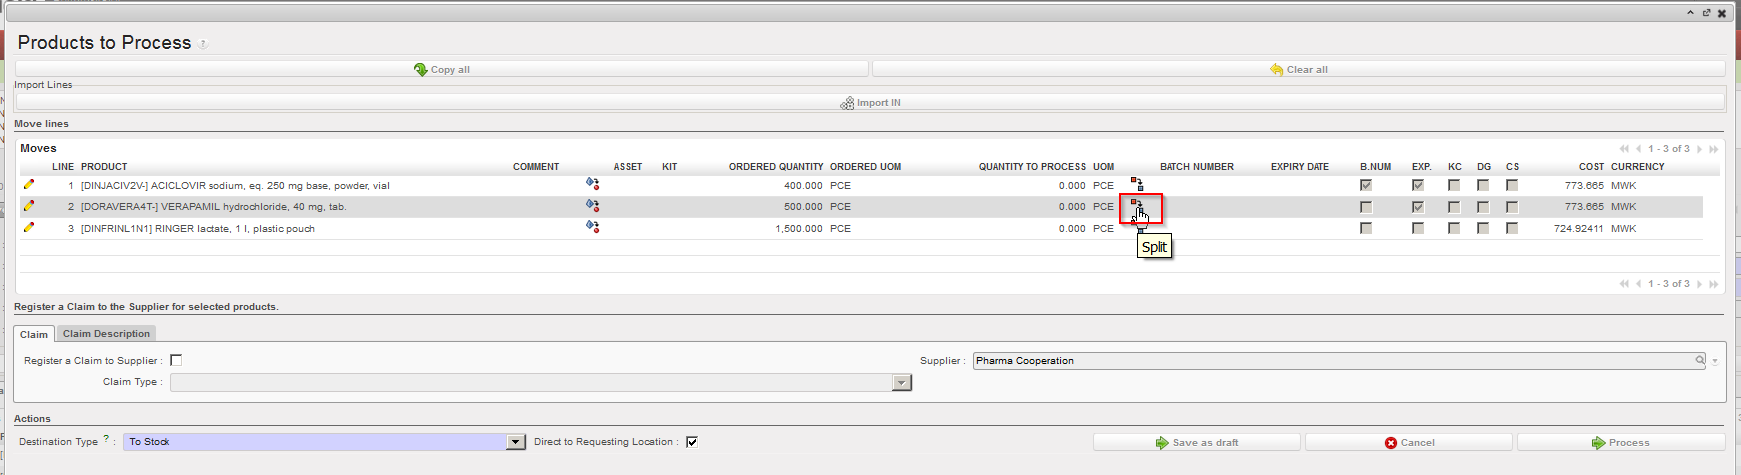
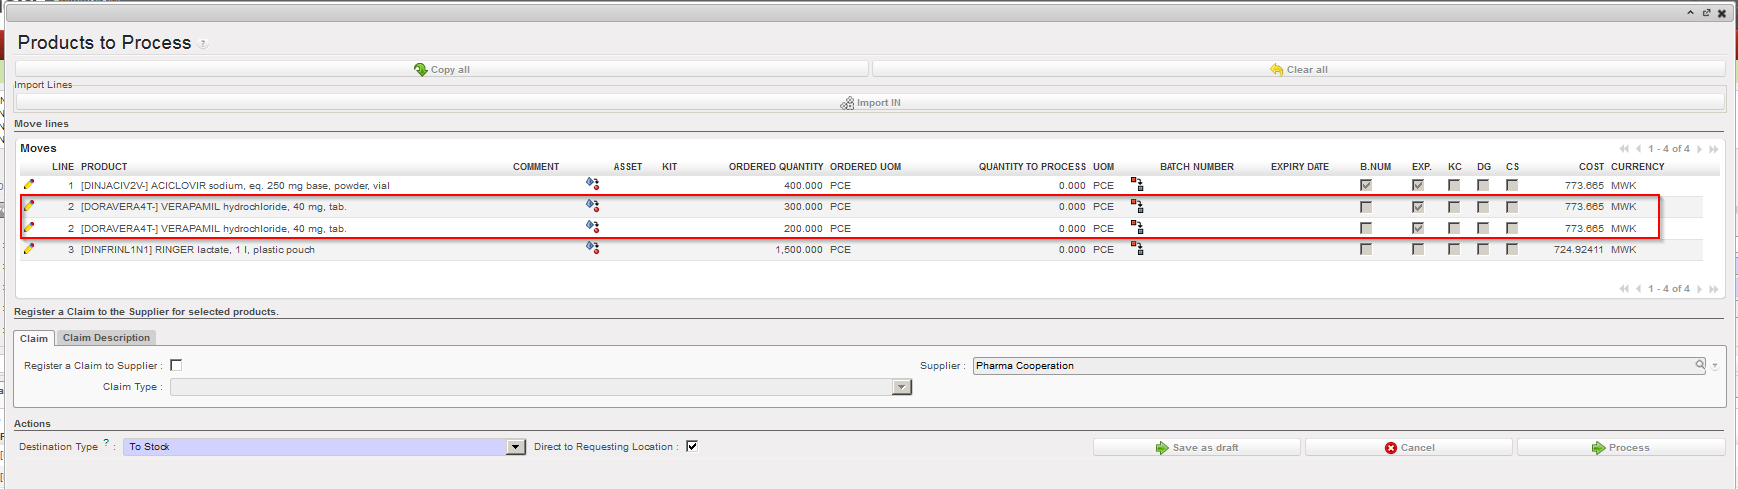
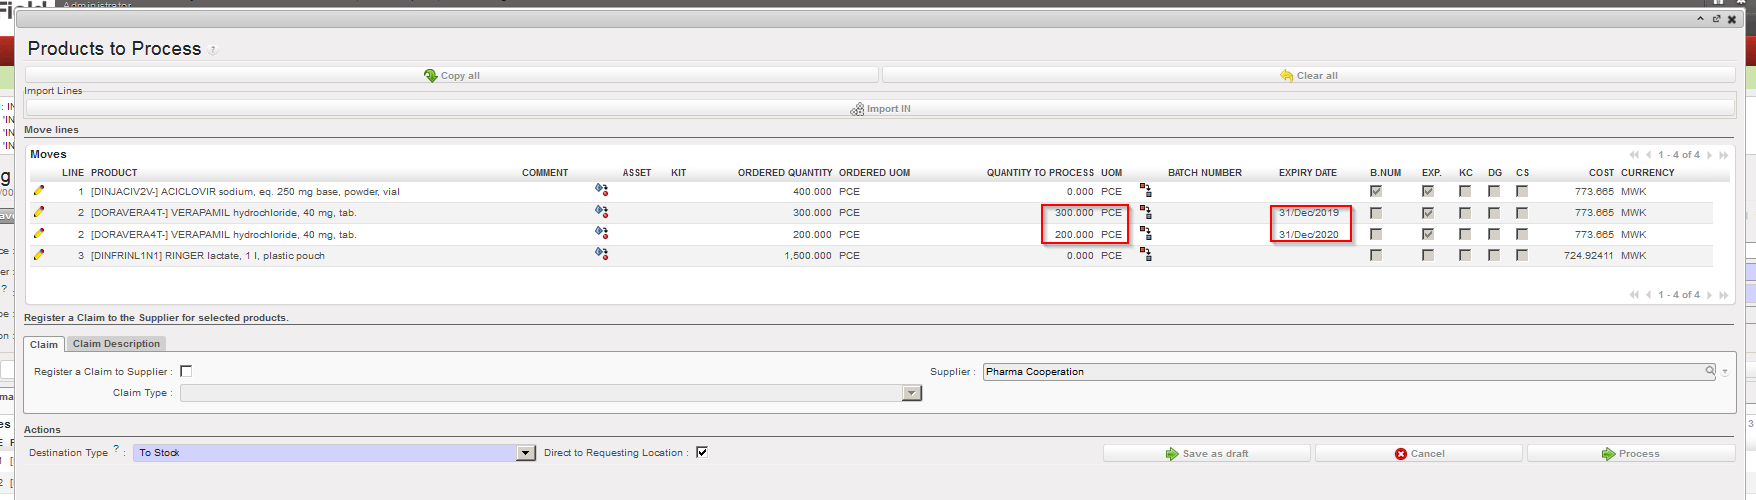
- If appropriate split the lines, change quantities and enter or create any relevant batch number or expiry date for your kit(s).
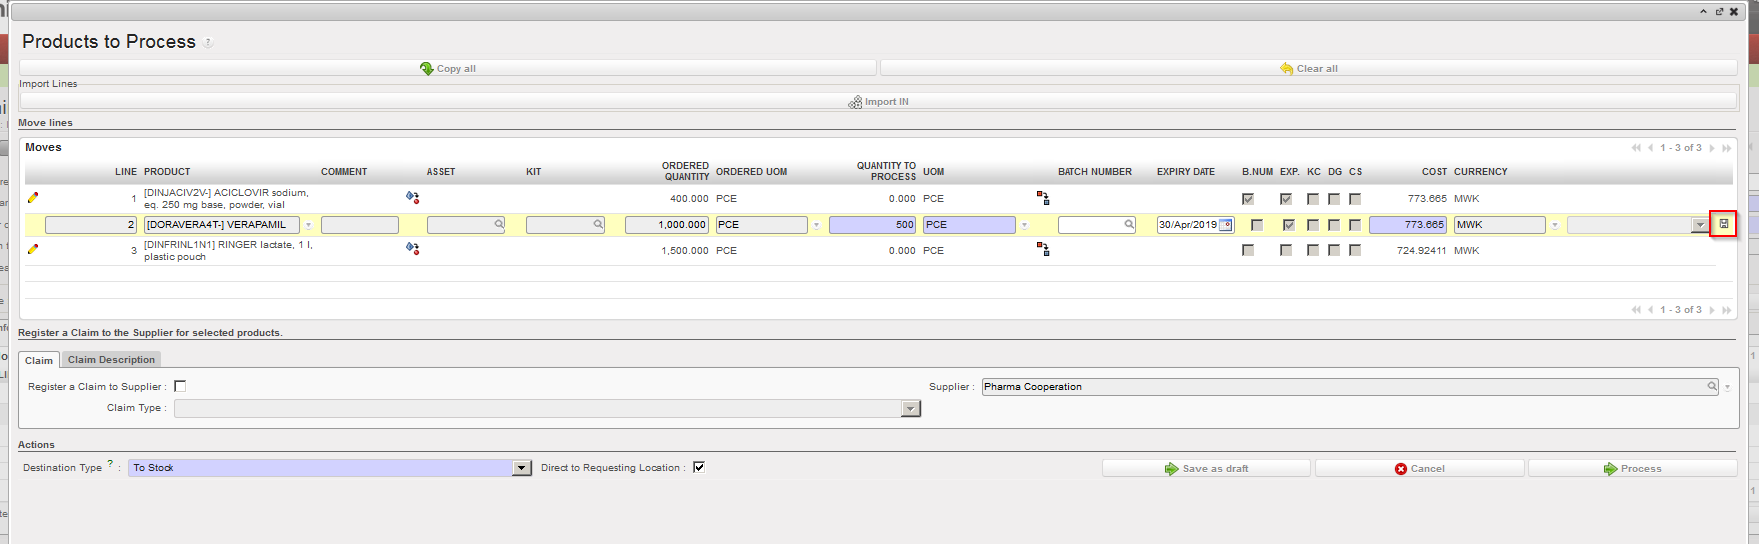
- Click on the “Process” button at the bottom of the screen to validate the reception of the Incoming Shipment.
|
|
|
Kit reception
|
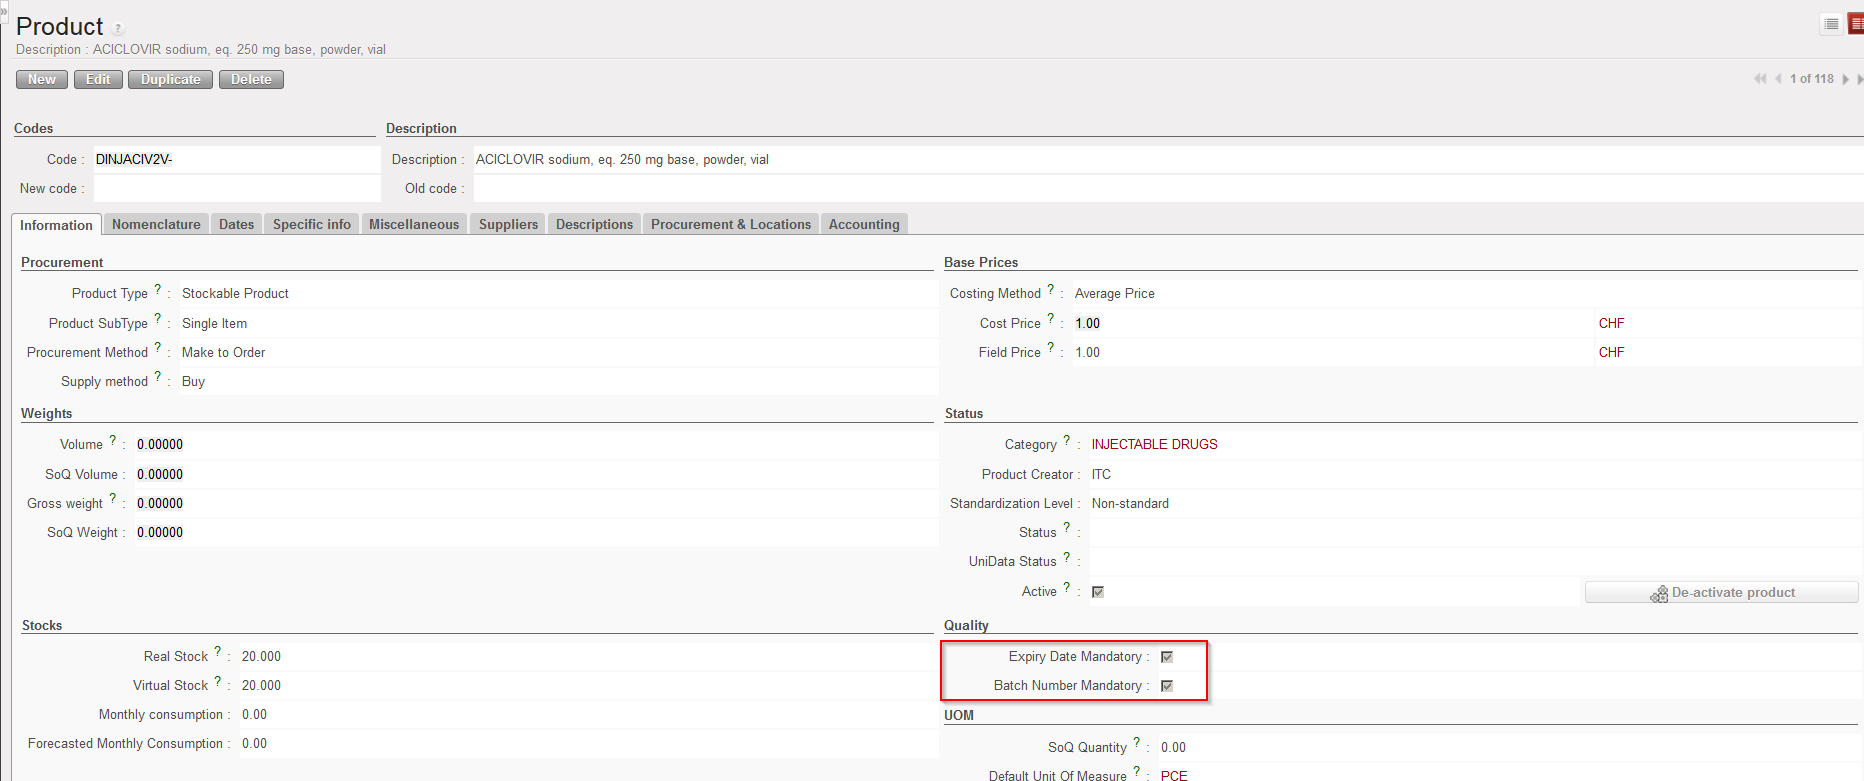
Note that if a kit needs traceability (i.e. it contains perishable items) then it should be indicated in its PMD sheet that this kit must be followed by BN/ED (see Products chapter). And this will obviously have consequences during reception as BN/ED will be mandatory in this case.
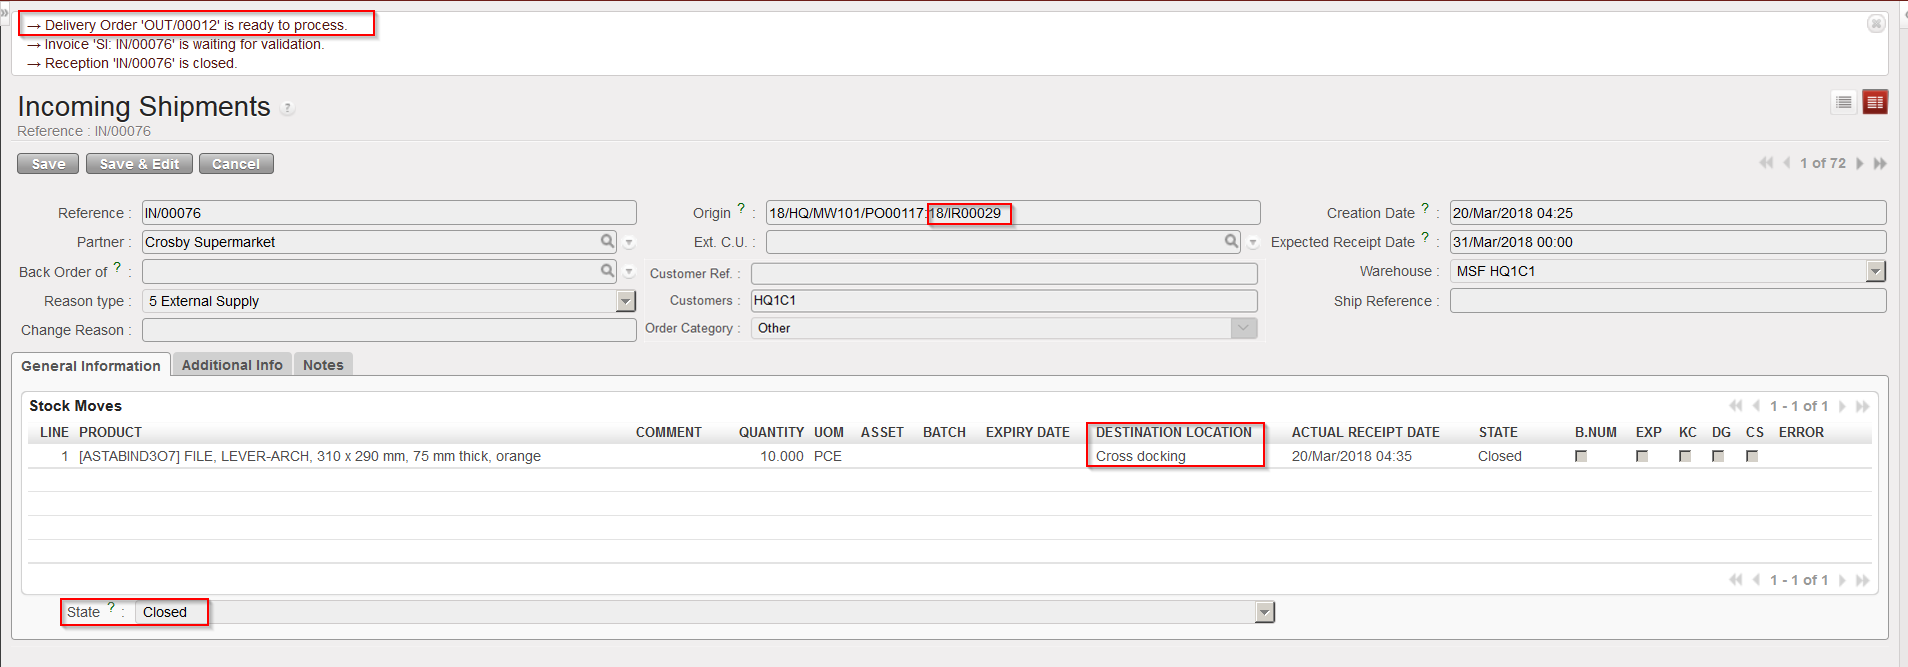
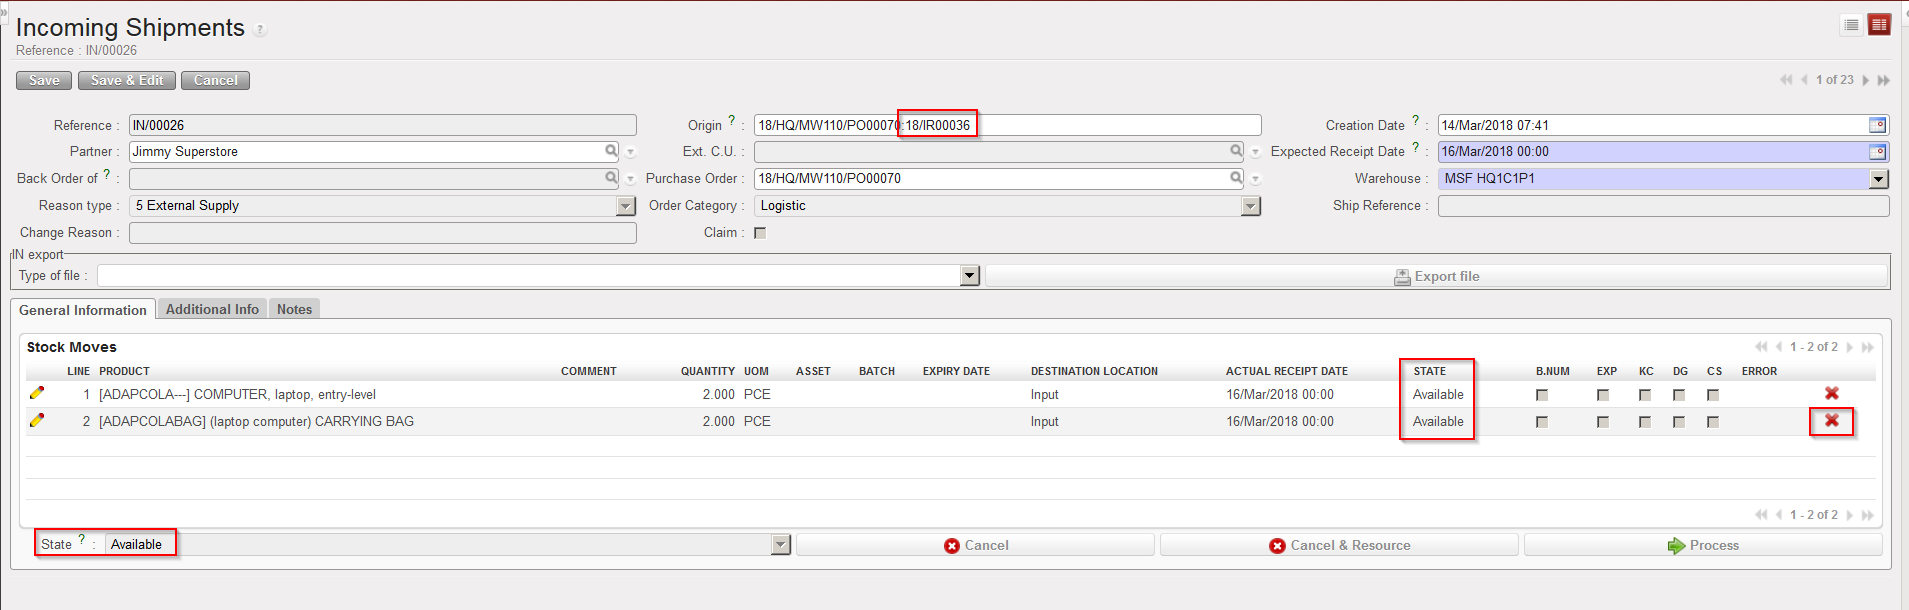
5. Open the Incoming Shipment which is now in state “Closed“. On the received lines involving kits, you see the icon  . Click on this icon to add a Kit Composition List.
|
|
|
Create a Kit Composition List from a closed IN
|
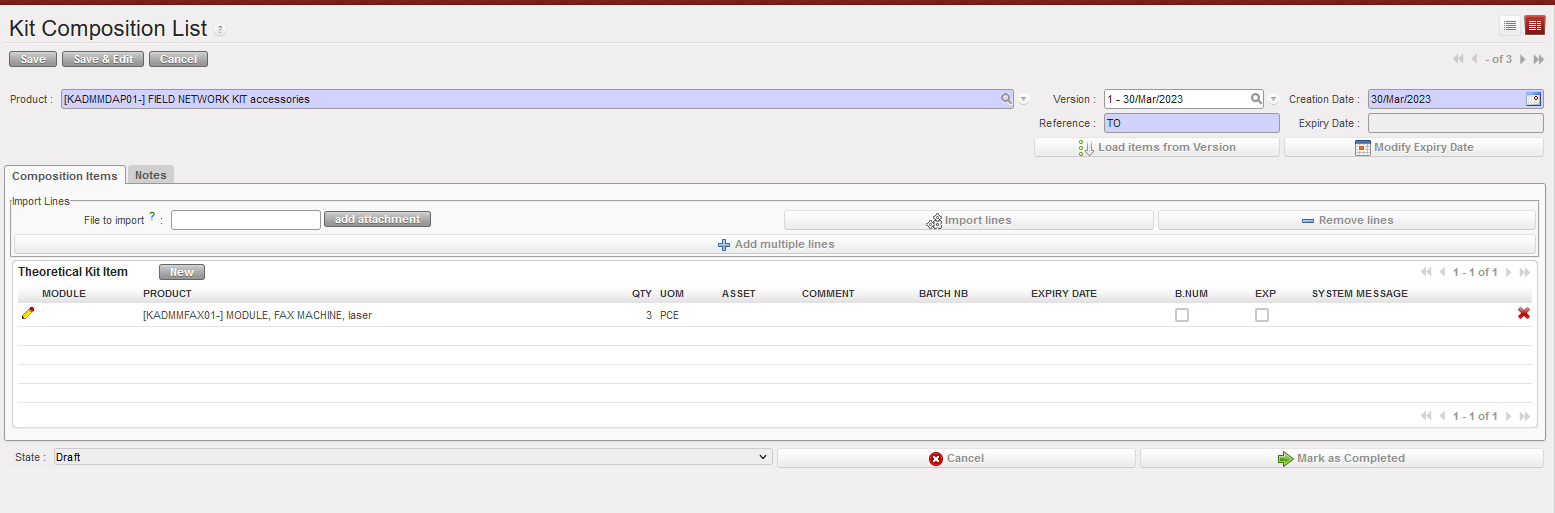
6. The screen “Kit Composition List” opens on a new tab of your web browser to allow you to create the Kit Composition List.
|
|
|
“Kit Composition List” Screen
|
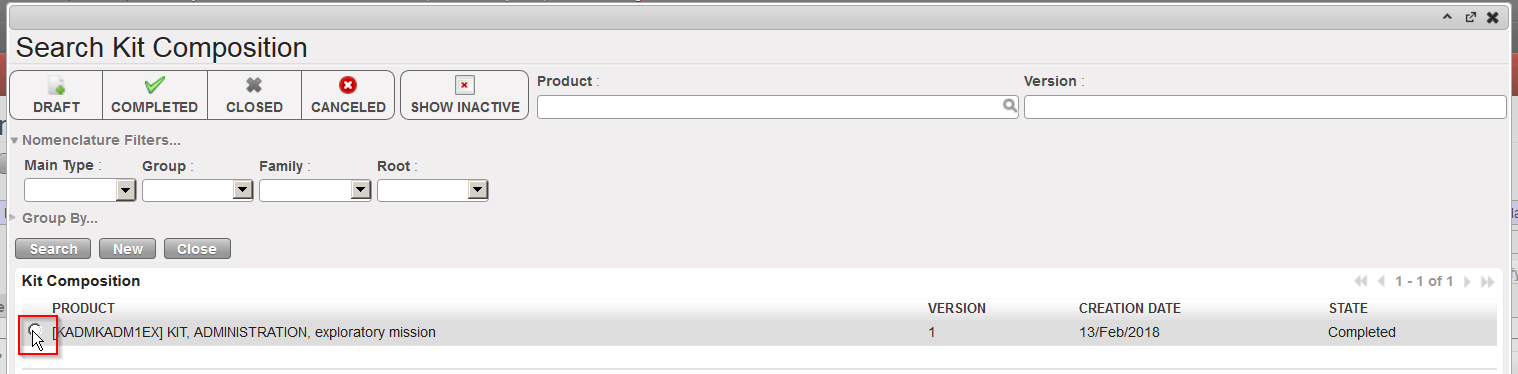
7. If a Theoretical Kit Composition List already exists for this kit in the system, search for it by clicking on the magnifying glass on the right of the “Version” field and select the appropriate version.
|
|
|
Selecting the Theoretical Kit Composition List (version)
|
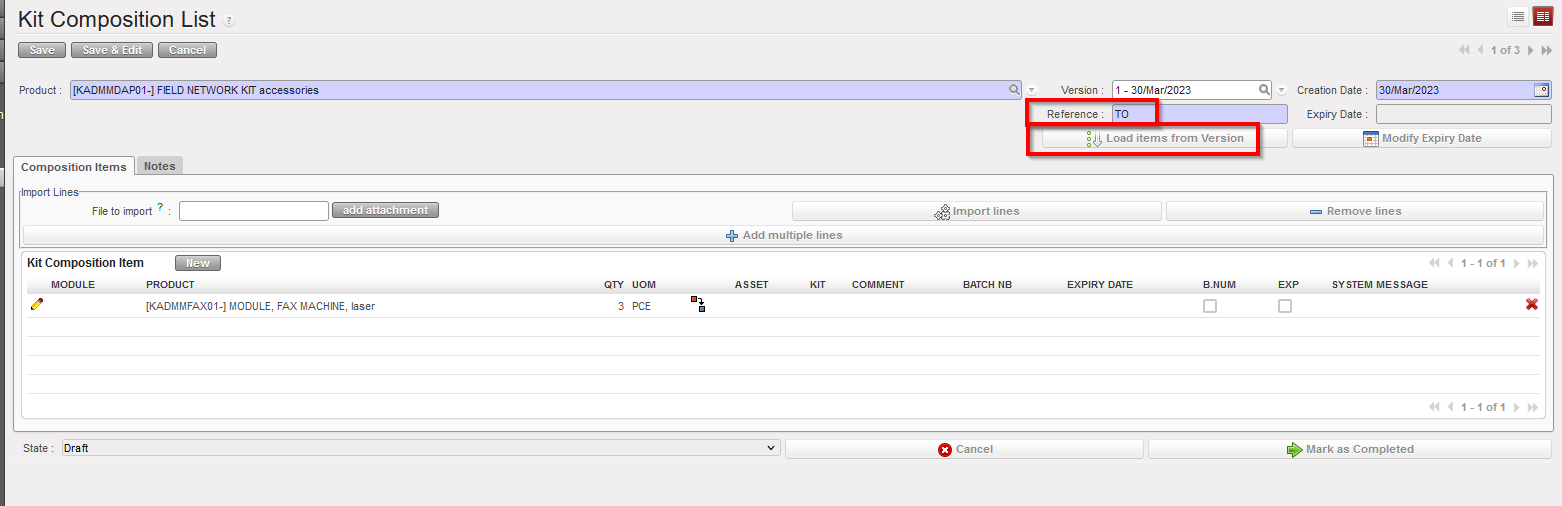
8. Back on the “Kit Composition List” screen, enter the kit production reference from the supplier in the “Reference” field and click on the “Load items from Version” button. Confirm the load of this version with a click on “OK“.
|
|
|
Loading a Theoretical Kit Composition List
|
|

|
|
Confirm the Loading of the Theoretical Kit Composition List
|
Note that if a product (kit) is defined as BN&ED mandatory in its PMD sheet, a BN&ED will be required upon reception and will be used to populate the field “Reference” and “Expiry Date” in the above screen when the Kit Composition List will be created from the closed IN.
If any component in a kit needs to be managed by Batch Number/Expiry Date, these fields will be mandatory in the KCL for the kit.
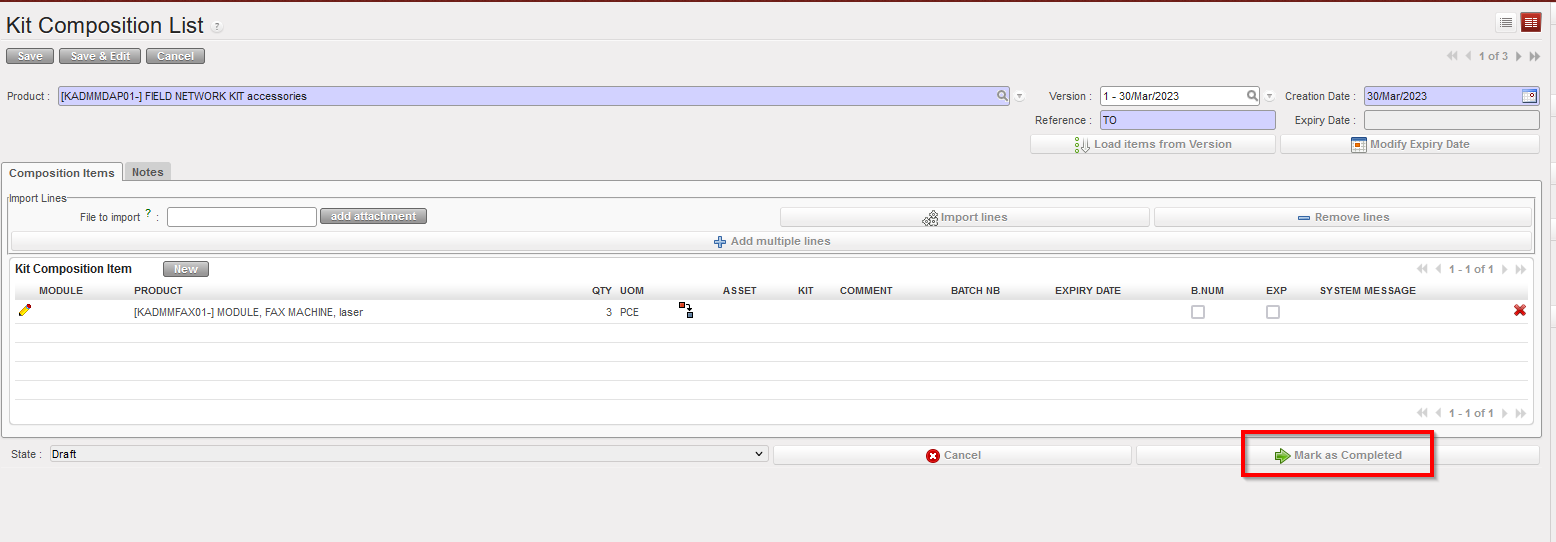
9 .The Theoretical Kit Composition List has been loaded. You may now complete it with information such has batch number, expiry date,… or update it according to what you have actually receive. Once the list matches with what you received, click on the “Mark as Completed” button.
|
|
|
Theoretical Kit Composition List loaded
|
|
|
|
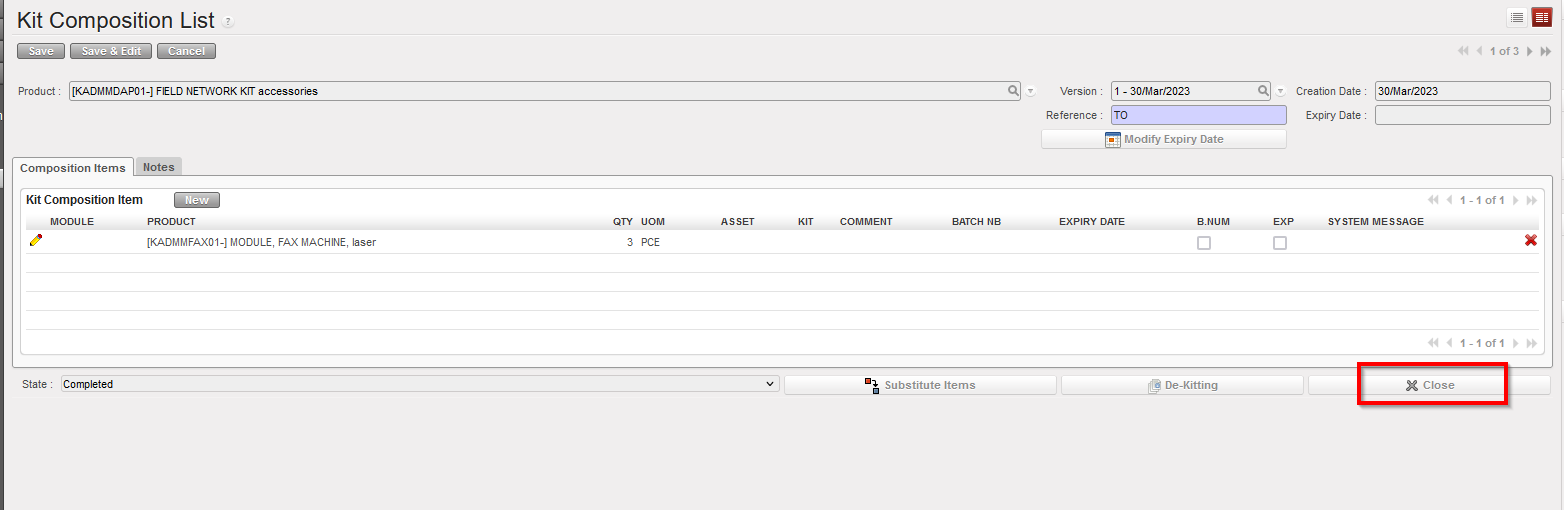
Kit Composition List in state “Completed“
|
The Kit Composition List must be in “Completed” Status in order to de-Kit or Substitute items.
Note that when creating the Kit Composition List, other methods than using a Theoretical Kit Composition can be used.
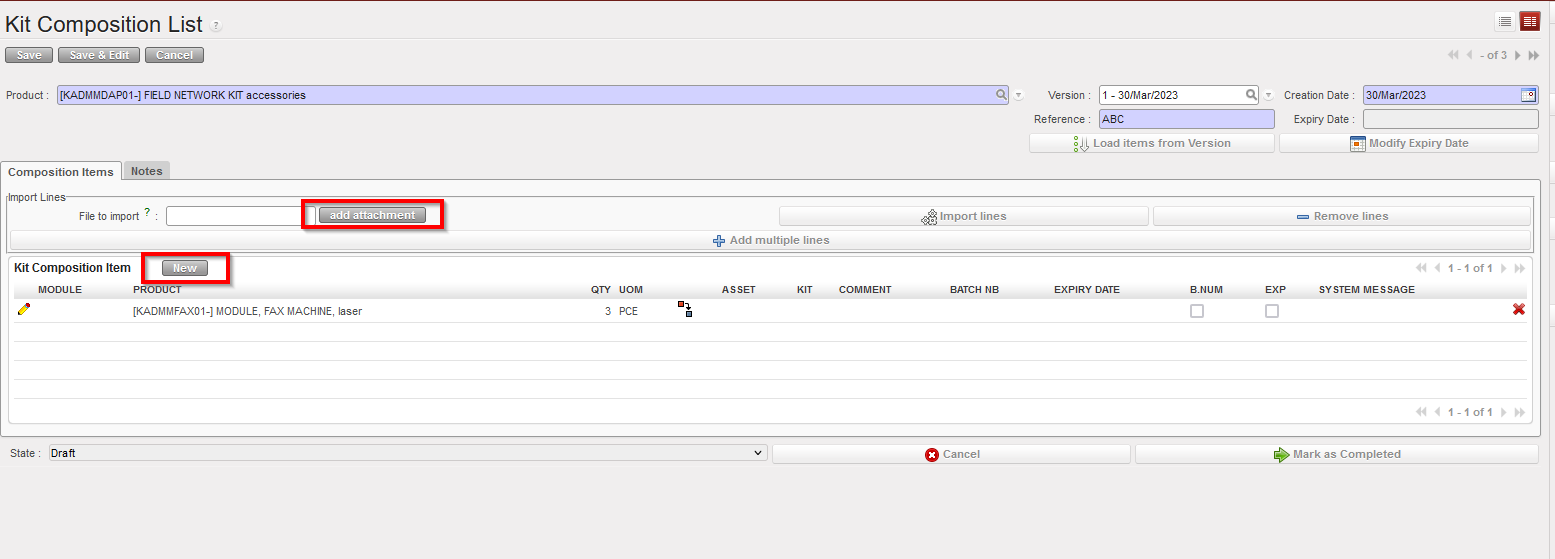
- You may add products by file import via a click on the “add attachment” button.
- You may add products manually via a click on the “New” button.
|
|
|
Alternative ways to enter items in a Kit Composition List
|
In short, a Kit Composition List displays what is in the kit while a Theoretical Kit Composition List displays what should be in the kit.
It is also possible to create a Kit Composition List from scratch. Please check LU-SU2105 Kits/Modules in the Products chapter.
During the reception process, the kit product information should be entered in the same way as for non-kit (single item) products (see previous sections for this). However, it may be useful to have a view of the components of a kit, and if appropriate (and deemed necessary according to OC procedures) a record of the expiry dates, batch numbers,… of each product/component contained in the kit. In order to do this, the kit should be received in the appropriate way, and then the Kit Composition List can be created as the final step.
It is advisable when receiving a kit to create an import file for the Kit Composition List especially when the kit has a lot of components. This will facilitate the Kit Composition List creation.
It is also advisable to create as many Kit Composition Lists as the quantity of kits received so that each kit has a unique reference/batch number. For instance, create 10 Kit Composition Lists if 10 First Aid Kits are received.
All Kit Composition Lists will require a “Reference“, which is usually the kit production reference number (batch number of the kit). If the kit is a BN mandatory product, a batch number must already be entered upon reception and will be used as reference when creating the Kit Composition List. If this was not already created at the reception stage (because the kit product is not batch managed), you will need to enter this at the Kit Composition List stage.
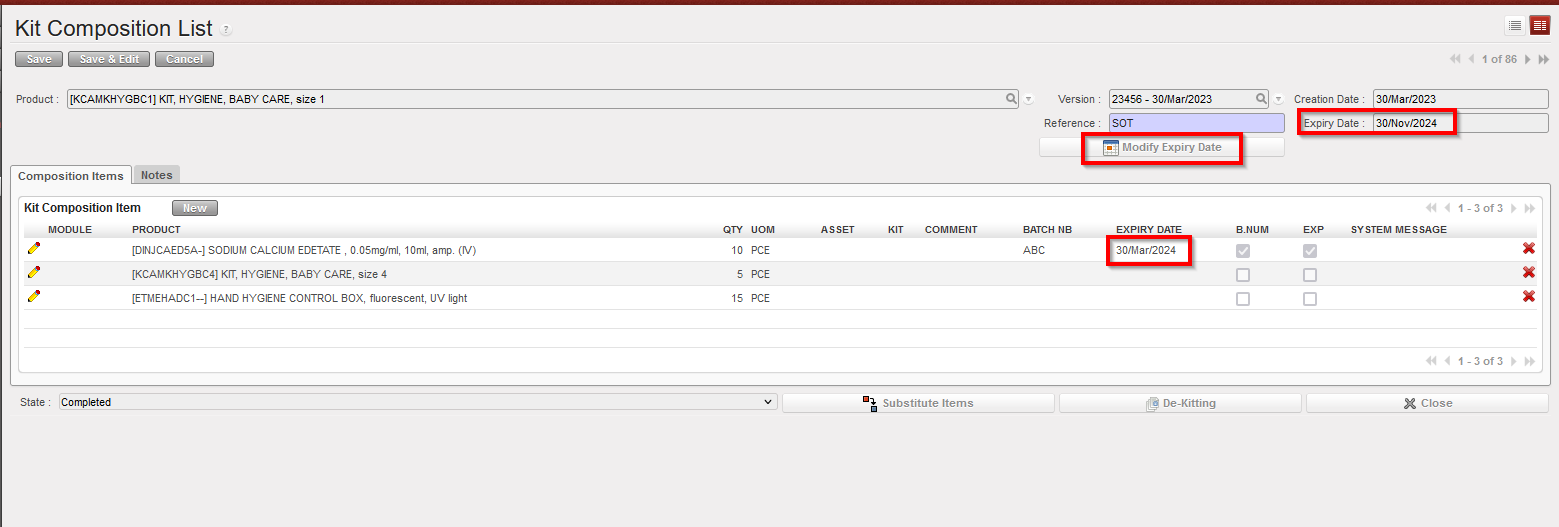
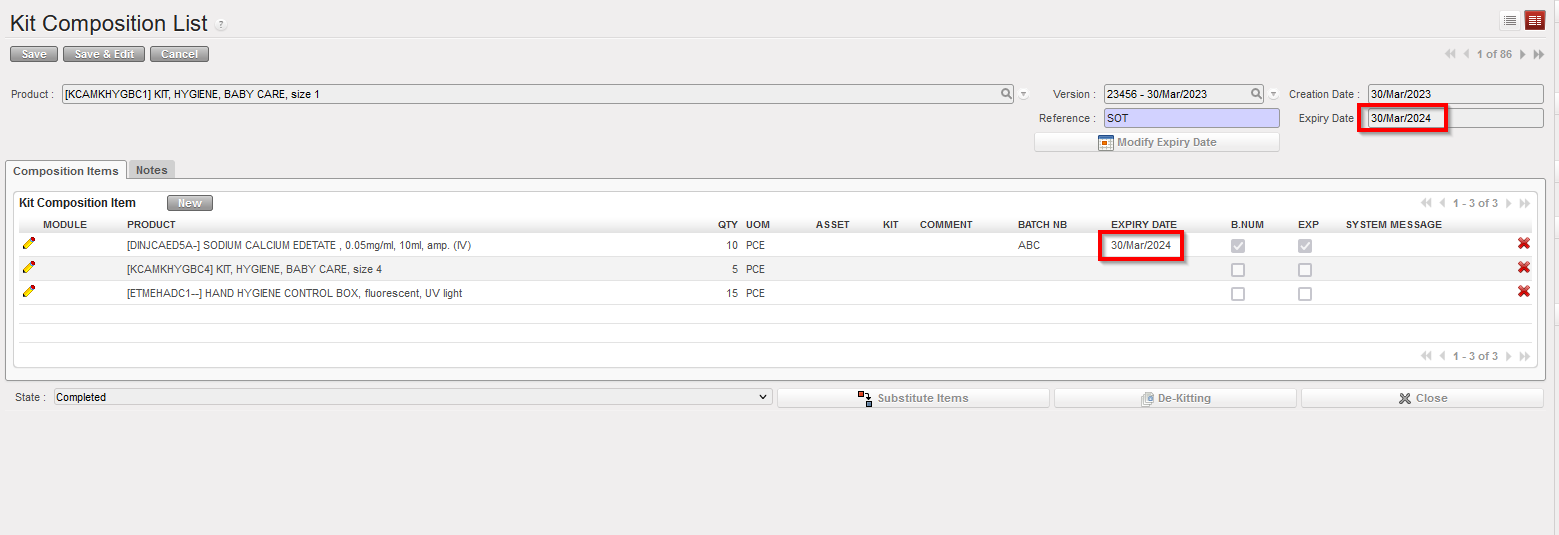
If a kit contains products with expiry dates, you may want to ensure that the overall kit reflects the expiry date of the product which will first expire. To do this:
Go to: Products / Kit Management / Composition List / Kit Composition List
- Open the Kit Composition List you wish to modify (in edit mode).
- Click on the “Modify Expiry Date” button.
- In the “Modify Expiry Date” window, click on the “Compute Date from Kit Components” button. The “New Date” field is auto-populated.
- Click on “OK” to actually update the ED of the kit and return to the Kit Composition List screen.
- Click on the “Save” button to register the Kit Composition List with the updated ED.
|
|
|
Updating the Expiry Date of a Kit Composition List
|
|

|
|
Computing the ED date for the kit from the ED of its components
|
|

|
|
Confirming the ED for the kit
|
|
|
|
Saving the updated kit
|
Note that on the “Modify Expiry Date” window, a date can also be entered manually if needed.