C. How to source individually an IR/ FO line from stock.

Supply User Manual ENG -> 4. Procurement -> 4.3 LU-SU3102: Orders Sourcing Tool (OST) -> C. How to source individually an IR/ FO line from stock.

C. How to source individually an IR/ FO line from stock.

If there are sufficient quantities in stock, a request can be sourced from the warehouse.

Go to: Orders / Orders / Orders Sourcing Tool

  1. Use filters to display only the order line(s) of the appropriate document (IR/FO) which need to be sourced.

Please note: the orders Sourcing tool will display three stock figures for each sourcing line:

-The “Real stock” column shows the stock level present in the location selected in the “Location” column (Stock, MED, LOG, an intermediate stock or an internal consumption unit). The “Location” column has an editable field and can be changed in the OST. The relevant generated document will be updated consequently (i.e. the PICK/OUT/INT will show this location as source).

-The “Available stock” column shows the stock level which is actually available (i.e. it does not include stock which has already been reserved for another request).

-The “Virtual stock” column (which can also be understood as the future stock) shows the stock level which is due to be available on the requested delivery date (i.e. if the requested date is 28/08/YY, it will include any stock which should be available on this date, taking into accounts planned reception and planned deliveries).

2. To edit and source order lines individually, follow the steps below:

2.1 Click on the pencil icon next to the line you want to source.

2.2 Check the “Real stock”, “Available stock” and “Virtual Stock” columns.

2.3 Select the sourcing method “from stock”.

2.4 Select the location from where you want to source.

2.5 Click on the floppy disk on the right side of the line to save your changes.

2.6 Confirm the sourcing of the line by clicking on the green arrow on the right line side.

Sourcing from stock

3. The system will create the appropriate document. In the table below, you can see which type of  document will be created by the OST according to the document which is sourced and the destination location (for IRs).

Sourced line Destination location Document created by the OST
IR External location Delivery Order (OUT)
IR Internal location Internal Move (INT)
FO   Picking Ticket (PICK)

See paragraph “How to source multiple lines together” below to source multiple lines from stock.

B. How to source individually an IR/ FO line to a Purchase Order

Supply User Manual ENG -> 4. Procurement -> 4.3 LU-SU3102: Orders Sourcing Tool (OST) -> B. How to source individually an IR/ FO line to a Purchase Order

B. How to source individually an IR/ FO line to a Purchase Order

Go to: Orders / Orders / Orders Sourcing Tool

In the OST:

-The “Need sourcing” filter will display all the IR/FO lines which have the state “Validated” (or “Resourced-v”).

-The “Sourced” filter will display all the IR/FO lines which have already been sourced.

You should not use these 2 filters at the same time (there are exclusive). However you can combine one of these filters with the other search fields; more specifically with the “Order” search field in which you can enter the reference of your IR/FO.

  1. Use the filters in order to find the IR/FO line that you wish to source.
  2. Click on the pencil icon of the line to complete or update the sourcing method.
  3. Select the procurement method “on order“.
Procurement Method on Order

4. In the “PO/CFT” field, select the “Purchase Order” option.

PO Type PO

5. Select the relevant supplier by clicking on the magnifying glass and selecting supplier. Note that if the products have default suppliers defined in their PMD sheet, the system will propose a default supplier. OST will display the ranking systems associated with the supplier. If two supplier catalogues exist for the same code/ranking, the supplier with the lowest price is selected. 

Please note that the “Group” field will only be active for ESC Supplier with option “Yes” for “Split PO” for more explanation on this field please see below chapter (LU_SU3401 Procurement advanced feature H.How to source on order (IR or FO) on several Pos for the same ESC (and same RDD).

Selecting a supplier to adress the PO to

6. Click on the floppy disk icon to the far right of the line to save your changes.

Saving the order line

7. Confirm the sourcing of the line by clicking on the green arrow on the right side of the line.

8. A PO line is created automatically. A message should appear on top of your screen to inform you about this creation. This PO line is included in a new PO (created by the system) or added on an existing PO (according to already existing POs and to the configuration of the selected supplier – see Configuration chapter).

9. To see this new PO line, go to Purchases / Purchase Management / Purchase Orders. You should be able to find the involved PO easily thanks to its “Draft” status, the supplier, the requested delivery date and above all thanks to the “Source Document” reference.

    • If the option “all requirements” has been chosen for the “order creation mode” at the supplier level and if a “Draft” PO with the same supplier and the same requested delivery date already exists, the sourced line will be added to this existing PO.
    • If a particular option other than “all requirements” has been chosen for the “order creation mode” at the supplier level, a new PO could be created depending on the project, category or reference of the sourced order line (see detail at the LU-SU1101 Partners – Customers and Suppliers + LU-SU1105 Additional configuration points A. Sourcing groups).
Finding the PO created (or updated) by the OST

Note: Re-Synch mechanism, If your instance (e.g. coordination) receives an FO line via the synchro, and decides to source this to a PO via the synchro (i.e. inter-mission or inter-section partner).you can source this PO to a third Unifield instance via synchro, The Re-Synch mechanism is limited to 3 Unifiled instance partners, one of them must be intermission or intersection, and the type of documents is “Regular”. DPO (Direct Purchase Order) can only be used at the final stage of sourcing (ie by 3rd internal partner issuing a PO to an external partner

Remember: By default (if you don’t touch the default filter on the OST which is on “Need sourcing“) only order lines which are in state “Validated” (or “Resourced-v”) are displayed in the sourcing tool.


Note: If you source an FO-line for a service, you will be compelled to choose in the Orders Sourcing Tool a PO type Direct PO (not regular PO).

A. LU Introduction (LU-SU3102)

Supply User Manual ENG -> 4. Procurement -> 4.3 LU-SU3102: Orders Sourcing Tool (OST) -> A. LU Introduction (LU-SU3102)

A. LU Introduction (LU-SU3102)

The sourcing process is the process of selecting the source from which the requested goods will be taken (from stock or through a purchase). The orders Sourcing tool (OST) allows the sourcing of all validated requirements (order lines of Internal Requests and Field Orders). In the OST, you are able to source IR-lines and FO-lines which are in the state “Validated“. The OST displays the requests (product, quantity, RDD date), the stock levels (real stock, available stock and virtual stock) and if appropriate, the supplier information (default supplier if defined in the PMD sheet, estimated delivery date,…).

Some products may be active in more than one catalogue, in the supplier pop-up that opens after clicking the magnifying glass, system will display the suppliers with active catalogues in Green at the top of the list.

A Field Order (FO) is a document expressing a request from an internal partner. Field Orders are explained in detail in LU-SU3103 and LU-SU3104. As the sourcing mechanism of IRs and FOs is very similar, you will notice that FOs are already introduced in this learning unit.

Only the “Validated” order lines of a document (IR or FO) will be possible to source through the OST. As we will see later, lines of requests which are created following a cancel & resource process will have the state “Resourced-v“. However, these lines will also appear in the OST and be available for sourcing because the OST will consider them as “Validated“.

If the sourcing is done “on order“, after sourcing, the associated documents (Purchase Orders, Direct Purchase Orders, Tenders or Requests for Quotation) will be created automatically by the system in “Draft” status while the sourced IR/FO-lines will switch to the state “Sourced“.

If the sourcing is done “from stock“, after sourcing, the associated documents (delivery orders in case of IR with an external location as destination location, internal moves in case of IR with an internal location as destination location or picking tickets in case of FO) will be created automatically by the system in “Confirmed” status (delivery orders and internal moves) or “Draft” status (picking tickets) while IR/FO-lines will switch to the state “Confirmed

If the sourcing is done “on order” and to a PO, the system will group by default all order lines into POs based on the selected supplier and the requested delivery date (RDD). It means that order lines sourced to the same supplier with the same requested delivery date from different IRs and FOs will be grouped into the same PO. These default settings can be changed at the supplier level so that POs can be gathered by project, category or order reference.

Sourcing groups can also be defined in the supply configuration of UniField (see column “Group” in the OST) to decide with greater precision how order lines will be gathered/split on POs. These optional settings will be explained later in details (LU_SU3401 Procurement advanced feature H.How to source on order (IR or FO) on several Pos for the same ESC (and same RDD)).

Once all lines of a document have been sourced and processed, the system will automatically close the document.

Process Flow of Sourcing (Orders Sourcing Tool)

Example of flow through sub-menus if sourcing a single line IR to a PO to external supplier.

Go to: Orders / Orders / Orders Sourcing Tool

In the Orders Sourcing Tool screen, the filter buttons/search fields of the sourcing tool which are located at the top of the screen allow the user to display only the lines to be sourced.

OST filters

By default validated IR/FO-lines appear in the OST with the most relevant information such as requested products, requested quantities, proposed sourcing method and stock levels.

It is possible to sort the lines by clicking on the column header, for example, clicking on the RDD, System will re-arrange the lines according to their “Requested Delivery Dates”.

When one line is selected, all last POs that contain this product can be viewed  Via “Purchases” in the “Action Menu”  under “Links”

This image has an empty alt attribute; its file name is Picture2.png

The column “Location” of the OST is used to select any internal location from which sourcing from stock can take place (intermediate stock, internal consumption unit, LOG/MED,…). If you change the proposed location, the real, available and virtual stock quantities are updated to reflect the quantities present in the selected location.

Note that for this ”Location” field , the “Stock” location cannot be selected if its child location MED/LOG have been chosen as “Location requestor” in the IR and vice versa.

Orders Sourcing Tool

The “Comment” column is mostly helpful as it displays a comment for product lines without code, “products by nomenclature“. This “Comment” column is also populated with comments entered at IR or FO line level on product lines correctly codified. Note that product lines with “products by nomenclatures” can only be sourced “on order”.

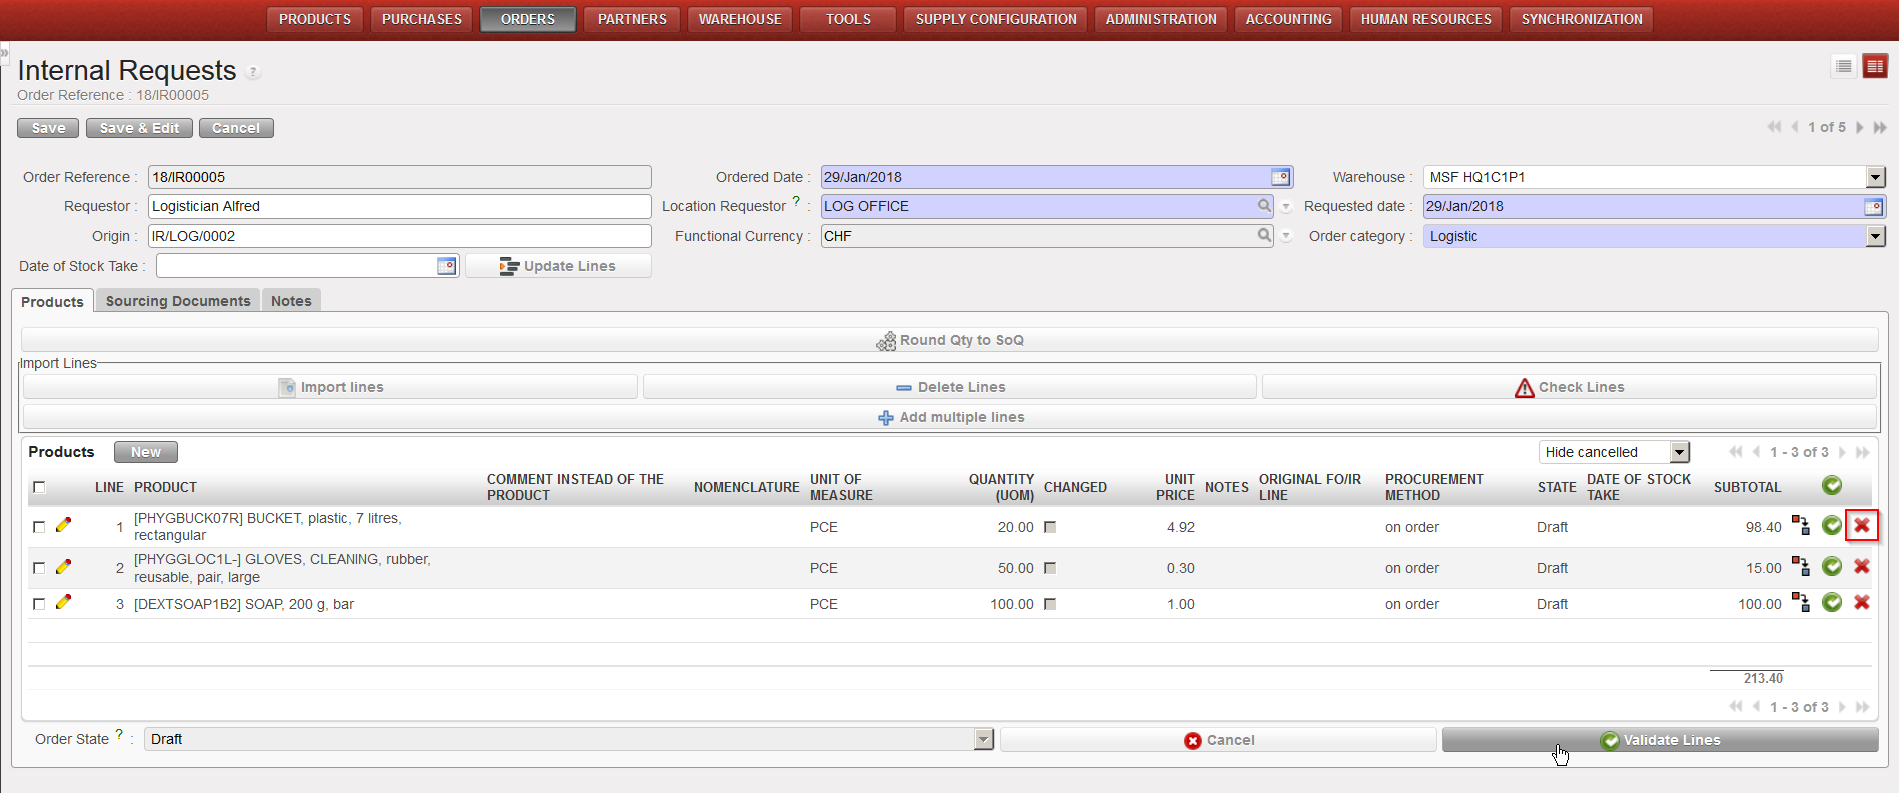
On the IR-lines to source the “Comment instead of the product” will appear in this column. Note that “Notes” which may have been entered at IR-line level are not appearing in the OST.

On the FO-lines to source, the “Comment” which may have been entered at FO-line level will also appear in the OST. The “Notes” entered on the FO-line won’t appear in the OST.

Comment field used for “products by nomenclature”

In case you do not have sufficient quantities in stock and would like to source the missing quantities “on order” via procurement, you can use the “Split line” icon which allows you to split the quantities between the available/missing quantities. You will then be able to source the different lines of the same item using appropriate sourcing options.

Sourcing tool, splitting a line, step 1
Sourcing tool, splitting a line, step 2
Sourcing tool, splitting a line, result

The “Source lines” link in the action menu on the right of the OST screen allows sourcing several lines in one step and changing the sourcing method of several lines in one step.

OST action menu – Source lines
Selecting the sourcing location for multiple order lines sourced from stock

By default, the option “Auto POs creation“, available in the action menu of the OST, (which triggers the creation of Purchase Order, RFQ or Tender documents according to the sourcing method selected) does not need to be manually actioned anymore as the default settings of UniField will launch automatically the “Auto POs creation” as soon as a line is sourced on order.

Nevertheless, these settings (available in the supply configuration) can be changed. In this case, these documents will only be created when user launches the “Auto POs creation“.

OST action menu – Auto POs creation

4.3 Orders Sourcing Tool (OST).

Supply User Manual ENG -> 4. Procurement -> 4.3 LU-SU3102: Orders Sourcing Tool (OST).

LU-SU3102: Orders Sourcing Tool (OST).

A. LU Introduction

B. How to source individually an IR/FO line to a Purchase Order

C. How to source individually an IR/FO line from stock

D. How to source individually an IR/FO line to a Tender/Request for Quotation

E. How to source multiple lines together

F. How to resource

G. Planning horizon

H. Notes and comments on documents (IRs, FOs, POs)

J. b) Export IR follow-up

Supply User Manual ENG -> 4. Procurement -> 4.2 LU-SU3101: Internal Requests (IRs) -> J. b) Export IR Follow-up

J. b) Export IR follow-up

Go to: Orders / Orders / Reporting / Export IR Follow-up

  1. Click on the “Export IR Follow-up” sub menu.

This image has an empty alt attribute; its file name is Export-IR-Follow-up-1024x356.png

Export IR Follow-up

       2. A pop up with several filtering option is displayed. User can choose to filter by “Location” (i.e.: Location requestor), “Order reference”, Status of document, order categories and report parameters.


Export IR Follow-up

       3. The report can be exported in Excel or PDF via the corresponding buttons.

This report provides valuable information such as Document and line status; Qty ordered vs Qt delivered; Reference of sourced documents (PO; OUT)…


Export IR Follow-up to XLS


Export IR Follow-up to PDF

Note that the “Sourcing Documents” tab available on the IR will display the references of the related document following the sourcing of the IR.

J. a) Order follow up

Supply User Manual ENG -> 4. Procurement -> 4.2 LU-SU3101: Internal Requests (IRs) -> J. a) Order follow up

J. a) Order follow up

  1. Click on the check box on the left side of the line corresponding to the Internal Request to be followed-up.
  2. The action menu on the right-hand side is displayed.
  3. Click on the “Order Follow Up” option.

This image has an empty alt attribute; its file name is IR-111-1024x143.png

Following-Up an Internal Request

    4. A detailed Order Follow Up is displayed.

    5. The “Update” button can be used to refresh the page.

    6. The report can be exported in Excel or PDF via the corresponding buttons.

Export IR follow up to XLS or PDF format

 
  • Users can search for IRs in the main List view for Internal requests by using filters: Order Reference, Origin, Requestor and Location Requestor.
IR searching by Location Requester

J. How to follow-up an Internal Request.

Supply User Manual ENG -> 4. Procurement -> 4.2 LU-SU3101: Internal Requests (IRs) -> J. How to follow-up an Internal Request.

J. How to follow-up an Internal Request.

Following a development done on UF6, there are now 2 options to follow up on IR, the historical one is the one from the right action menu named “Order follow up” and the other one which offers more filtering options and details is called “IR follow up per location” and can be found on the main left menu.

a) Order follow up

b) Export IR follow up

I. How to cancel a line or Multiple lines from an Internal Request.

Supply User Manual ENG -> 4. Procurement -> 4.2 LU-SU3101: Internal Requests (IRs) -> I. How to cancel a line or Multiple lines from an Internal Request.

I. How to cancel a line or Multiple lines from an Internal Request.

At the right of each line of an IR, a red cross is available. Clicking this red cross will cancel the corresponding line.

cancelling an IR line

Only “Draft” or “Validated” lines can be “cancelled”. If you wish to cancel several lines at once, you may select them via the check boxes available on the left of the lines and click on the button “Cancel Lines” at the top of the Products table.

This image has an empty alt attribute; its file name is ir-cancel-lines-draft-1.png
cancelling IR lines

Note that draft and validated IR-lines can be cancelled in Draft-p / Validated/ Validated-P IR. but an IR-line which has already been sourced cannot. At this stage you will have to do the cancellation on the next document (e.g. PO or OUT).


H. How to cancel or delete a whole Internal Request.

Supply User Manual ENG -> 4. Procurement -> 4.2 LU-SU3101: Internal Requests (IRs) -> H. How to cancel or delete a whole Internal Request.

H. How to cancel or delete a whole Internal Request.

Internal Requests can be cancelled by clicking on the “Cancel document” button (with the red cross) in the lower part of the order.

Note that the “Cancel” button (only available in edit mode) at the top of the screen (without the red cross) will only cancel the changes you made in the document since the last time you saved it.

An IR can be cancelled if it is in either “Draft“, “Draft-p“, “Validated” or “Validated-p” state. After this, the IR can only be cancelled at another following stage (e.g. at PO stage). Please note that if Cancellation is done at OUT or PICK stage after IR has been sourced to a PO then the IR will be “Closed” whereas it will be “Cancelled” if the sourcing is done “from Stock”.

When an IR is cancelled, its status turns to “Cancelled” and all its lines also take the status “Cancelled“. Note that by default, cancelled IR lines are not showed. If you want to see them, use the filter drop-down box available at the top of the products table. This filter allows to hide cancelled lines, show all lines or show cancelled lines only.

IR cancellation
IR cancelled
Filtering lines appearing on an IR

An Internal Request can also be deleted. This can only be done if the IR is in the state “Draft” (at header level). Use the red cross located on the IR you want to delete on the “Search: Internal Requests” screen to delete a “Draft” IR.

Deleting a “Draft” IR