Supply User Manual ENG -> 5. Warehouse -> 5.18 LU-SU4304: Movements Reports -> C. MOVES ANALYSIS/IN & OUT REPORT
C. MOVES ANALYSIS/IN & OUT REPORT
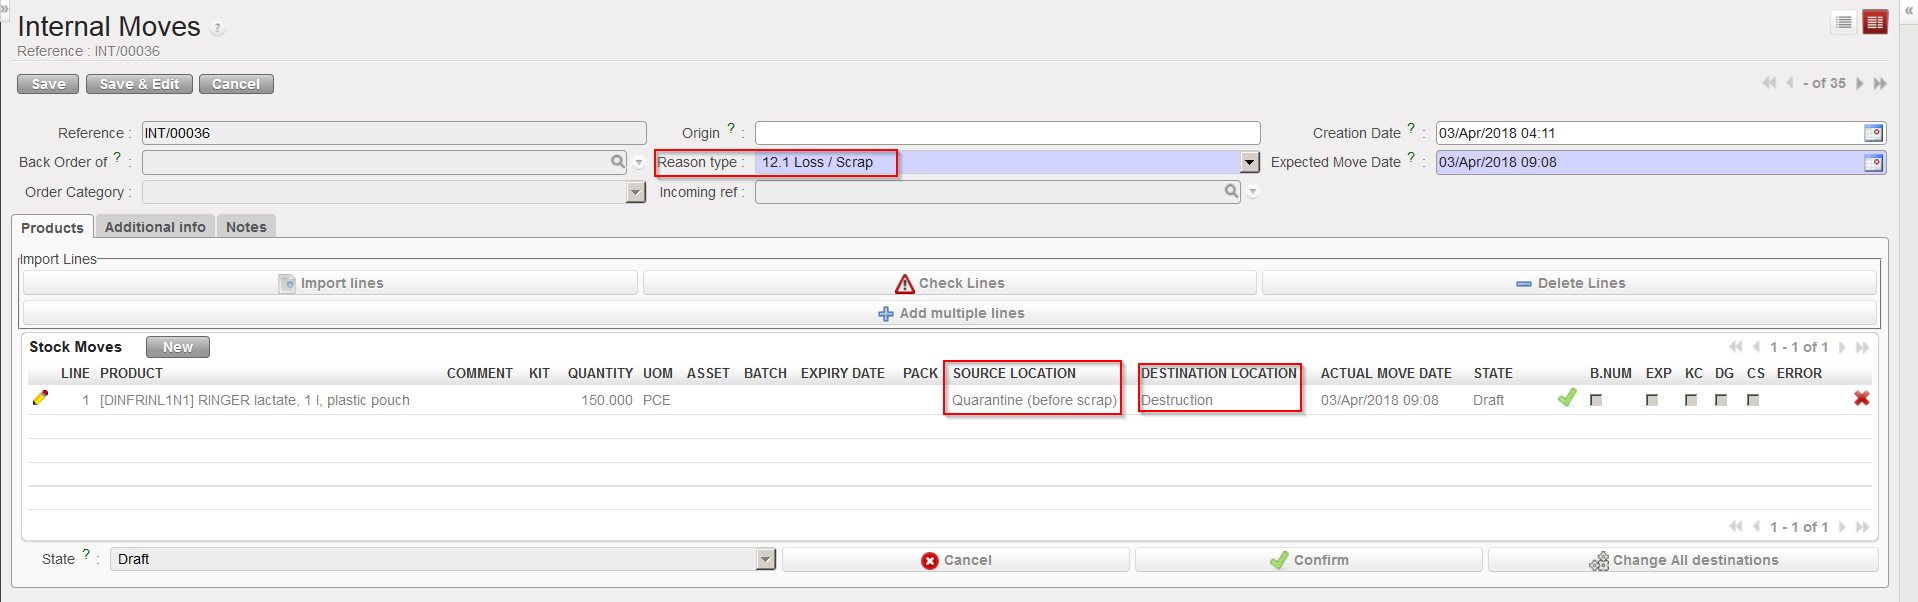
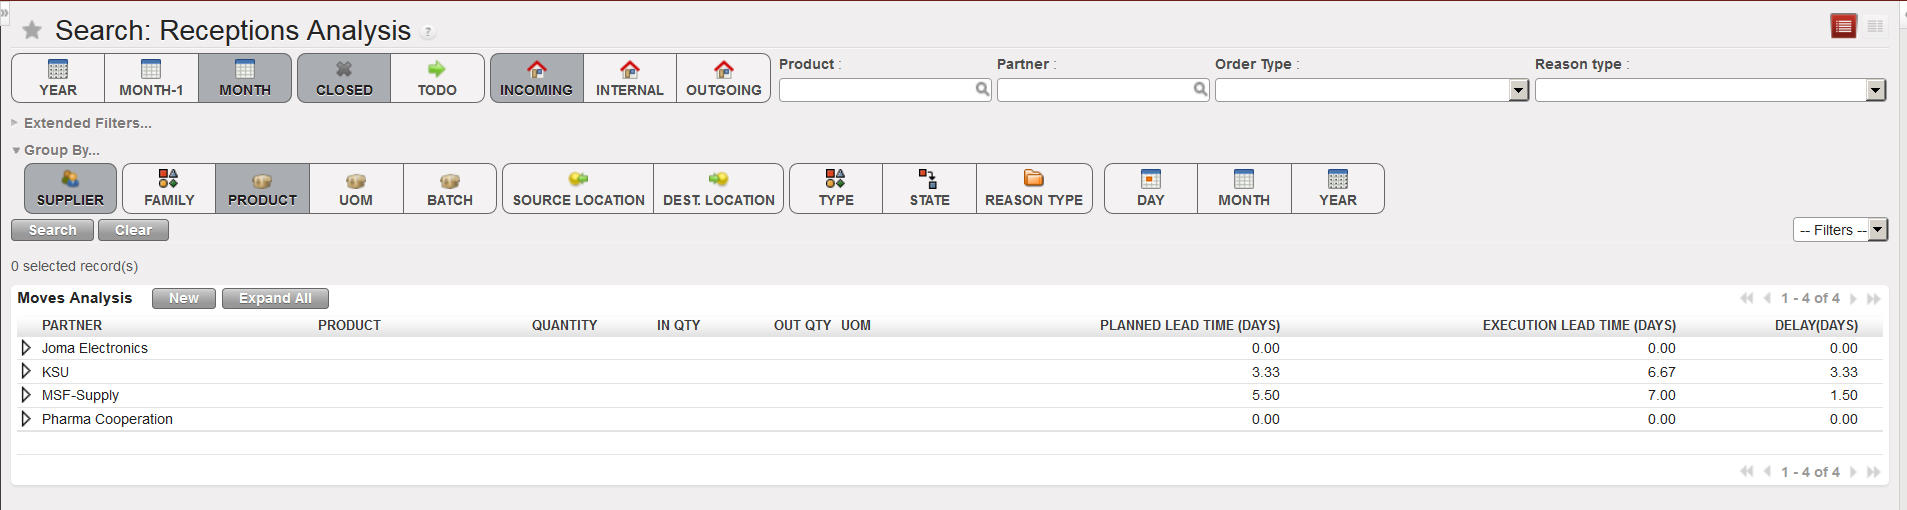
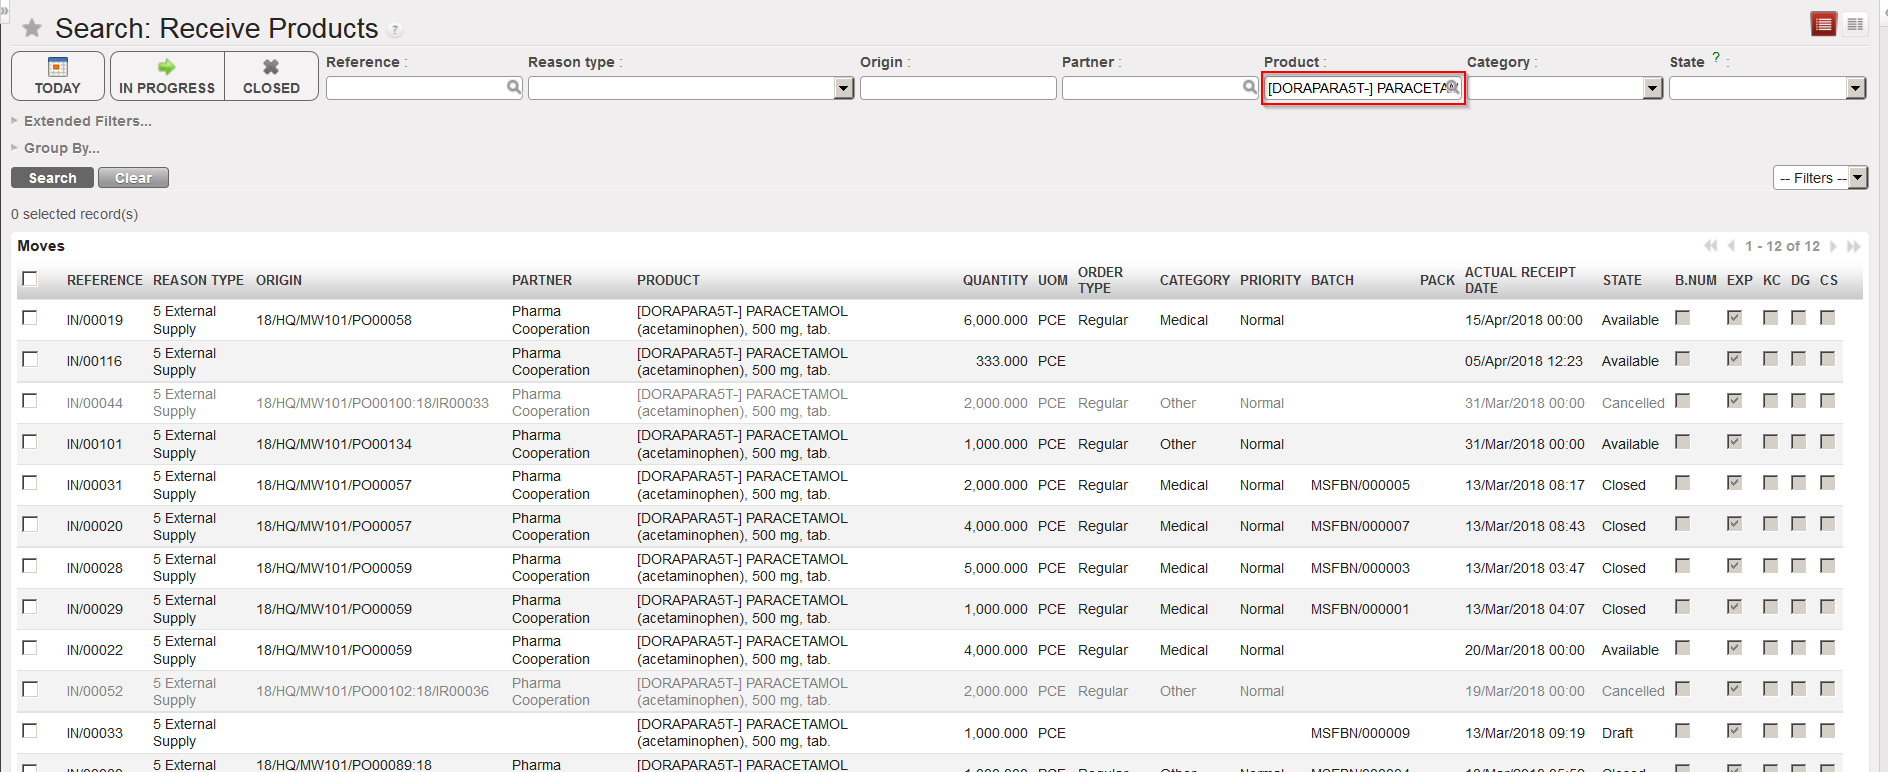
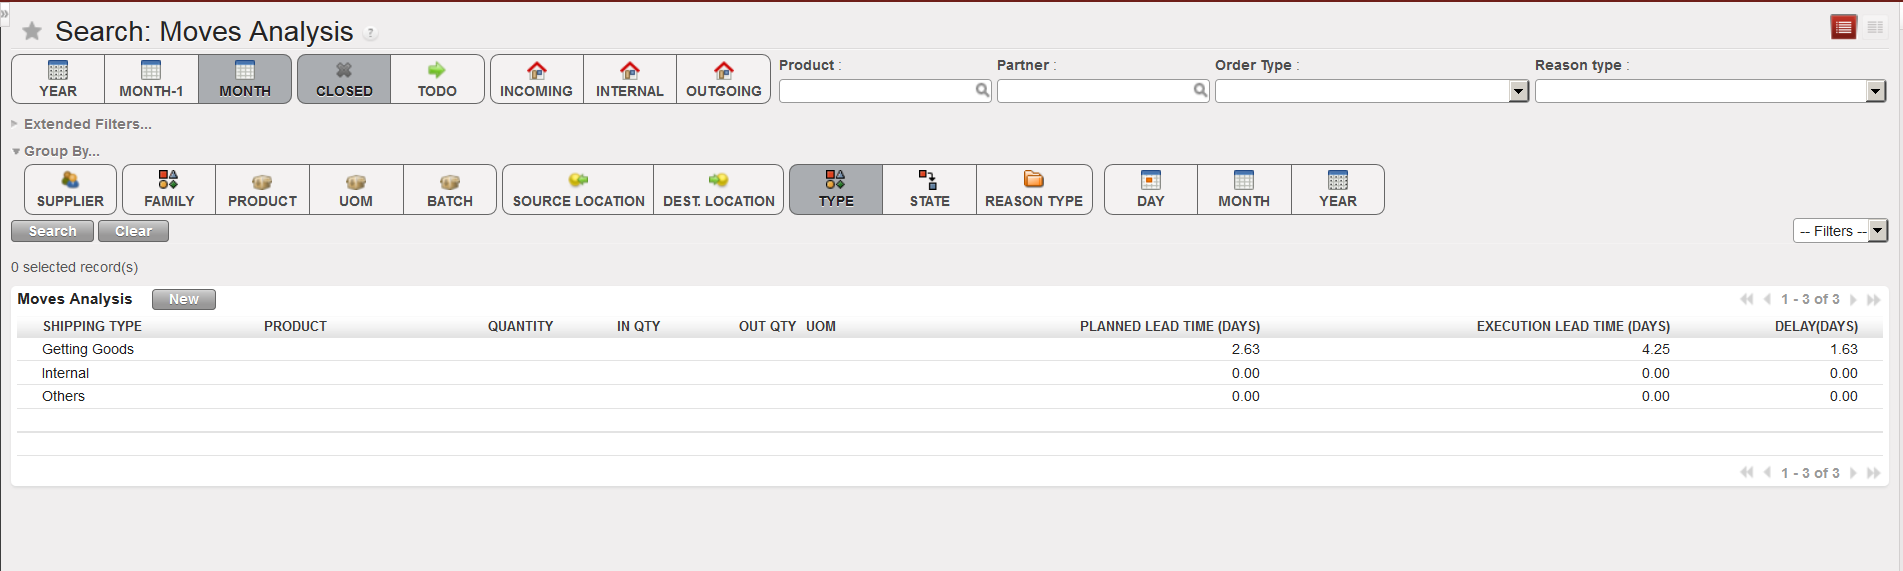
The “Move Analysis” functionality is another tool which allows investigating on all movements.
Go to: Warehouse / Reporting / Moves Analysis
|
|
|
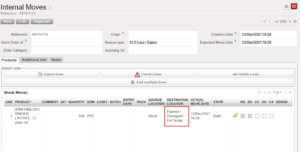
Move Analysis
|
- Clear the current filters by clicking on the “Clear” button.
- Use filters and “Group by” options to select which movements you want to see and how you want to see them.
- Click on the “Search” button.
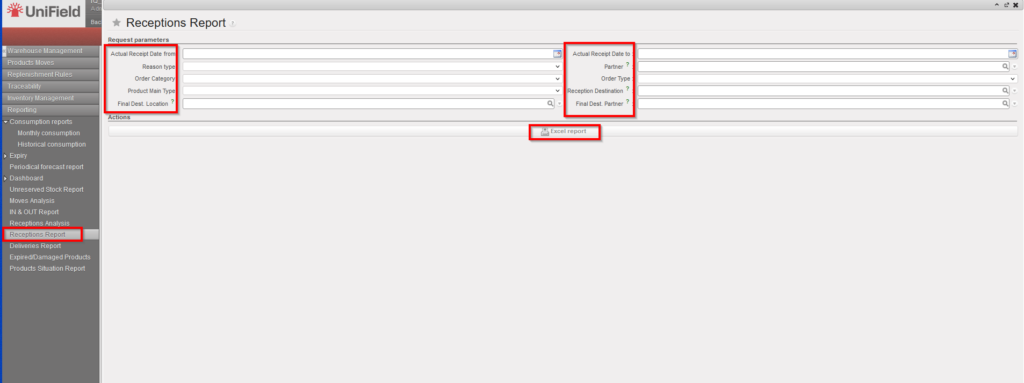
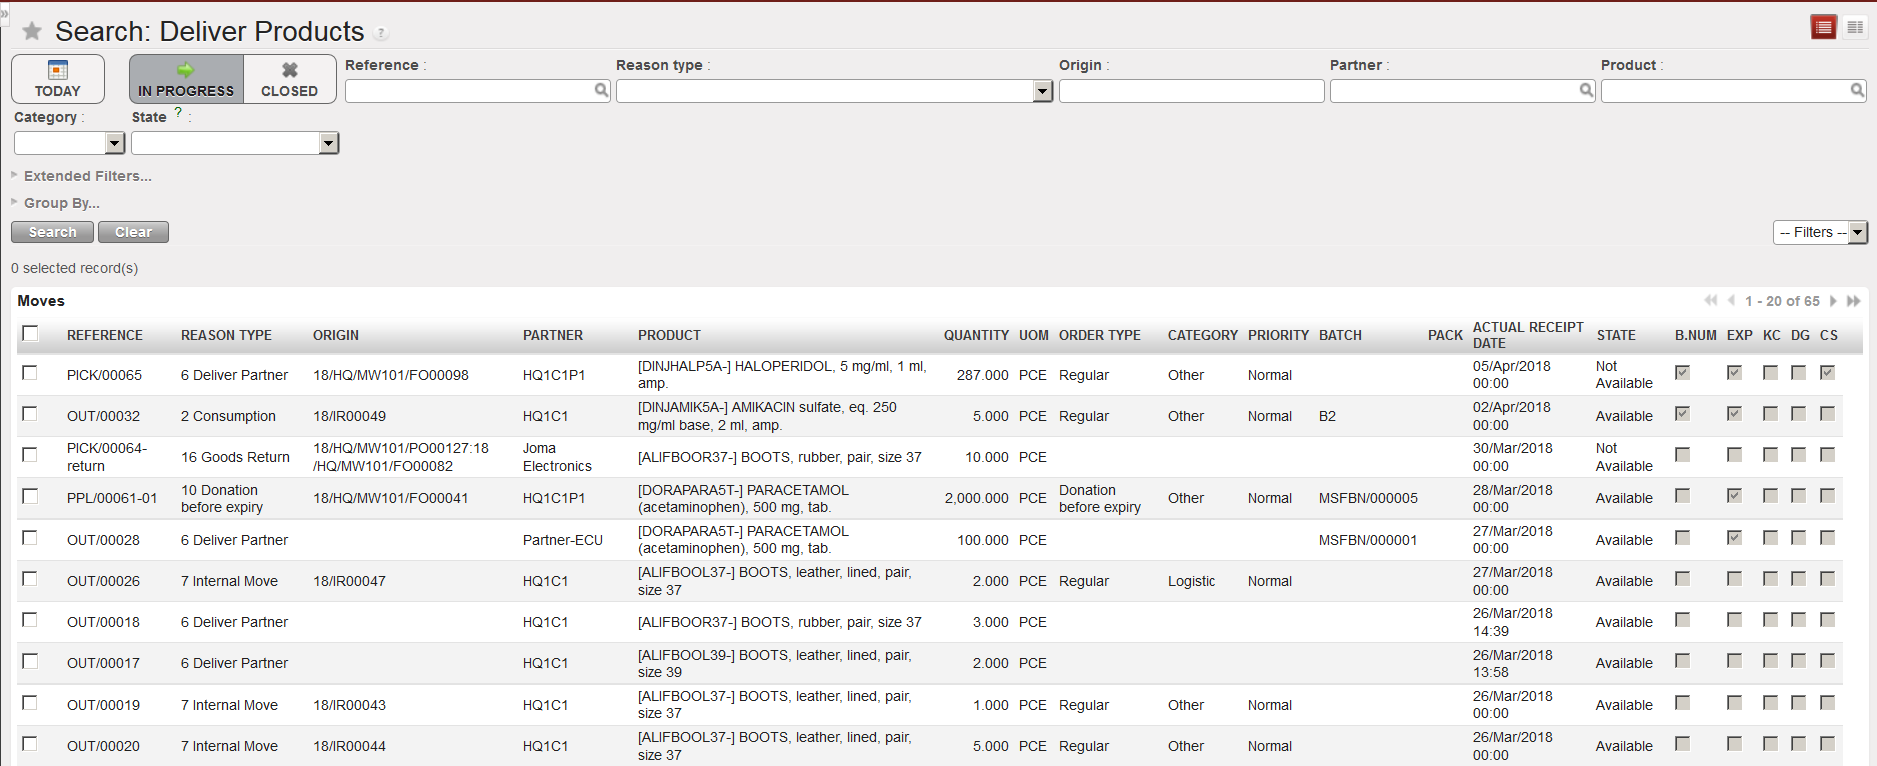
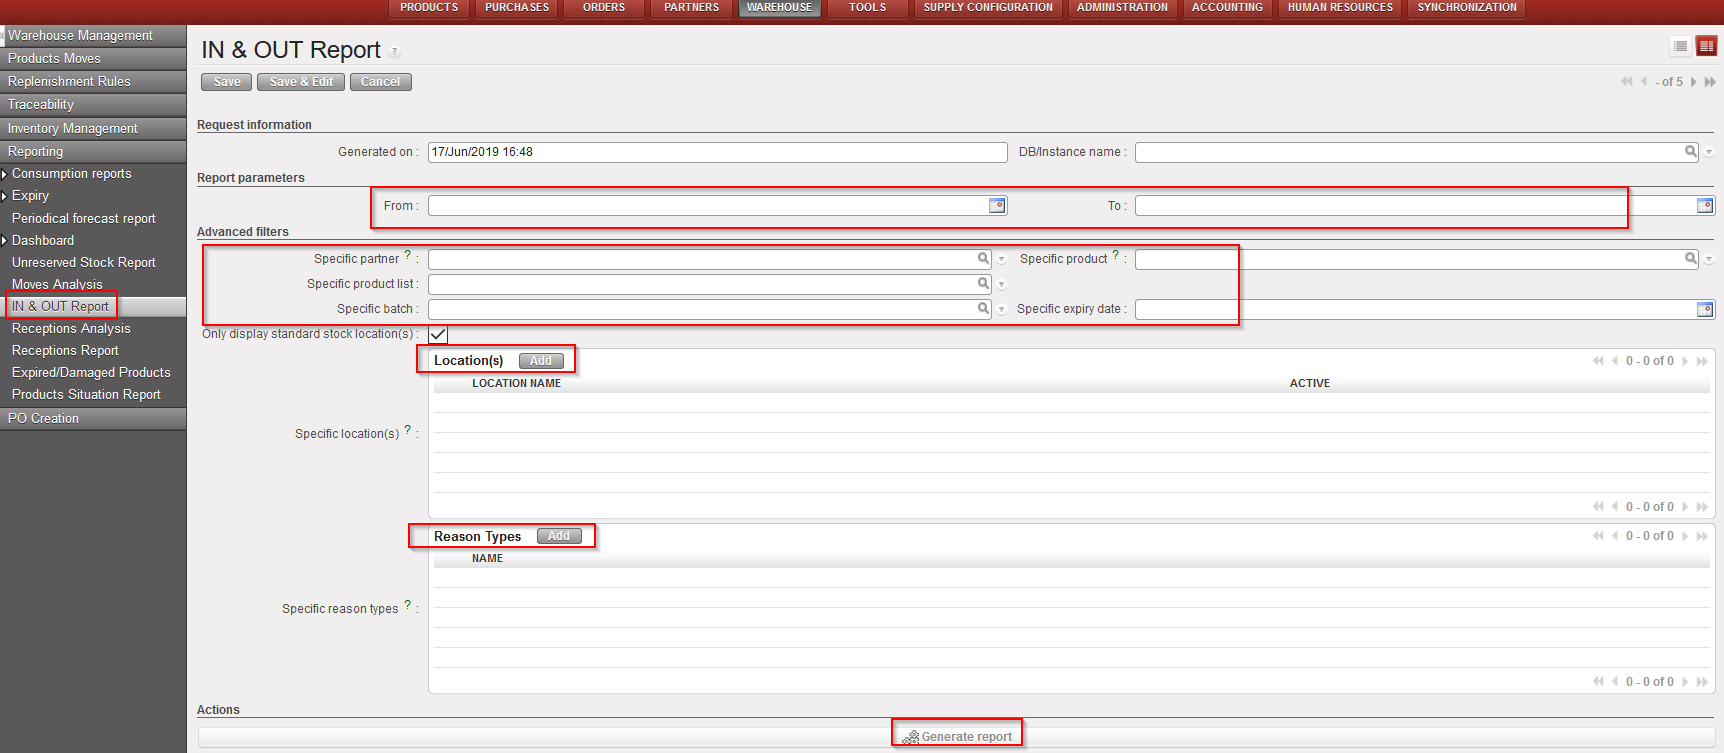
The “IN & OUT Report” (previously named “Export Moves analysis”) is producing a similar report based on several selection criteria but the report is generated in Excel.
Go to: Warehouse / Reporting / IN & OUT Report
1.Click on the “New” button.
2. In the selection screen, enter parameters for the movements selection:
a) By date: even though it is not mandatory and performance has been increased, it is still recommended to use this filter set on movement’s date.
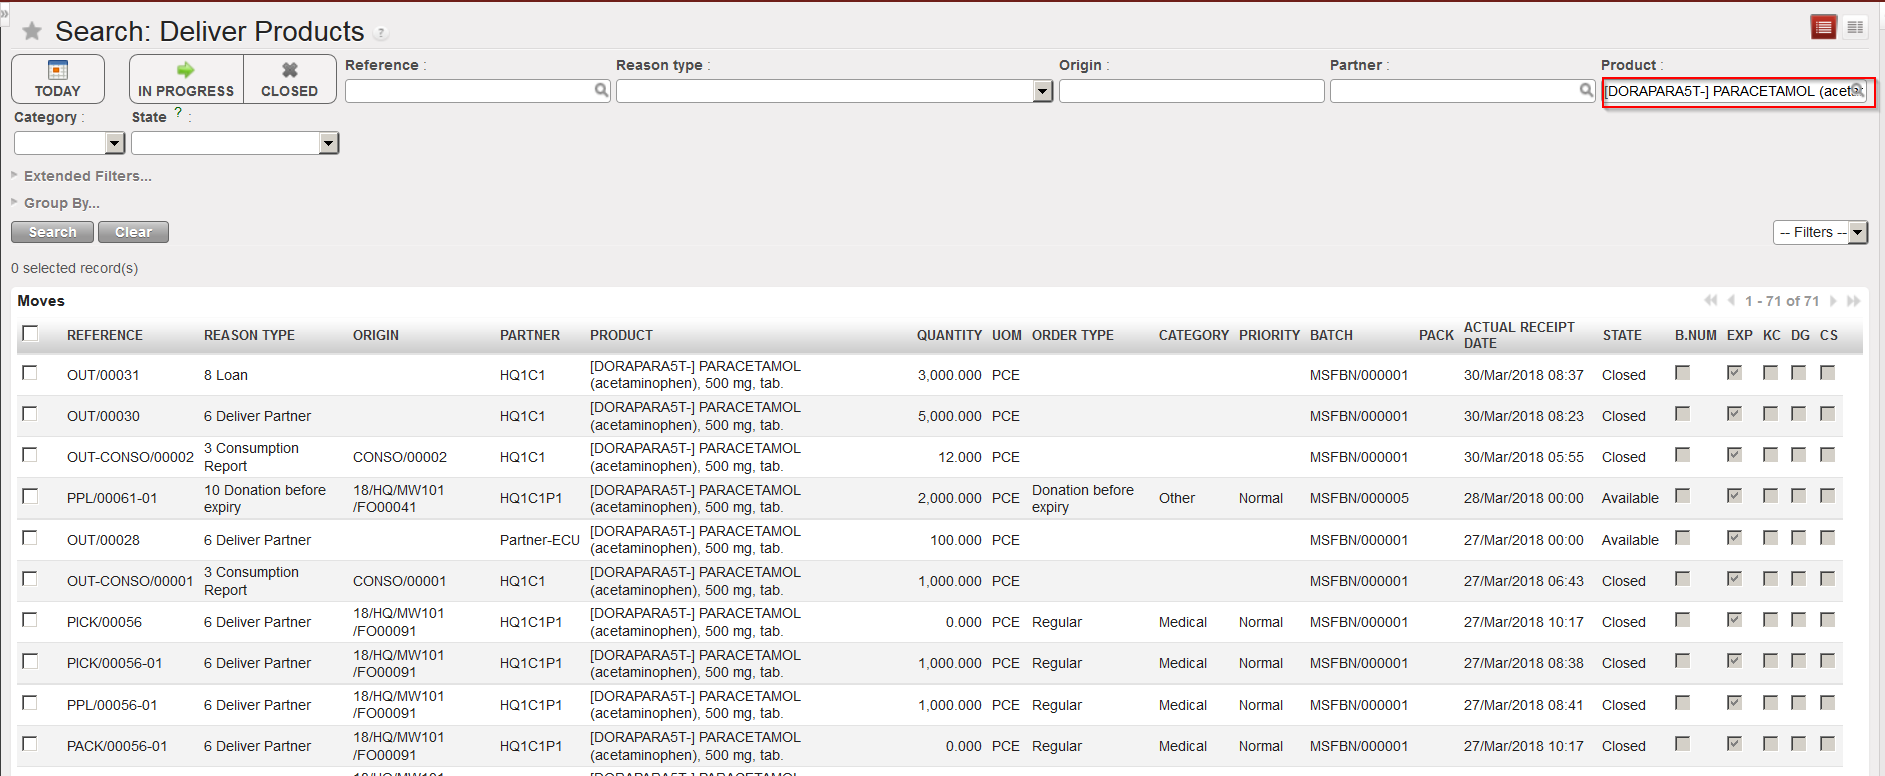
b) Advanced filters such as Partner, Product, Product list, BN or ED can also be used
c) Specific location can be selected: you have the option to select one, several or no location.
If no location are selected and the “Only display standard stock location” box is ticked, then movement between non-standard locations such as Input; Cross Docking; Packing, Shipment, Distribution and Quarantine will not be displayed. Note that even Deactivated location can be selected.
d) Reason type
|
|
|
IN & OUT Report
|
3. Click on the “Generate report” button.
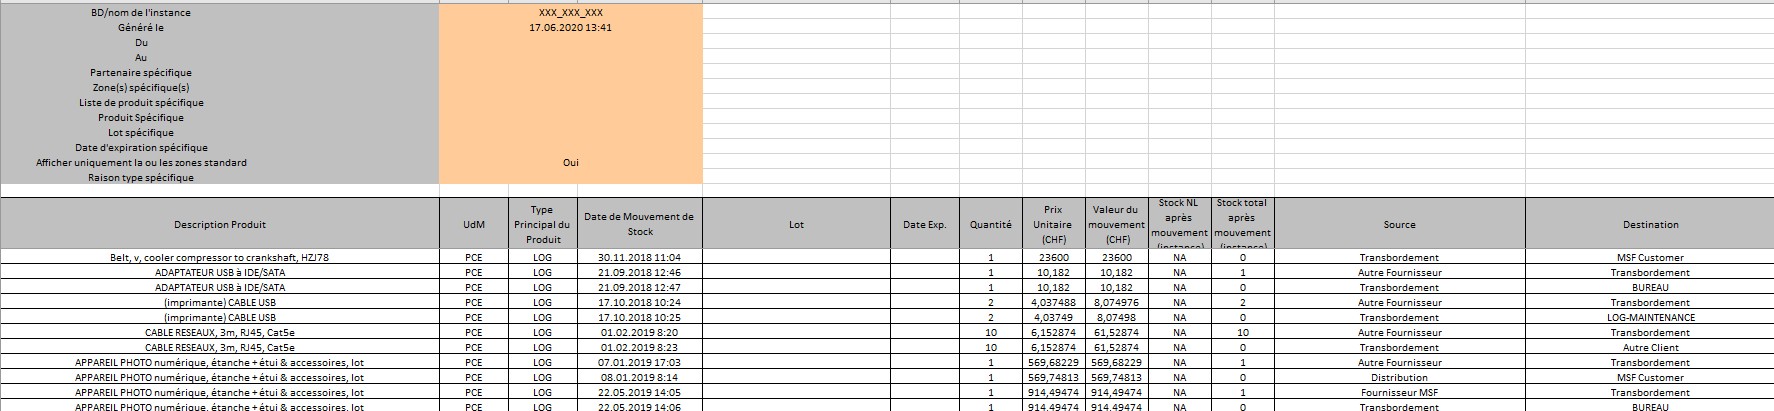
4. Open the Excel file via the action menu.
|

|
|
IN & OUT –Excel report generated
|
Please note that the “Total stock after movement” is done for all instance in case no location is selected while it will be per location-s selected if a/some location-s are selected (if several locations – quantities will be aggregated). The location will be indicated between brackets under the column header of “Total Stock…”.