Supply User Manual ENG -> 5. Warehouse -> 5.2 LU-SU4101: Incoming Shipments -> D. How to create an Incoming Shipment from scratch
D. How to create an Incoming Shipment from scratch
Most of the Incoming Shipments will be generated automatically after confirmation of the related PO (or PO-line). This is the standard process so that continuity can be kept between the different transactions.
However, UniField offers the opportunity to create Incoming Shipments from scratch for specific cases.
Go to: Warehouse / Warehouse Management / Incoming Shipments
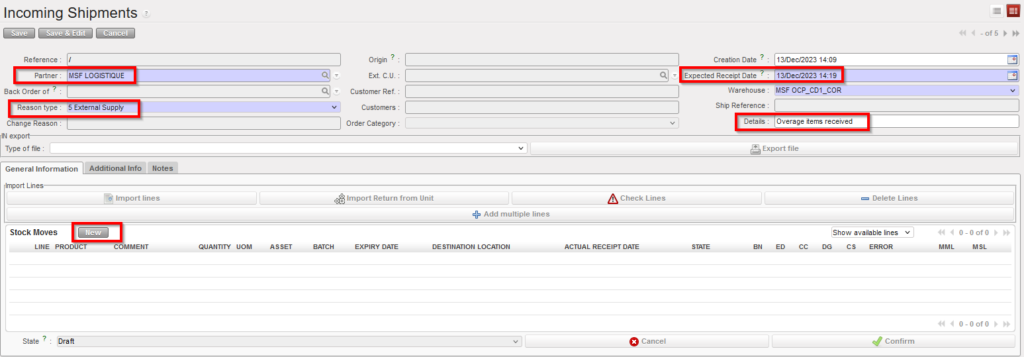
- Click on the “New” button.
- Enter an “Expected Receipt Date“.
- If relevant, enter a “Partner” (supplier) or the “Ext. C.U.” , Note that this field is only editable for IN from Scratch.
- Enter the IN’s name or if you have any info to explain the creation of the IN in the “Details” field, More detailed explanations can also be entered on the “Notes” tab.
- Check the “Reason type” and if necessary change it. (e.g Return from unit )
Note: three Reason types are available for incoming from scratch:
- 1 Internal Supply
- 4 Return from unit
- 5 External Supply
|
|
|
Incoming Shipment created from scratch |
6. Select Order Category .The default value is empty, and the user can select one of the following options: Logistic, Medical, Service, Transport, or Other.
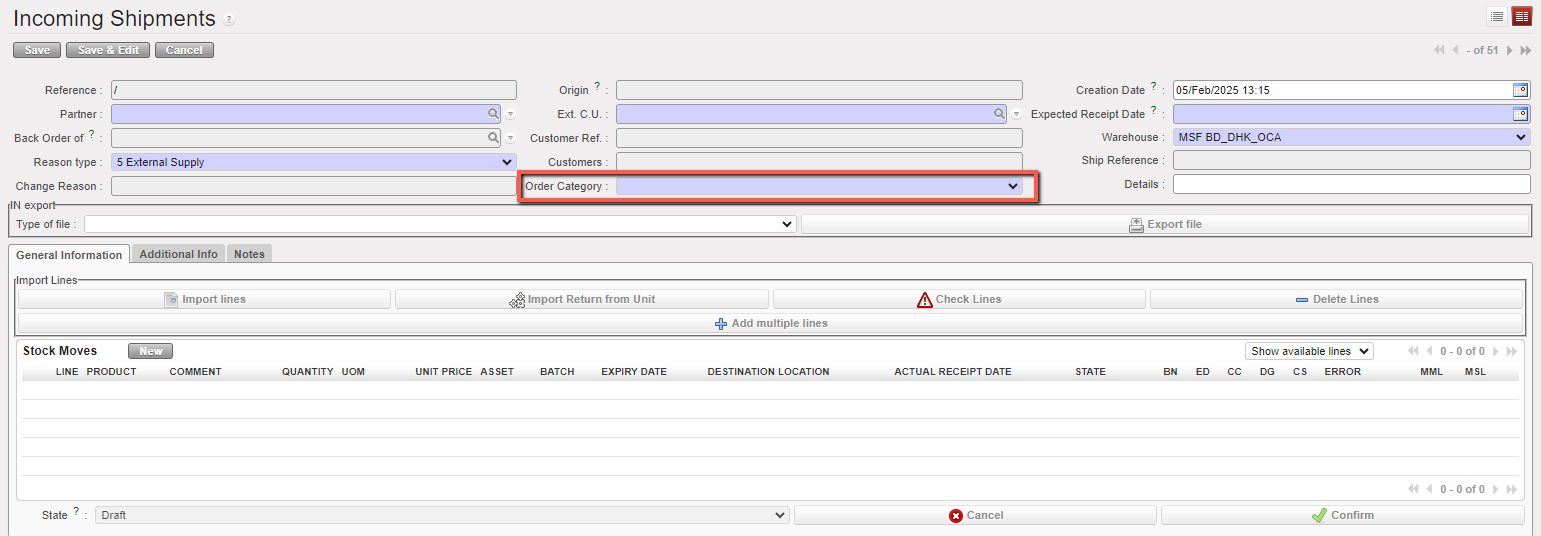
7. Add the products lines using the “New” button located on the top of the “Stock Moves” table (alternatively, you may use the “Add multiple lines” button to insert several lines at once).
If a product does not correspond to the selected category, the user will receive a non-blocking warning message.
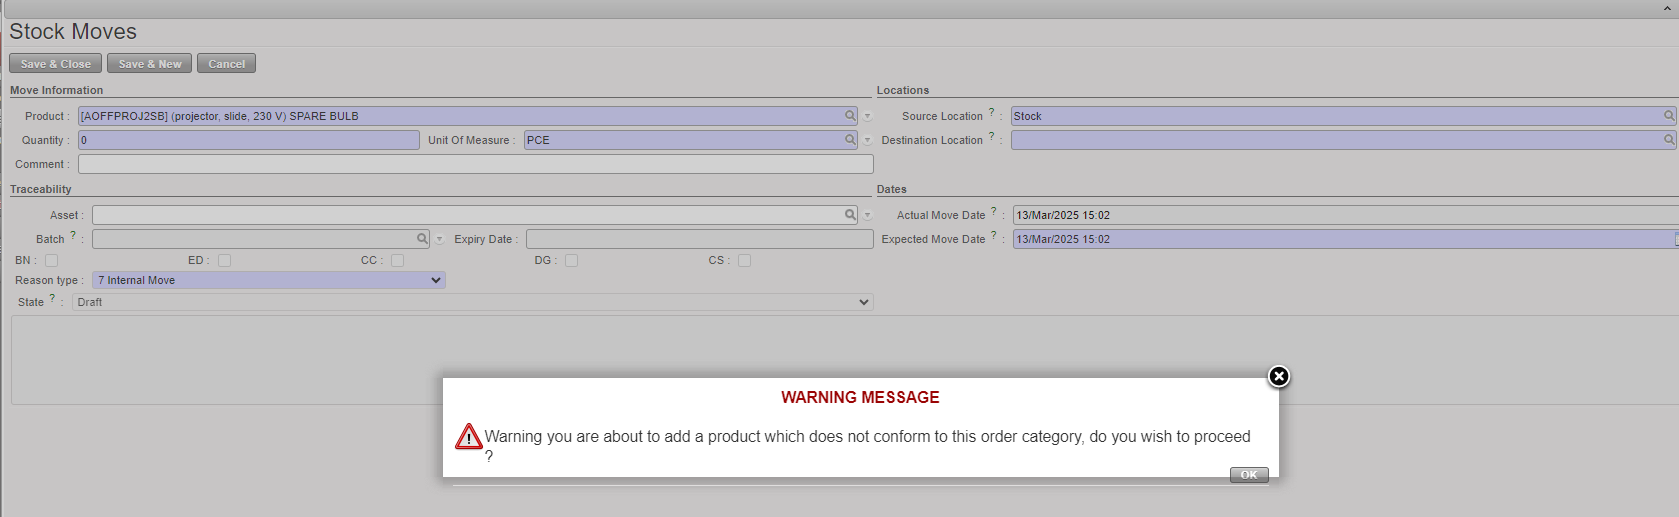
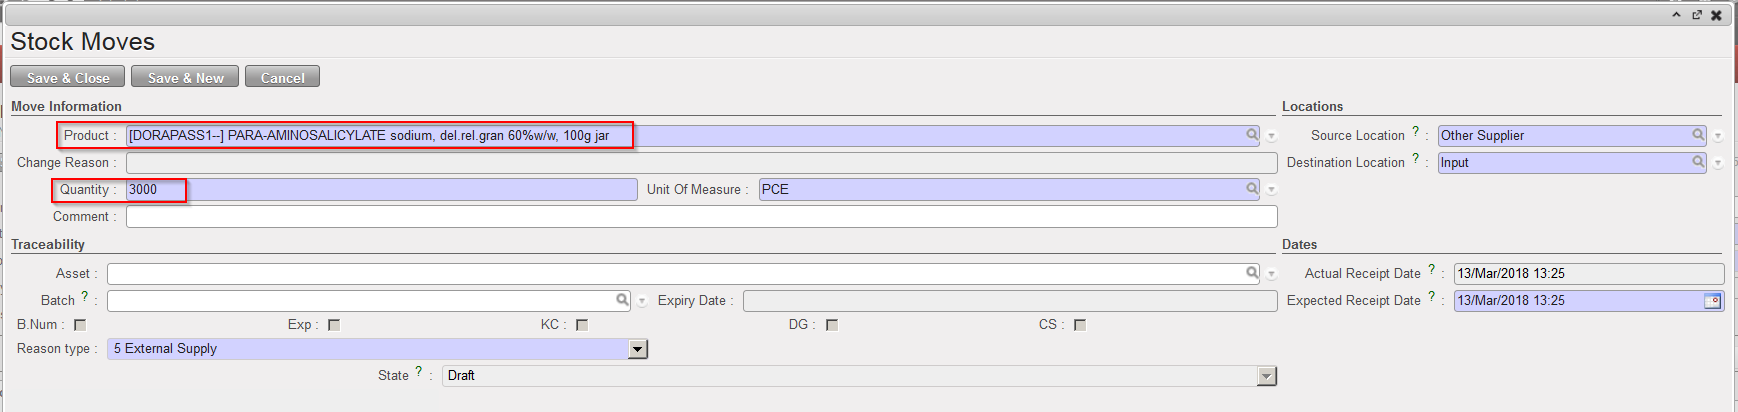
8. Enter product and quantity on the “Stock Moves” screen. The system warns you if the product is managed by batch number and/or expiry date.
9. Enter source and destination locations if needed.
10. Click on the “Save & Close” (or “Save & New“) button.
11. Repeat the steps from 6 to 9 for all the products that you wish to include in the Incoming Shipment.
|
|
|
Inserting a new line on an Incoming Shipment |
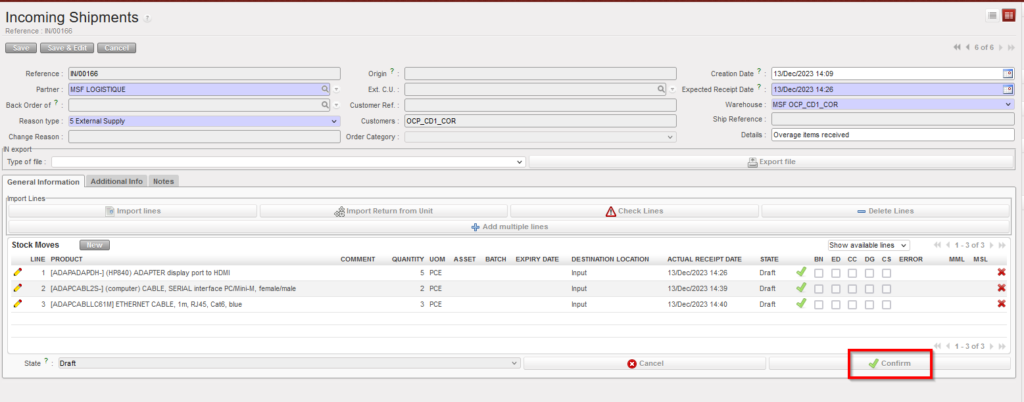
12. Confirm the Incoming Shipment by clicking on the “Confirm” button located at the bottom of the main IN screen.
|
|
|
Confirmation of an Incoming Shipment |
13. After confirmation, the Incoming Shipment switches to the state “Available“.
|
|
|
Incoming Shipment in state “Available“ |

Note:
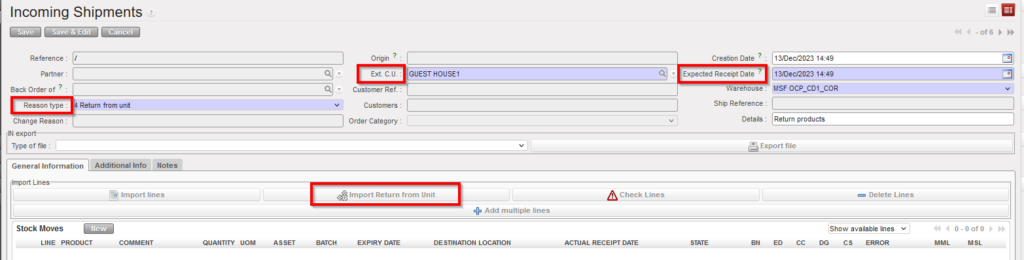
- The Reason type field is mandatory to be filled in the Incoming shipment from scratch, In case user chooses “Return from Unit” as a Reason type, Ext. C.U becomes mandatory to be filled, this is to be consistent with check already done if products are added via import.
- In case of the returns from external consumption units, there is a specific button for this import, and before the file can be imported, the header fields “Ext CU” and “Reason Type” and of course “Expected Receipt date” fields must be filled, Reason Type must be “Return from Unit”. The import file has a specific format, but the same checks are made as for the original import lines functionality. below screenshot showing the mandatory field to be filled and the bottom of Import Return from Unit.