Supply User Manual ENG -> 4. Procurement -> 4.2 LU-SU3101: Internal Requests (IRs) -> D. How to import lines on an Internal Request.
D. How to import lines on an Internal Request.
UniField offers several options for importing information on an IR, either from an Excel file (XML Spreadsheet 2003 format) or from a pre-encoded Product list.
First and historical option only include import of product lines information and requires having header information of IR to be populated manually in the system. The columns should be in this exact following order and spelling: Product Code*[1], Product Description, Quantity*, Cost Price, UoM*, Currency*, Comment.
 |
| IR Excel Import format and columns order |
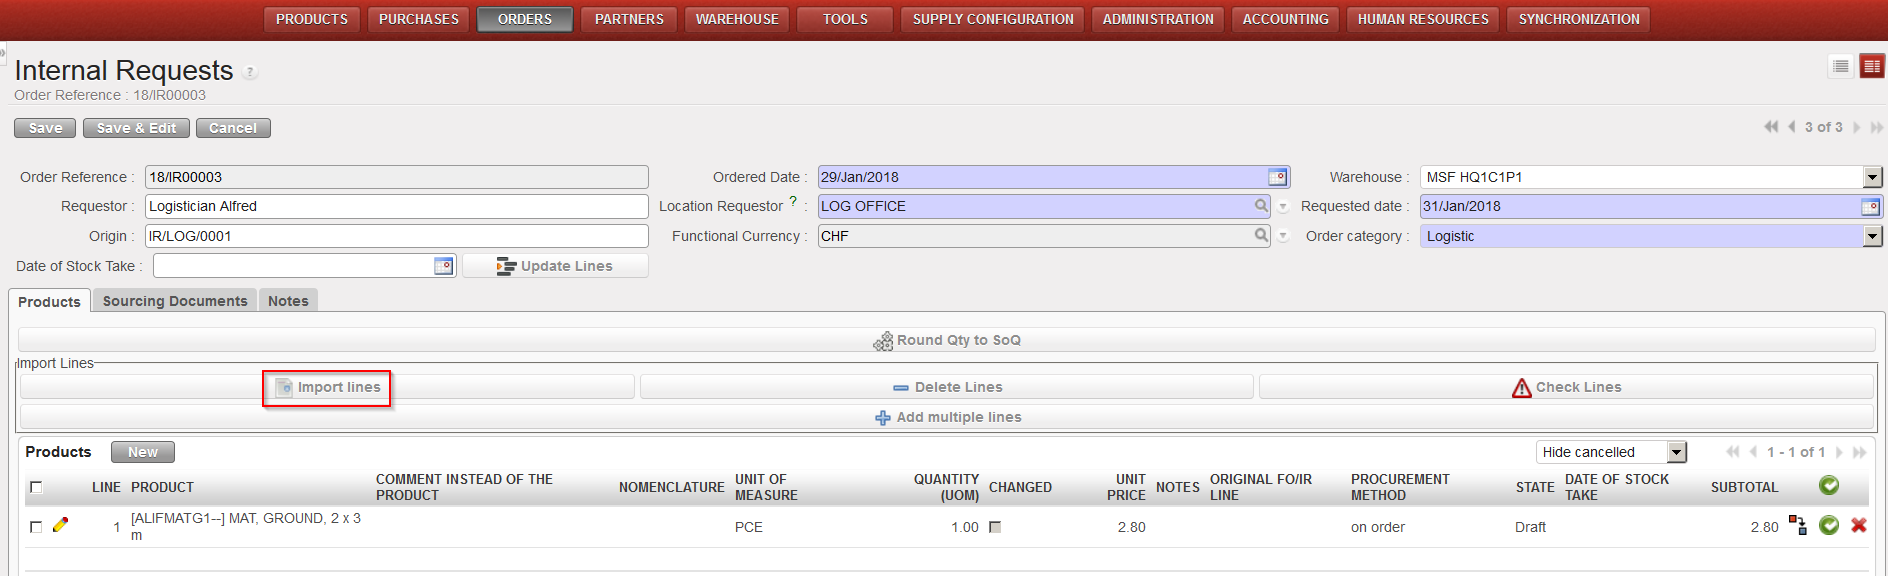
Option 1 (import lines): Go to: Orders / Orders / Internal Requests
- Create a new IR or open an existing IR (note that for an existing IR, this should only be done if the IR is in “Draft” or “Draft-p” status and saved first).
- Click on the “Import lines” button.
- Click on the “Add attachment” button then “Browse” and search on the computer for the file to import.
- Select the file you want to upload and click on “Open” in the browse window.
- Click on the “Import file” button to import the file, then click “Update” (Click again on “Update” if the process is not 100% complete). A message will indicate if lines have been imported successfully.
- Click on the “Close Window” button.
- Save the IR.
 |
| Importing lines on an IR |
The second option introduced with UF11 enables to import, additionally to product line, header information such as Order reference (in case of update), Order Category, Priority, Requested date*, Requestor, Location requestor*, Origin and Functional currency.
This import can only be done to create Draft IR or update existing Draft IR.
Option 2 (Import from IR Excel template): Go to: Orders / Orders / Internal Requests
- Click on the “Import from IR Excel template” link on the right action menu.
- Click on the “Add attachment” button then “Browse” and search on the computer for the file to import.
- Select the file you want to upload and click on “Open” in the browse window.
- Click on the “Import file” button to import the file, then click “Update” (Click again on “Update” if the process is not 100% complete). A message will indicate if lines have been imported successfully. Please note that if mandatory fields are not filled or incorrect, a non-blocking message will inform about it and correction can still be made on screen.
- Click on the “Validate Import” button.
- Save the IR.
Note that comments can also be imported in the IR if you populate the “Comment” column of the Excel.
Note that “product by nomenclature” lines can also be imported from Excel into an IR. Leave the “Product Code” (and “Product Description“) columns empty and populate the “Comment” column. Afterwards, use the “Configurator” icon to complete the line.
From the “Import from IR Excel template” import pop up, you can check the box “Change Product to a Comment if Product is not found” in case you need to import product by nomenclature.
To get a template of the correct Excel format needed, you may export an existing IR to Excel as explained below (see How to export lines from an Internal Request).
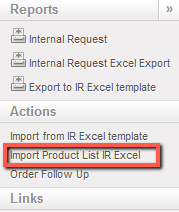
Option 3 (import from product list): Go to: Orders / Orders / Internal Requests
- Create a new IR or open an existing IR (note that for an existing IR, this should only be done if the IR is in “Draft” status). The header information of IR must be filled and saved.
- Open an action menu and select on “Import Product List IR Excel”.
- Click on the “Add attachment” button then “Browse” and search on the computer for the file to import.
- Select the file you want to upload and click on “Open” in the browse window.
- Click on the “Import file” button to import the file, then click “Update” (Click again on “Update” if the process is not 100% complete). A message will indicate if lines have been imported successfully. Please note that lines will be imported only if quantity is >0.
- Click on the “Close Import” button.
- Save the IR.
- *Indicates a mandatory field in the XML file. ↑
