Supply User Manual ENG -> 5. Warehouse -> 5.2 LU-SU4101: Incoming Shipments -> F. How to import lines into an Incoming Shipment
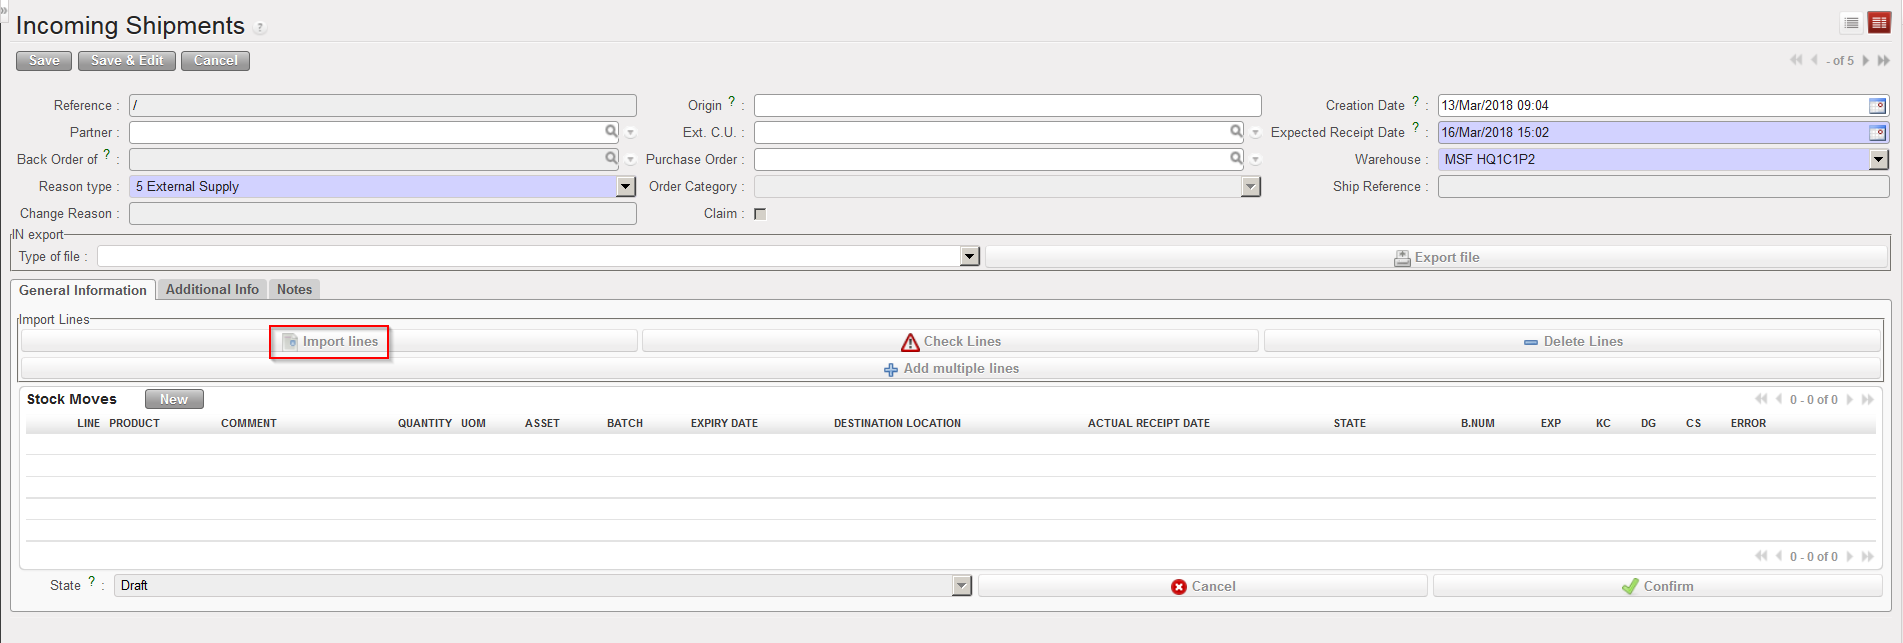
F. How to import lines into an Incoming Shipment
If an Incoming Shipment is created from scratch, rather than entering all the lines of the IN manually, you may also choose to import those from an Excel file. Note that this file should have the XML Spreadsheet 2003 format and be organized as below.
|
|
|
Excel format to import on Incoming Shipment |

Go to: Warehouse / Warehouse Management / Incoming Shipments
- Click on the “New” button.
- Enter the header information on the IN.
- Click on the “Import lines” button.
|
|
|
Importing an Excel file on an Incoming Shipment |
4. Click on the “add attachment” button.
5. Click on “Browse” and select on your computer the file you wish to import on the Incoming Shipment. Note that from this screen (Import of lines) if you click on the “Save as” button, you will be able to generate a template of file which can be imported on INs.
6. Click “Open“.
7. Click on the “Import file” button.
8. Click on the “Update” button until the “% completed” bar reaches 100%.
9. Check the result of the importation under “Information“.
10. Click on the “Close window” button.
11. The system displays the main IN screen with the imported lines.
|
|
|
Excel file imported on an Incoming Shipment |
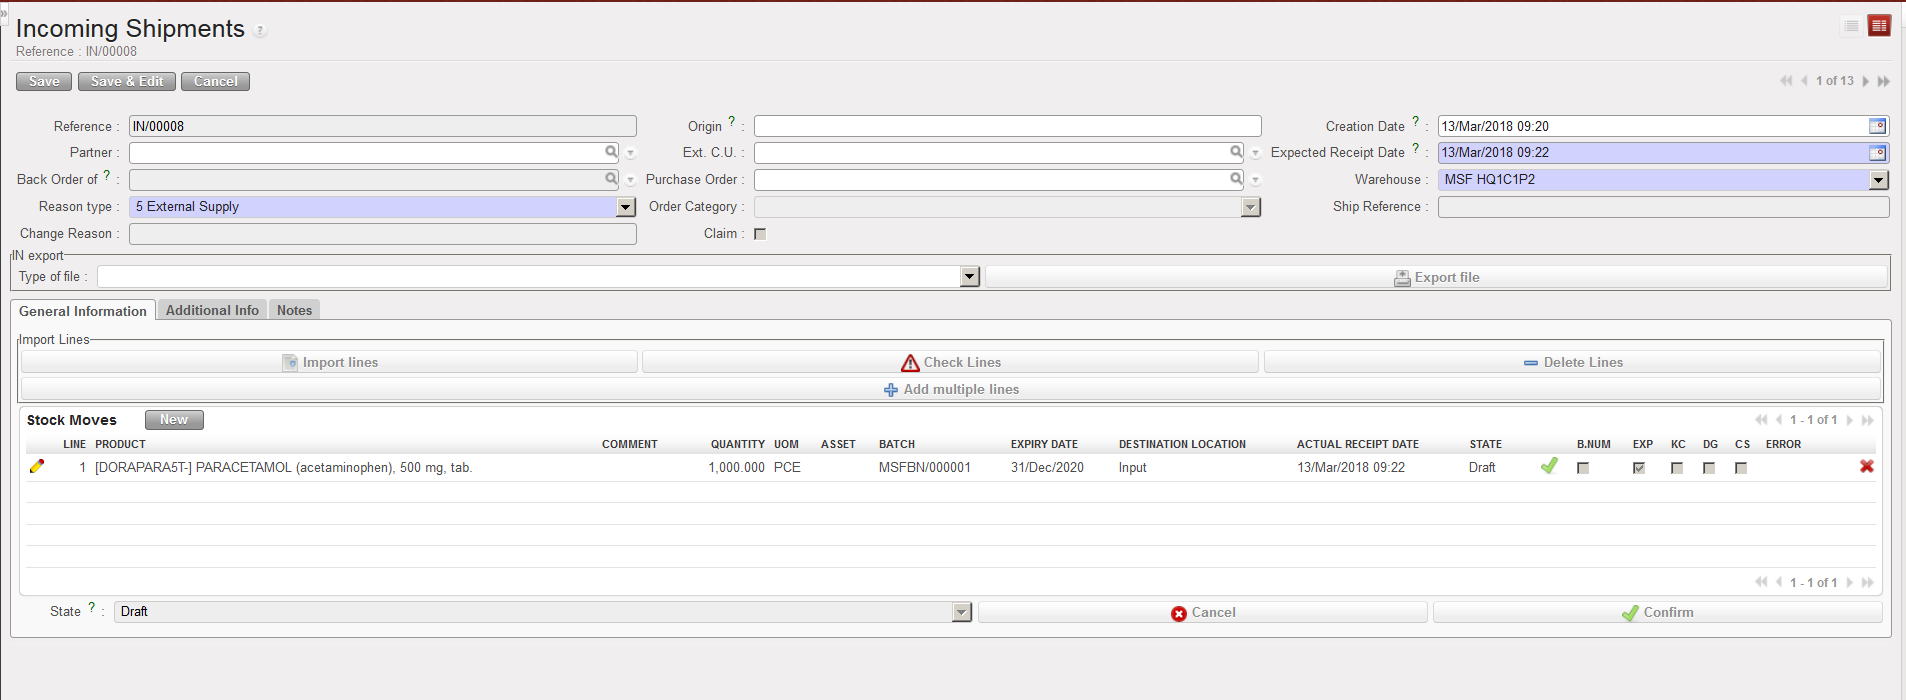
Note that the imported file may include BN and ED of products (according to the settings of the products defined on the PMD sheet). If this is done, batch numbers will be created on the instance and be visible through Warehouse / Traceability / Batch numbers. As we will see later in this LU, batch numbers are actually master data as they can be reused on other transactions.
