Finance User Manual ENG -> 4. Imports -> 4.3 Budgets. -> LUFI-40302 Budget Reports
LUFI-40302 Budget Reports
LU Introduction
In UniField you can produce a set of reports depending on the data you need to check. For each report type, we explain which data they show and the function you should use to generate them.
Under the {Actions} menu on the right hand side bar, {Budget Status} allows you to have a quick overview of the budget status. Only validated Budget are displayed. By clicking on any budget, you will be able to drill down into the budget details: you will be able to see the budget, actual and balance amounts on a parent account or account level. By clicking on an account, a new window with related AJIs will be displayed.

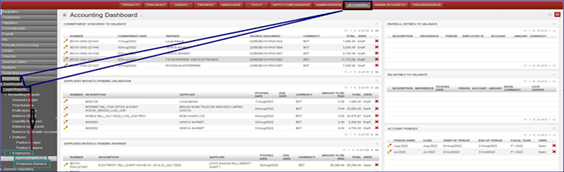
Budget Status in {Actions} menu
For budget follow-up, you can generate the following budget reports located under the Reports menu on the right hand side bar.
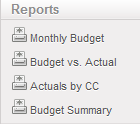
Action Menu Budget Report Options
How to Produce a PO Impact on Budget Report
Before a PO is validated, Supply and Finance users with the appropriate user rights can check the current status of the budget against actual expenses plus outstanding confirmed POs.
Go to: Purchase
Select the relevant PO and open the {Reports} Menu.
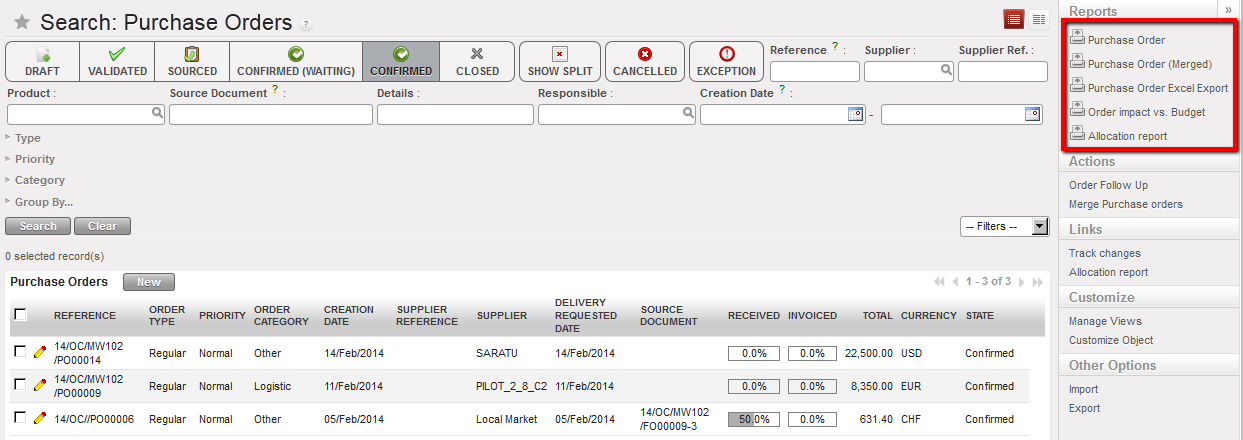
Order impact vs Budget report functionality
Select {Order Impact Vs Budget}
A PDF report will display
The PDF will show the impact of the PO on the budget in functional currency.

Order impact vs Budget report
In this example the order is worth 17’532 and is allocated to one cost center MW COORDINATION.
All amounts presented are in functional currency
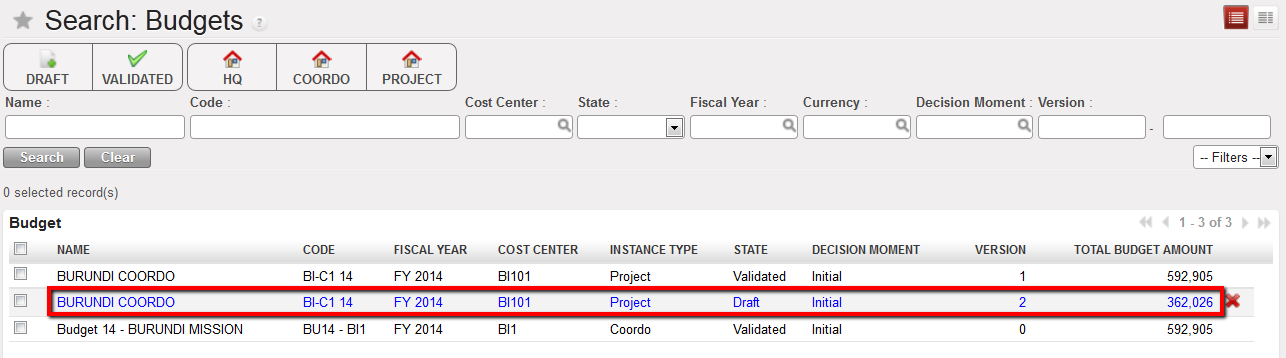
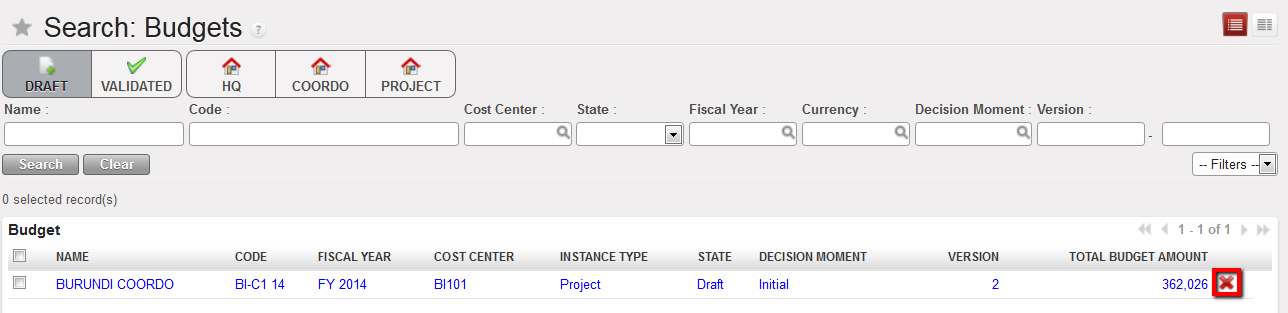
- {Budget amount} is retrieved from the budget uploaded in the system and corresponding to the cost center the PO was assigned to. If several versions of a budget have been uploaded, the report will pick the latest version (highest number) that is not {Draft}.
- {Actuals amount} are expenses already recorded; this column also includes pending commitments which are confirmed but not validated POs.
- {Remaining budget} is a calculated column equal to “Budget amount – Actuals amount”.
- {PO amount} is a subtotal by cost centers, expenses accounts and destination. To retrieve these figures, the system takes the analytic distributions defined at header / line level as well as expense accounts linked to each product / product category and destination.
- {PO impact} is a calculated column equal to Remaining budget – PO amount.
How to Produce a Monthly Budget Report
{Monthly budget}, XLS and PDF: this monthly report shows a breakdown of budgeted expenses. This actually reflects the budget displayed on your screen.
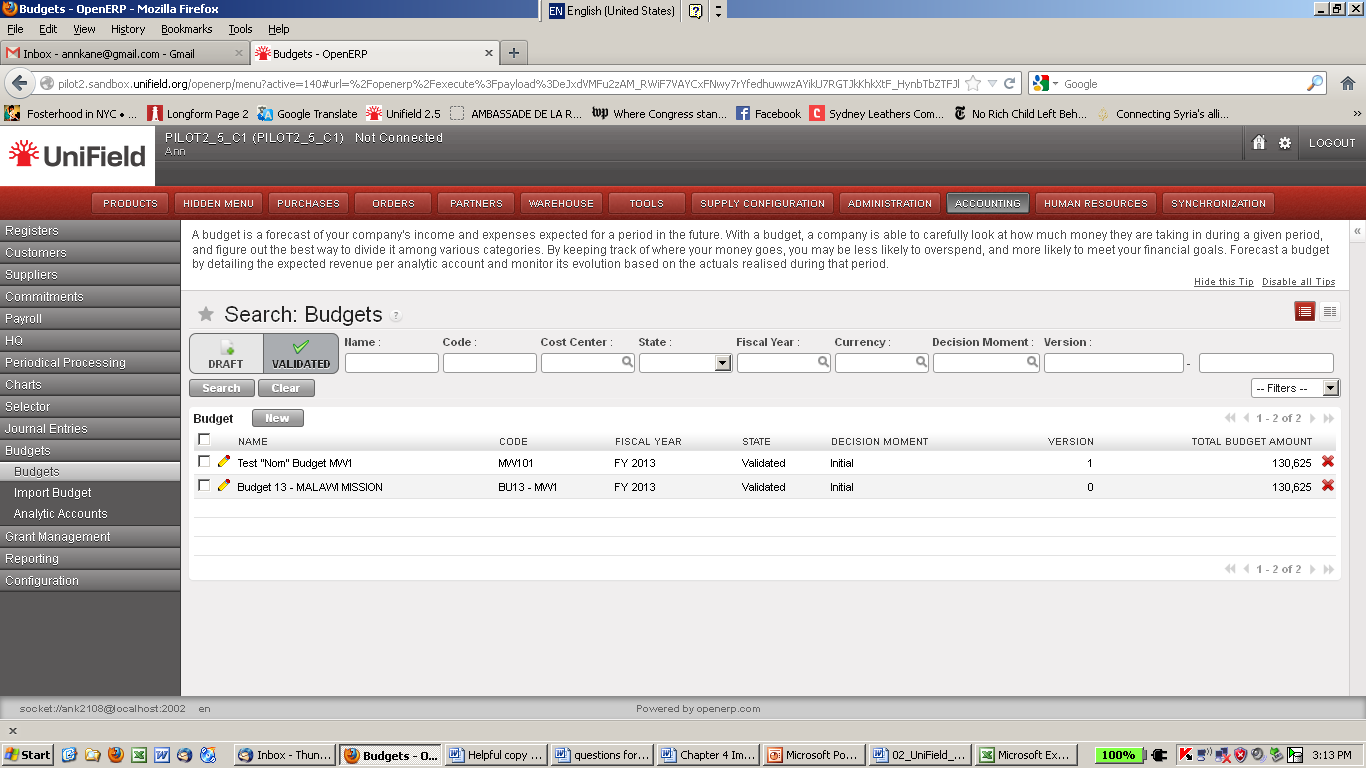
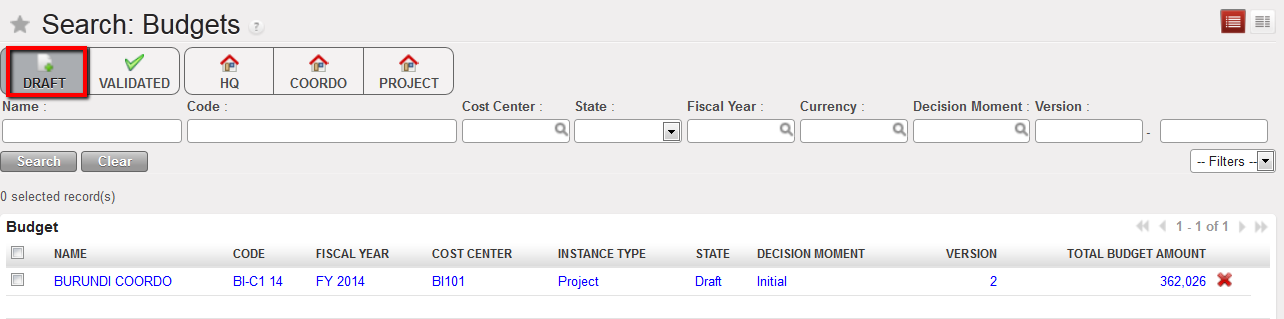
Go to Accounting/Budgets
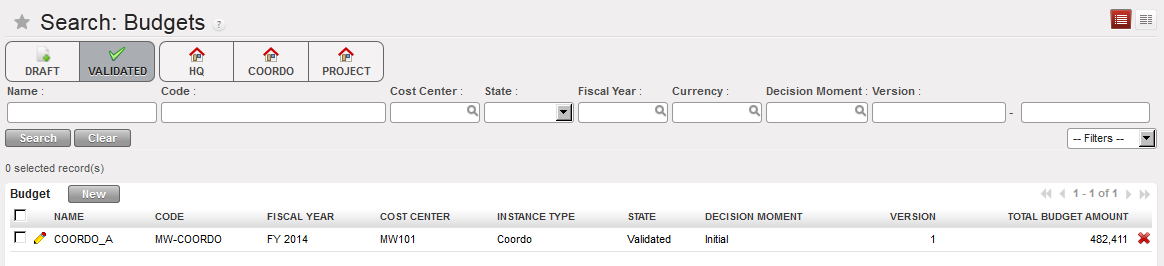
A list of validated budget appears.
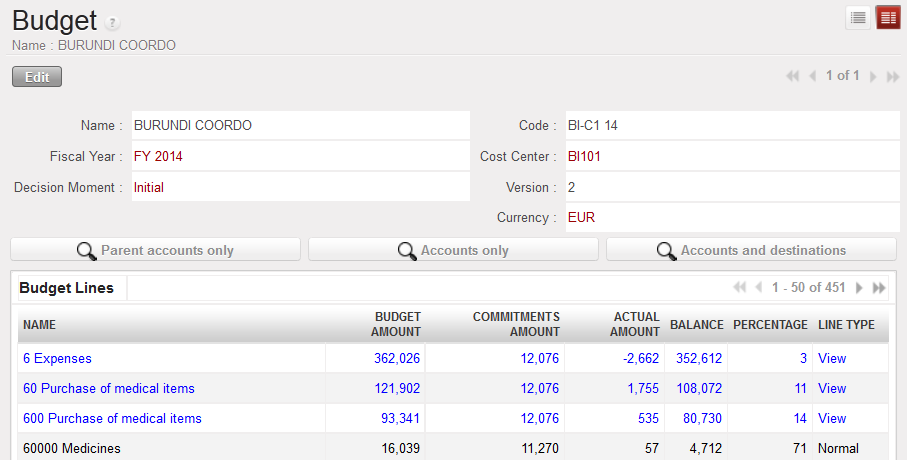
- Select a budget to open in Form view
The budget displays in Form view and a list of reports displays in the right-hand side menu.
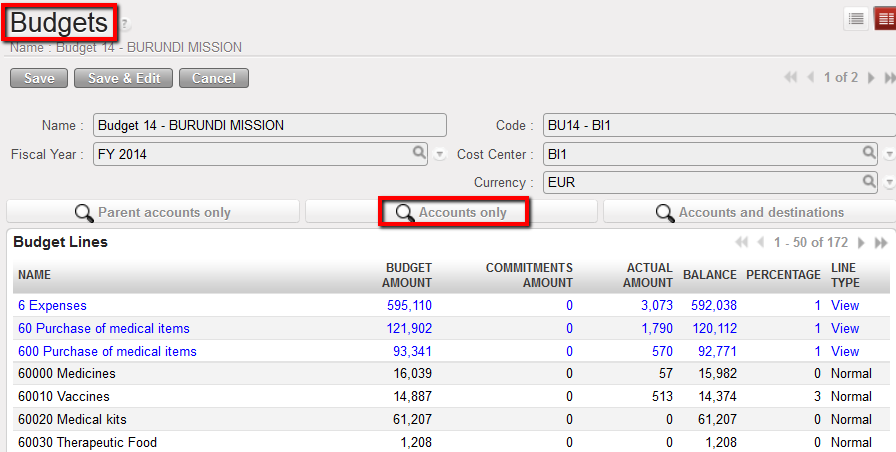
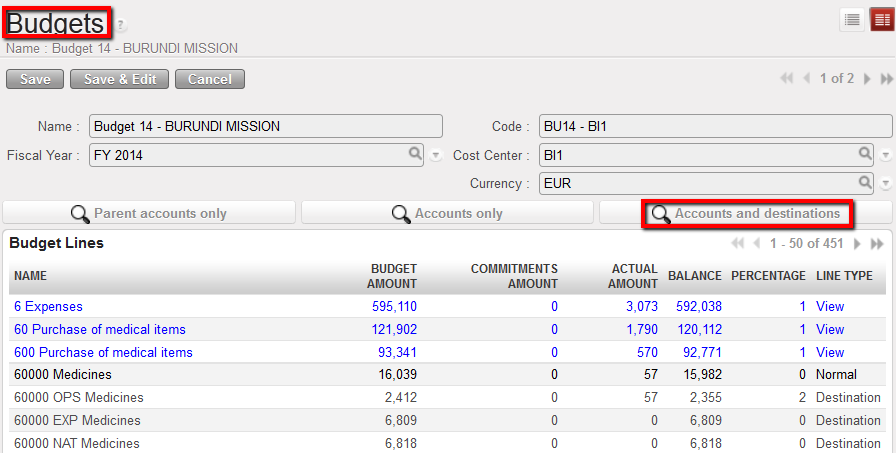
- Select a budget display type: parent only, account only or account and destination.
- Select {Monthly budget}, XLS and PDF:
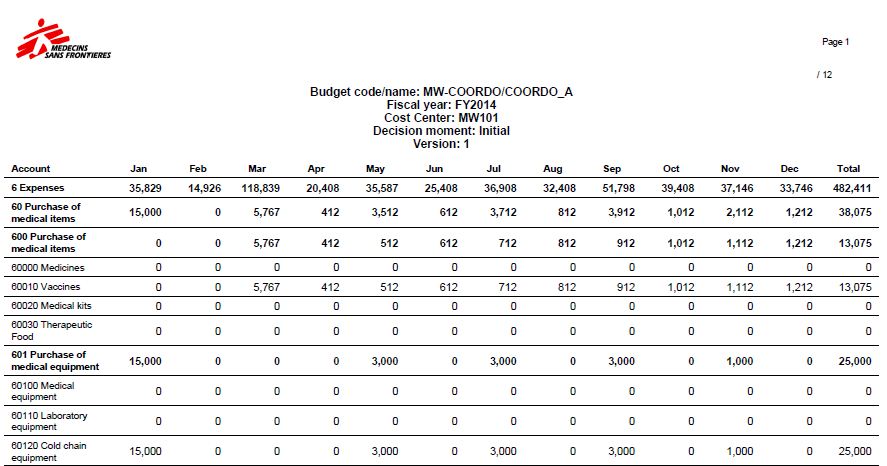
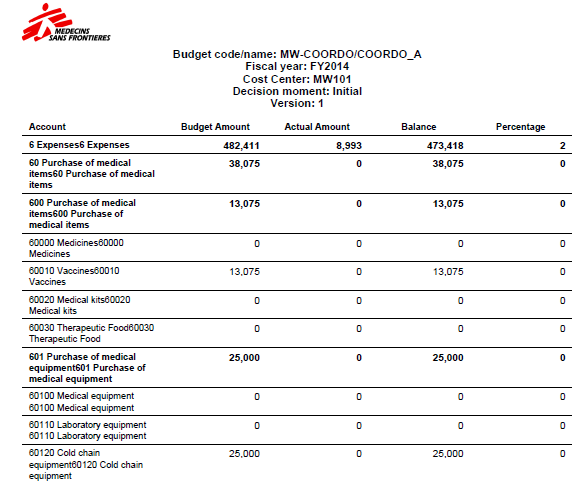
Monthly Budget PDF– Expenses only
How to Produce a Budget vs. Actual Report
{Budget vs Actual}: this report shows a breakdown of budgeted vs. actual expenses (including commitments). You can choose to display the total figure or monthly figure. This is the most complete report designed to follow-up on budgets.
Go to Accounting/Budgets
A list of validated budget appears.
Select a budget to open
The budget displays in Form view and a list of reports displays in the right-hand side menu.
Select a budget display type: parent only, account only or account and destination.
Select {Budget vs Actual Report}
Select from the following criteria:
- Currency table: to value budget and actual at budget rates provided by a donor
- Year-to-date or full year figures,
- Include or exclude pending commitments
- Expenses display granularity: By expense and destination, by expense, by parent account
- Monthly or total figures: Depending on the variances analysis you want to perform.

Budget vs Actual reporting options
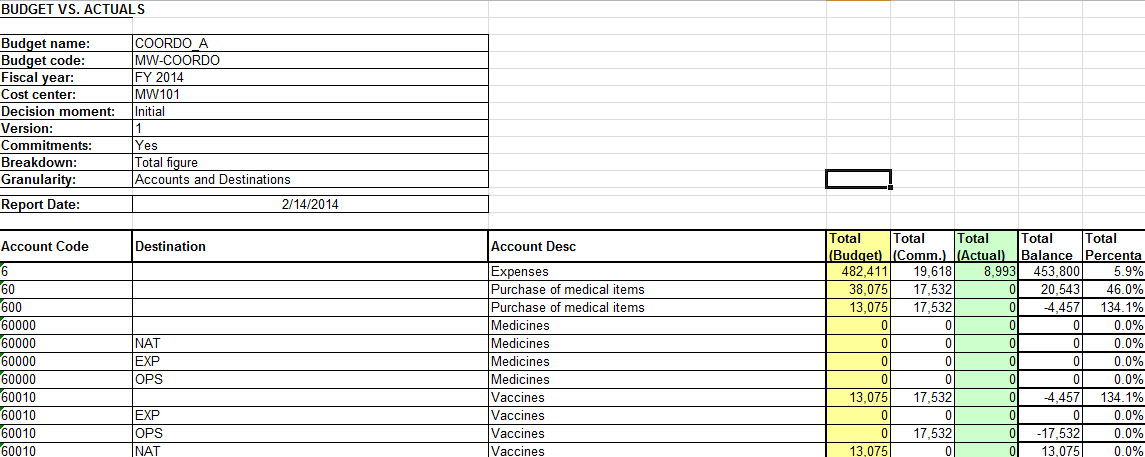
Budget vs Actuals (Accounts only)
How to Produce an Actuals by Cost Center Budget Report
{Actuals by CC}, CSV: this monthly report displays a breakdown of actual expenses per cost center (by expense accounts only). Actual expenses are split into actual, commitment and accruals.
Go to Accounting/Budgets
A list of validated budget appears.
- Select a budget to open
The budget displays in Form view and a list of reports displays in the right-hand side menu.
2. Select a budget display type: parent only, account only or account and destination.
3. Select {Actuals by CC}
4. Select the following parameters as needed:
- Currency table is optional and allows the user to apply a currency table that defines the donor currency in the report.
- Cost Centers is used to select the projects for analysis. It is designed to be imported in a budget follow-up matrix or to produce costs follow-up reports.

Actuals by CC – report parameters
5. Confirm the opening (CSV or PDF)
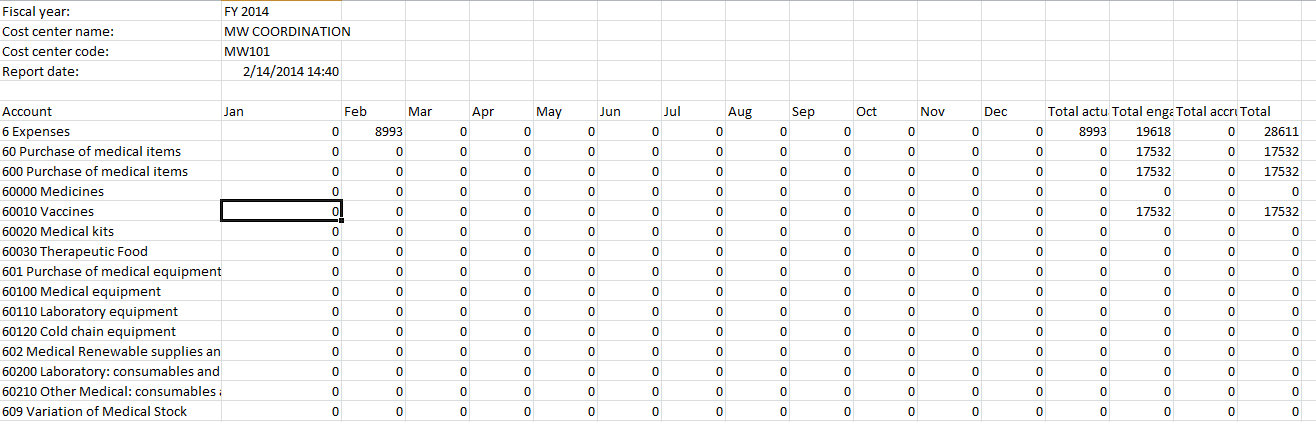
Actuals by CC – Expenses only
How to Produce a Budget Summary Report
{Budget Summary}, PDF: this report shows the total figure of budgeted vs. actual expenses (including commitment). It also informs on the remaining budget and budget consumption rate.
Go to Accounting/Budgets
A list of validated budget appears.
- Select a budget to open in {Form} view
The budget displays in Form view and a list of reports displays in the right-hand side menu.
- Select a budget display type: parent only, account only or account and destination.
- Select {Budget Summary} PDF


 List of draft HQ entries displayed in the {HQ Entries List} Search view
 {Validation} action
 {HQ Entries Validation} wizard
 Validated HQ entries displayed in {Journal Items} Search view
 Validated HQ entries displayed in {Analytic Journal Items} Search view
 Corrections History viewed from the Analytic Journal Items
  List of draft HQ entries displayed in the {HQ Entries List} Search view
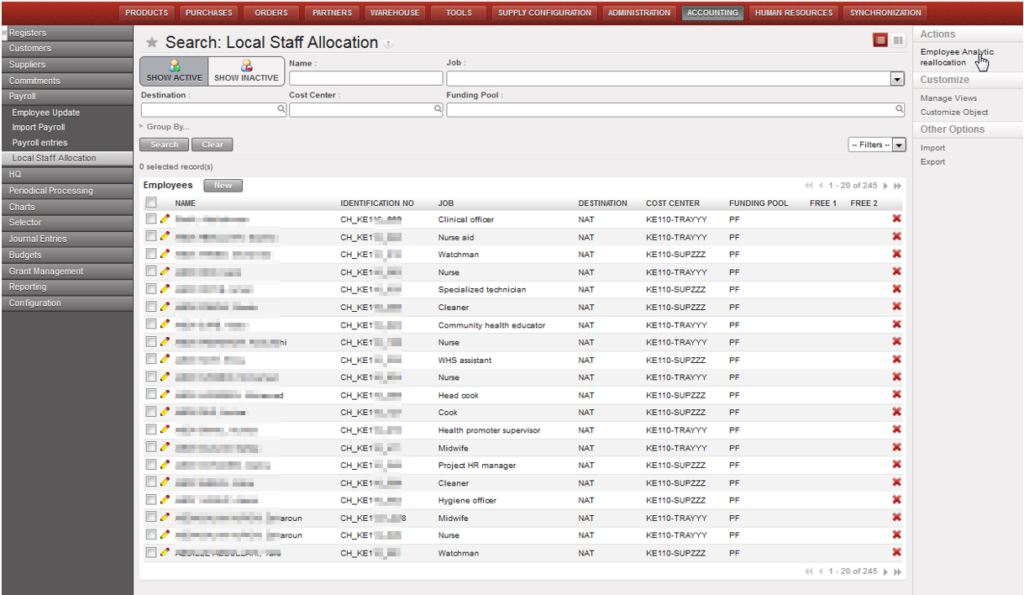
 {Analytic reallocation} action
 {Analytic reallocation} wizard
 Entries with invalid analytic distribution in red displayed in the HQ Entries Search view
 {Change Account} action
 {Change Account} wizard
 List of draft HQ entries displayed in the {HQ Entries List} Search view
 Editing an HQ entry
 {Other staff costs} account set as not correctable by HQ
 Account changed from 64100 to 64110


 HQ entries mass or individual validation at coordination will trigger one Journal Item per HQ entry. There will be no more entry sequences containing several HQ entries in the same sequence. (one entry sequence per HQ journal entry)


 When an HQ entry is corrected before validation for account or analytical distribution or when the entry is split, automatic correction entries in OD journal are created. This means that the original HQ entry is reversed and corrected with a separate entry. The original entries have the correction history wizard available
 Setting the {amount left} to {0}
 {Done} function in a commitment voucher Form view
 Commitment voucher set to {Done} and total left is nil
 Administration business application and {Reconfigure} function
 Activating the International Commitments Import
 International Engagement Analytic Journal
 {Import Intl Commitments} wizard
 Engagement entries booked in the ENG journal. Third parties are displayed but this field in the import file remains optional