Finance User Manual ENG -> 5. Searching, Correcting and Closing -> 5.1 Searching -> LUFI-50103 Journal Search
LUFI-50103 Journal Search
LU Introduction
Journal items, journal entries and analytical journal items are accessible from the module {Journal Entries}. Chapter 2 – Configurations explains which financial and analytical journals you can find in your instance.
How to Search in the Journal Items
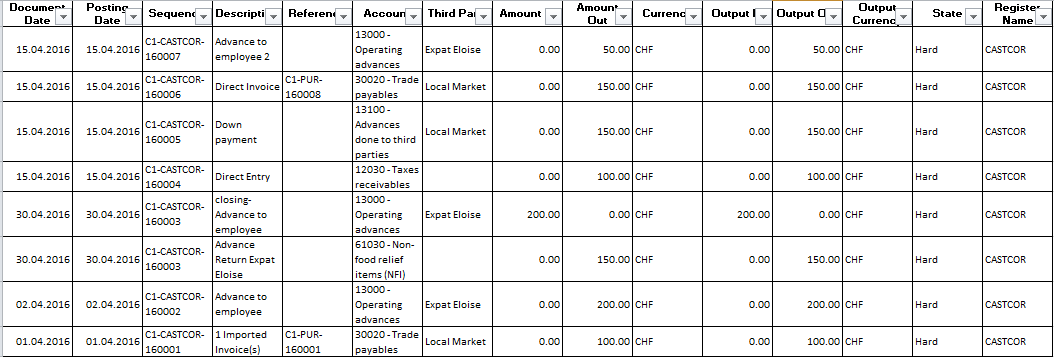
The sub-module {Journal Items} displays accounting lines either as debit or credit transactions. You will notice that each entry is displayed in booking and functional currency.
Accounting reconciliations and corrections are performed in this sub-module.

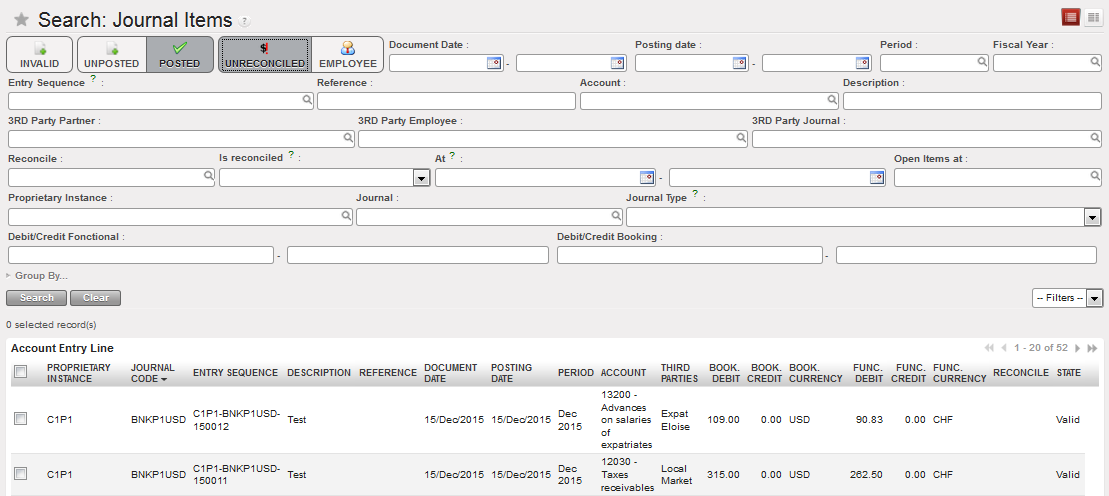
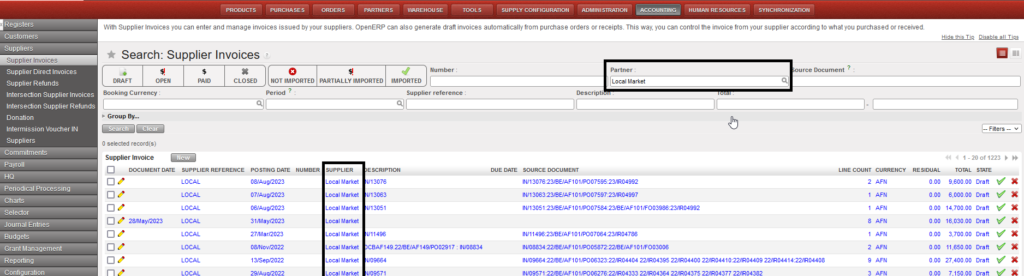
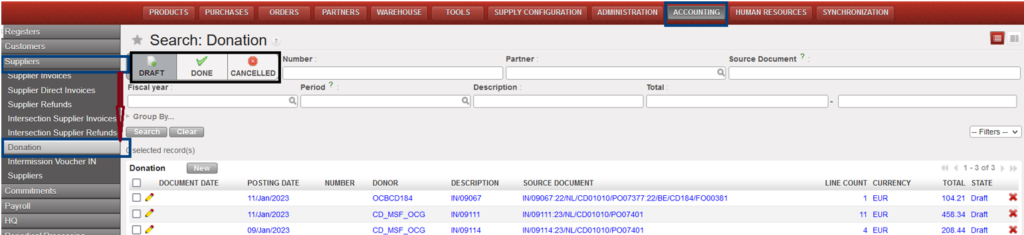
Journal Items Search view
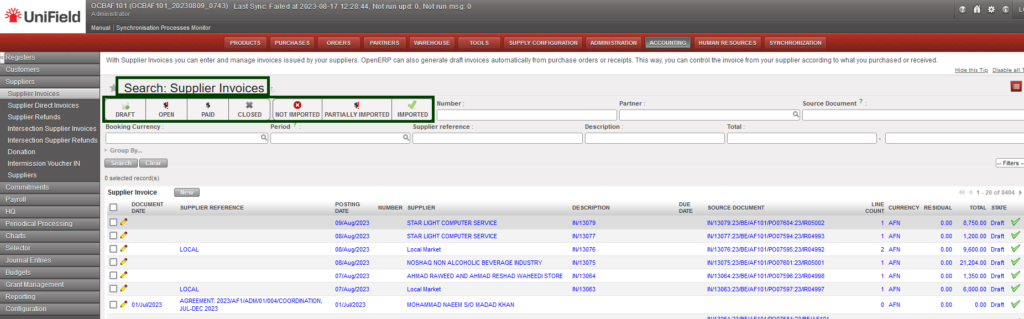
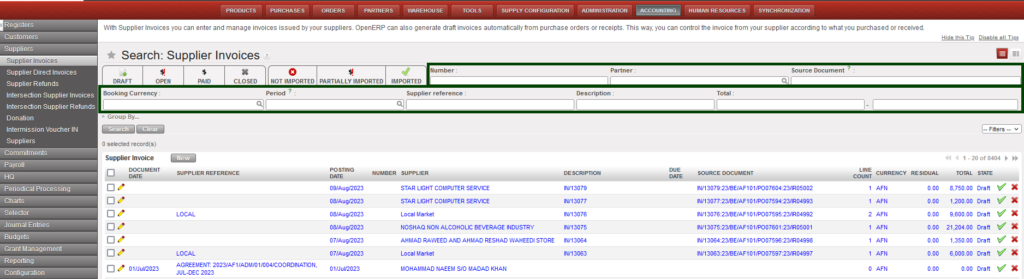
Go to: Accounting/Journal Entries/Journal Items
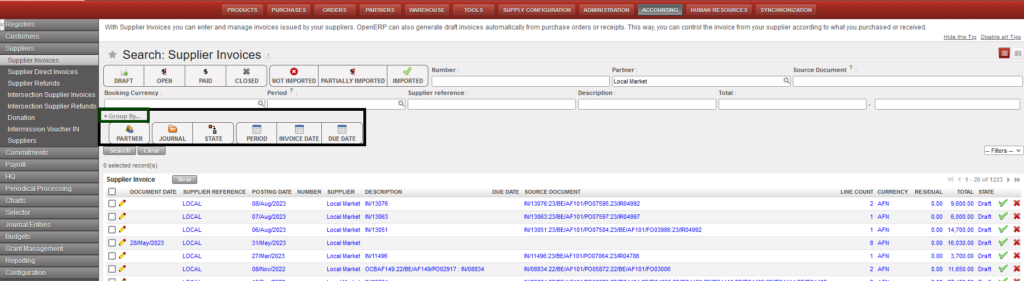
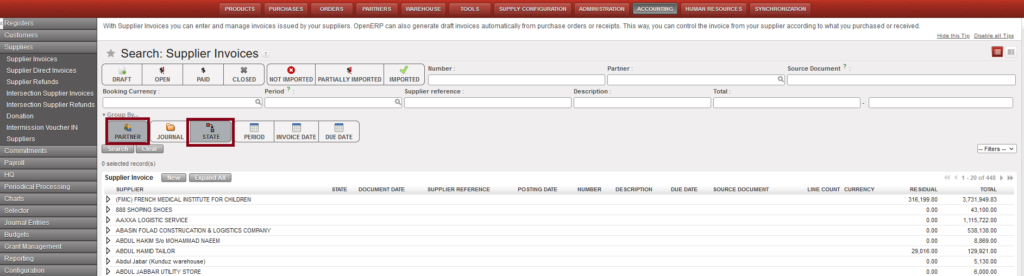
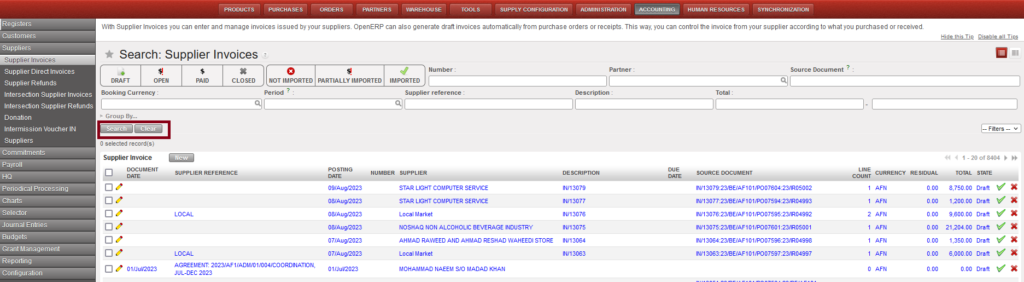
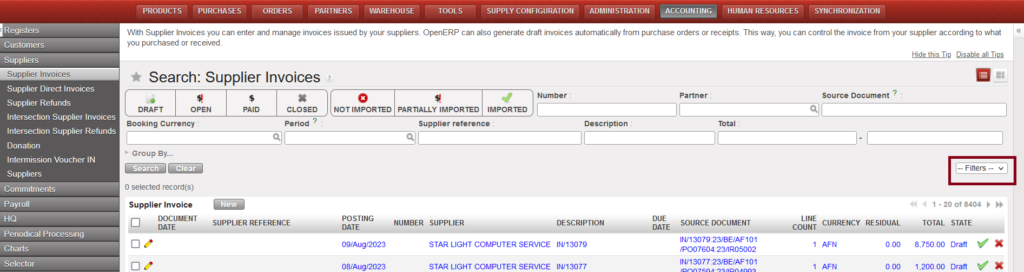
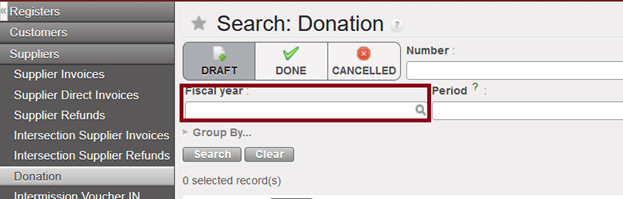
- In the Journal Items Search view, you can enter criteria using the filter buttons, search fields, custom filters and group by options to search for journal items. In this example, we want to search for unreconciled posted entries to reconcile them. Toggle on the search filters {Posted} and {Unreconciled} and click {Search}.
Journal Items – search options Posted and Unreconciled selected

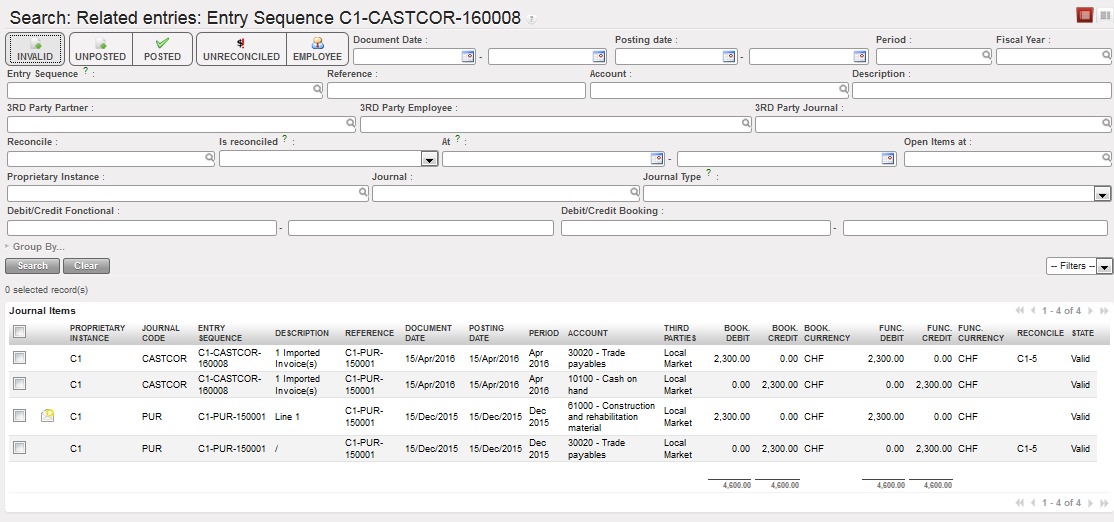
Related Entries Search in Journal Items:
In journal items view it is possible to directly search for all related entries linked to a specific journal item. This function is especially useful when searching for entries that have been included in the same supplier invoice, that are linked to a specific payment, that have been reconciled together or that have been corrected.
Go to: Accounting/Journal Entries/Journal Items
- In journal items search view, select a journal item. In this example we use a payment entry line.
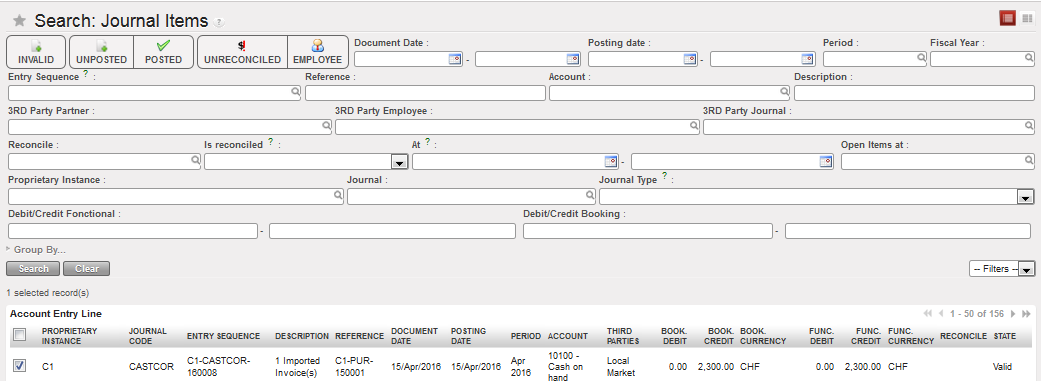
Payment JI line selected
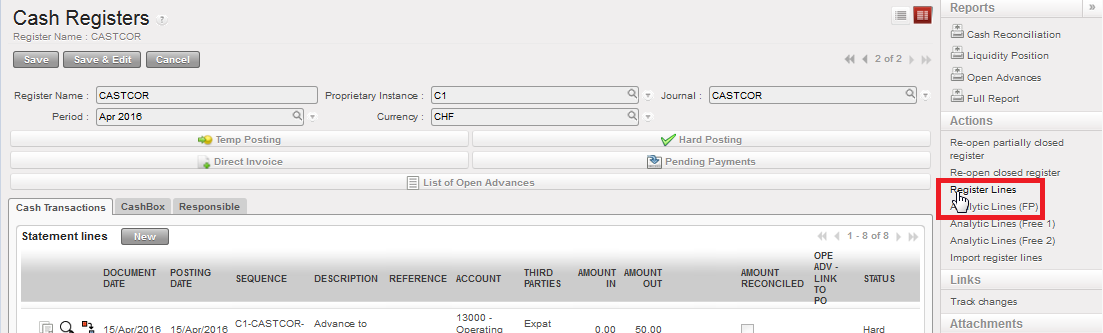
- In the Actions menu on the right hand side, click on {Related Entries}
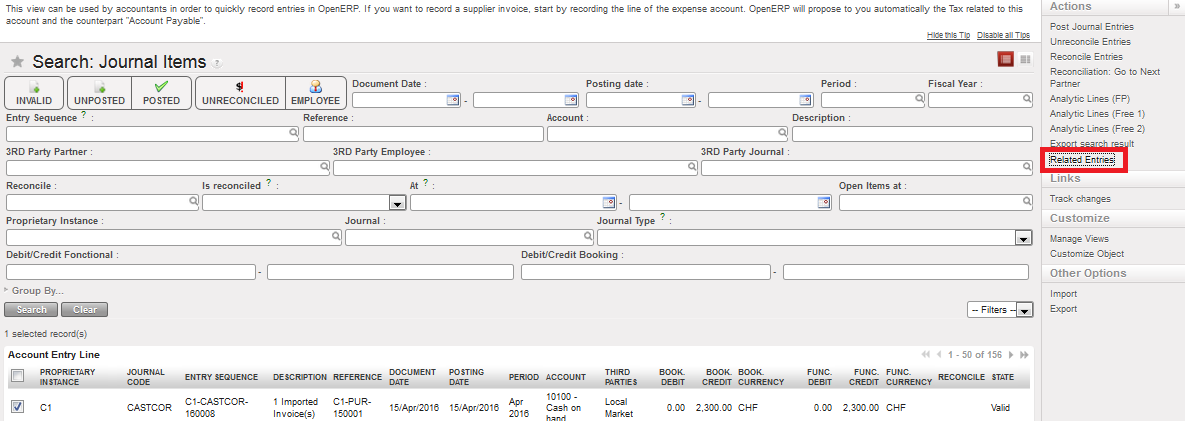
Related Entries in the Actions menu
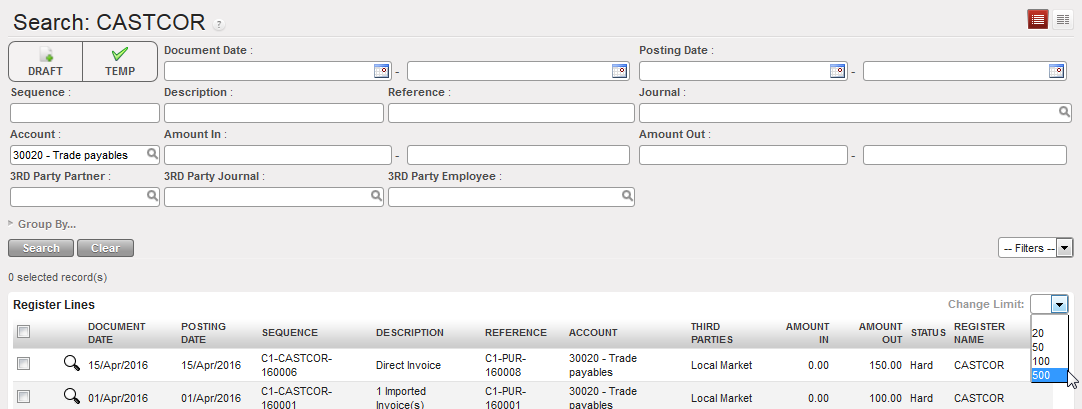
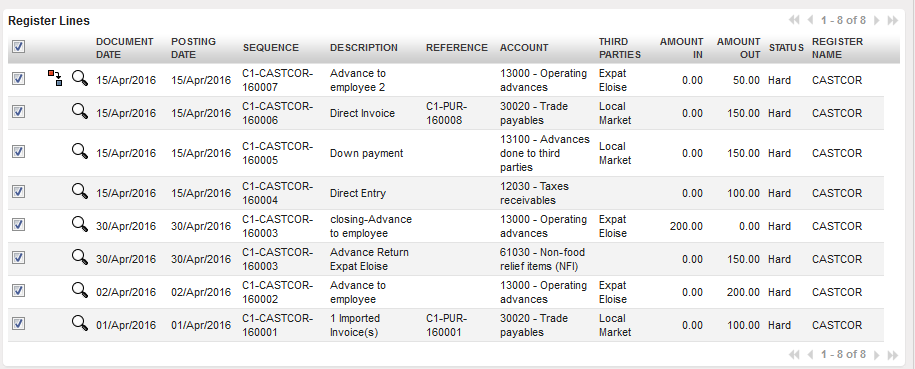
- A new view called {Search: Related Entries} is opened in a new tab with a list of all related entries. In this example, the user can see which expense lines were paid with the payment from cash register and which trade payable lines were included in the same reconciliation.
Search results for all related entries to the selected journal item:
It is also possible from corrected entries to find back the original entries as UniField search for all entries that have an entry sequence matching the reference of the original entry.

Searching for the original entry related to the correction COR1- Paracetamol (reference CD1AD-PUR-180002)
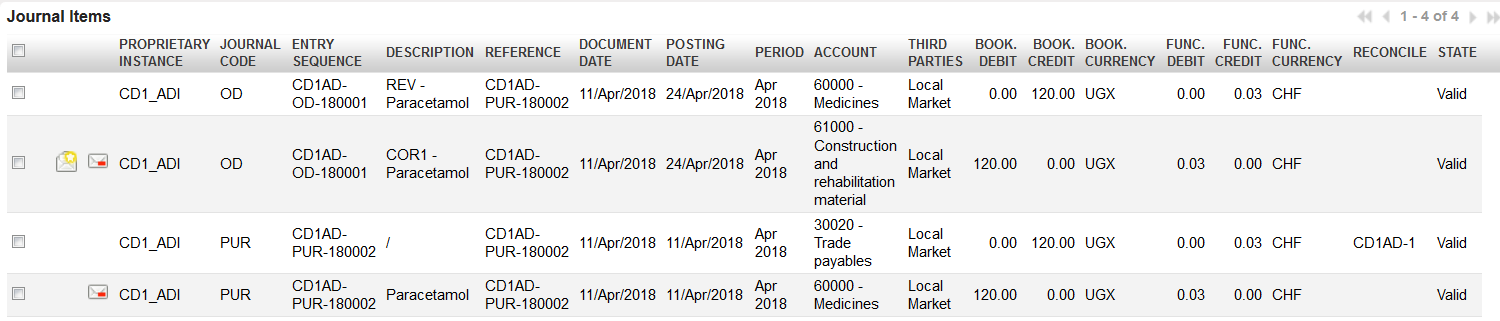
Original entry CD1AD-PUR-180002 (reference CD1AD-PUR-180002) related to COR1- Paracetamol
How to Search in the Journal Entries
A journal entry consists of all the journal items that form one, balanced entry. Each journal item is either a debit or a credit transaction. Within any journal entry, the total amount of debit equals the total amount of credit.
Journal entry view can be used for example to check the accounting lines automatically created from a financial document (temp- or hard-posted register entry, validated supplier invoice, operational advance delivered and closed). Depending on the user rights, an advanced user can also manually create journal entries in the financial journals, e.g. payroll booking for the sections not using Homere. For further information please see Chapter 3 – Payments LUFI-30312.
When Journal Entries is opened in Search view, no filter button is set by default so all journal entries are listed. Unposted entries will be displayed in blue font. Entries are displayed in both, booking and functional currency.
Go to: Accounting/Journal Entries/Journal Entries
- In the Journal Entries Search view, you can enter criteria using the filter buttons, search fields, custom filters and group by options to search for journal items. Click {Search}.

Journal Entries Search Options
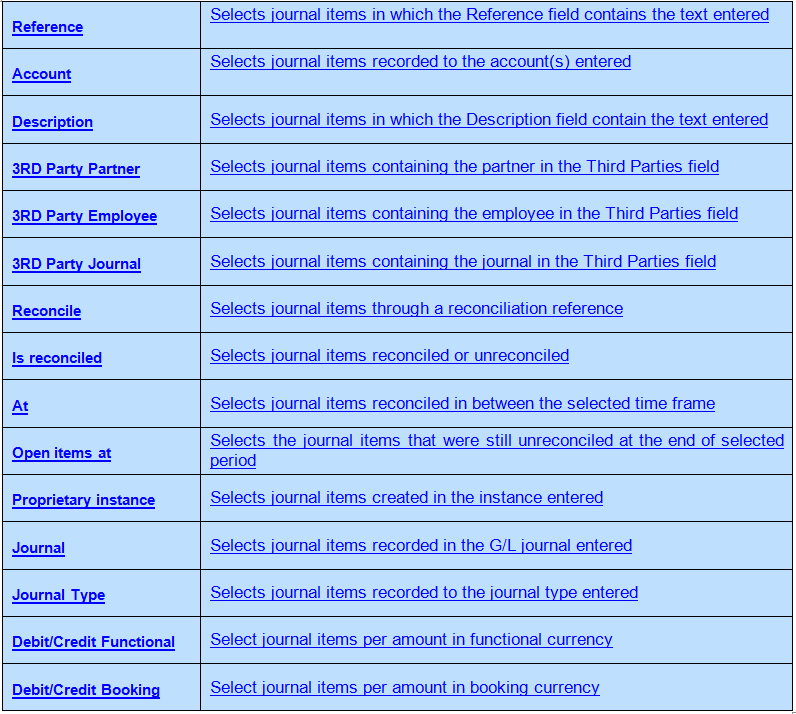
Button/field
Description
- To view the batch of journal items related to a journal entry, tick the checkbox of a journal entry. Go to the Links menu on the right side and select {Journal Items}. It is important to note that only one journal entry can be selected at a time to display the related journal items.
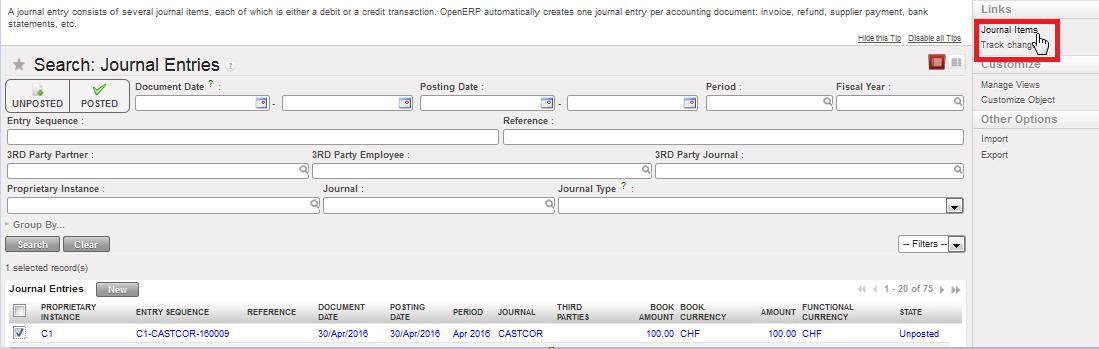
Linking journal entries to the related journal items
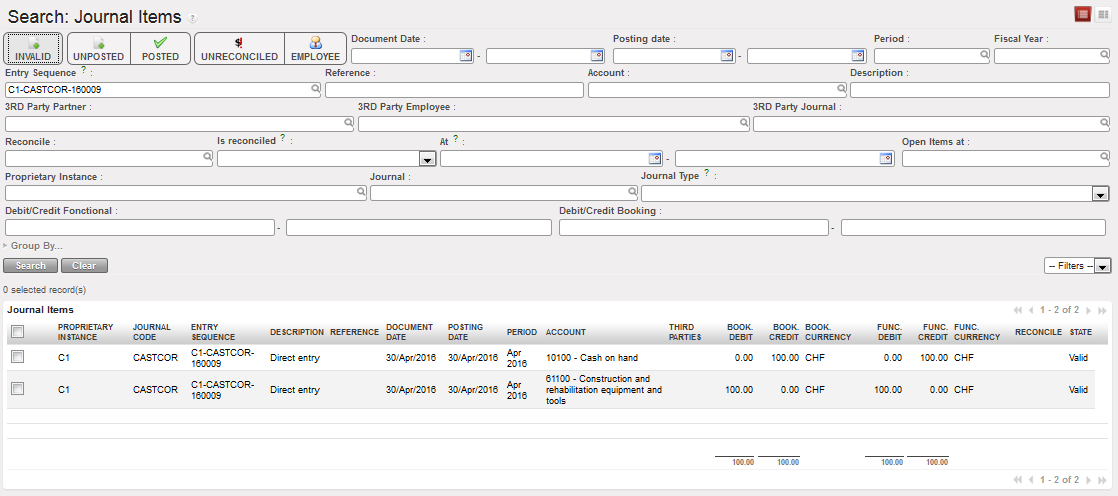
- A new window opens in Journal Items with the linked entries. You can further refine the results by using the search fields available. It is important to note that you cannot perform general searches in Journal Items in this linked window. It will only display the journal items related to the original journal entry selected in Journal Entries.
Journal Items related to journal entry
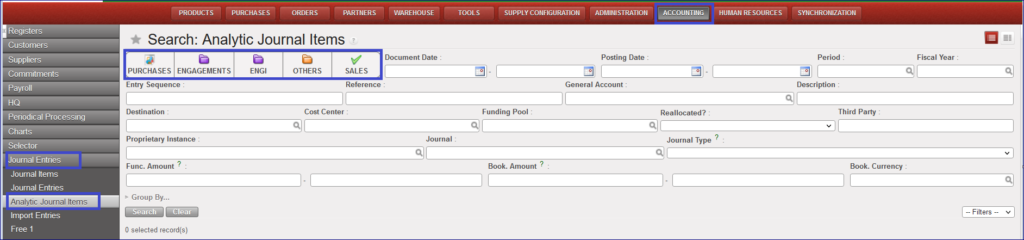
How to Search in the Analytic Journal Items:
Analytic journal items are expense or income entries allocated to the analytic accounts (Destination, Cost Center, Funding Pool). Analytic journal items are created whenever an entry to an expense or revenue accounts is generated. Analytic journal items are used to determine expenses in budget control reports and donor reports. Analytic journal items are displayed in booking and in functional currency. Analytic Journal Items only relate to expense / income entries and do not have any counterpart entry.
Go to: Accounting/Journal Entries/Analytic Journal Items
In the Analytic Journal Items Search view, you can enter criteria using the filter buttons, search fields, custom filters and group by options to search for journal items. Click {Search}.
Example:
Go to Accounting >Journal Entries > Analytic Journal Items
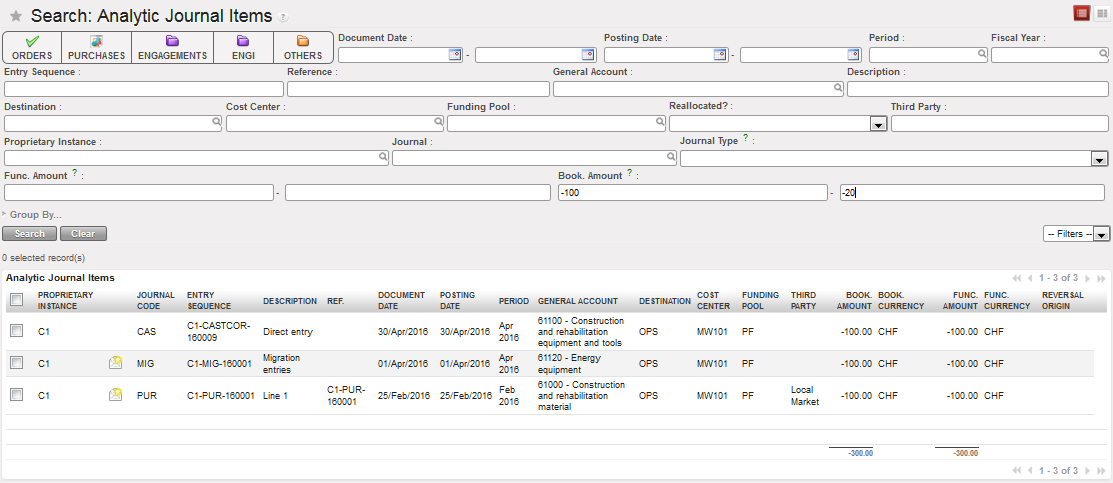
- If we toggle on search button “ENGAGEMENTS”, the result of the search will be the journal code column with “ENG” only.
- If we toggle on search button “ENGI”, the result of the search will be the journal code column with “ENGI” only
- If we toggle on both search buttons “ENGAGEMENTS” and “ENGI”, the result of the search will be the journal code column with both “ENG” and “ENGI”
The ENGI will be seen in the filter of the ordinary periods (Jan-Dec) only.
Analytical Journal Item Search Options
Button/field
Description


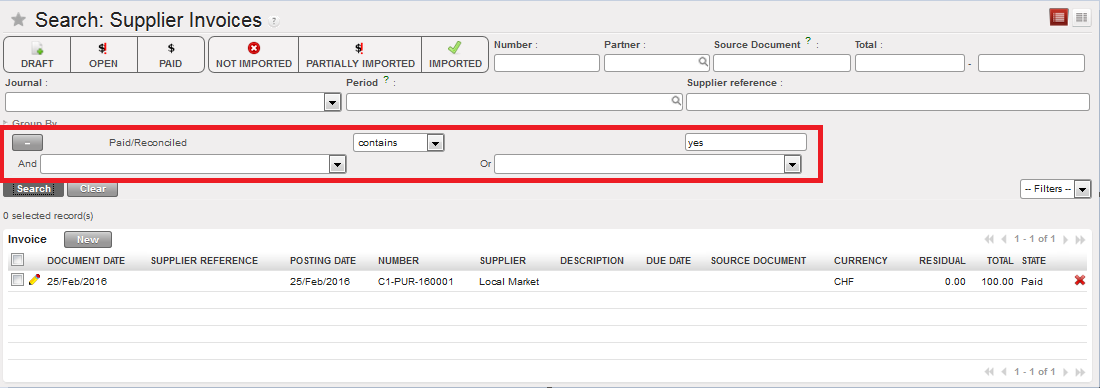
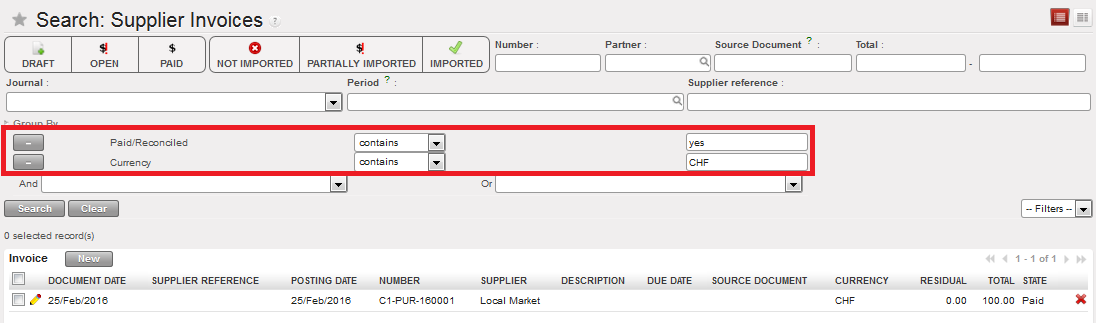
Searching a negative range of amounts in Analytic Journal Items Search view
Analytic Allocation with Free1/2 Report:
The analytic Allocation with Free Report is an excel report that combined the analytic distributions “Destination/Cost Centers/Funding Pools” and Free axis. It is located in Free sub menu, in the windows action wizard and it is possible to save the queries.
How to Produce Analytic Allocation with Free 1/2 Report:
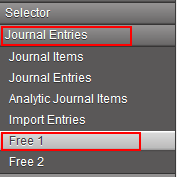
- From Journal Entries, select {Free 1}
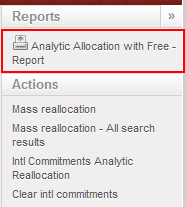
- From the right-side menu, click on {Analytic Allocation with Free Report}
- Make your selection, unless you want all information to be in your report.
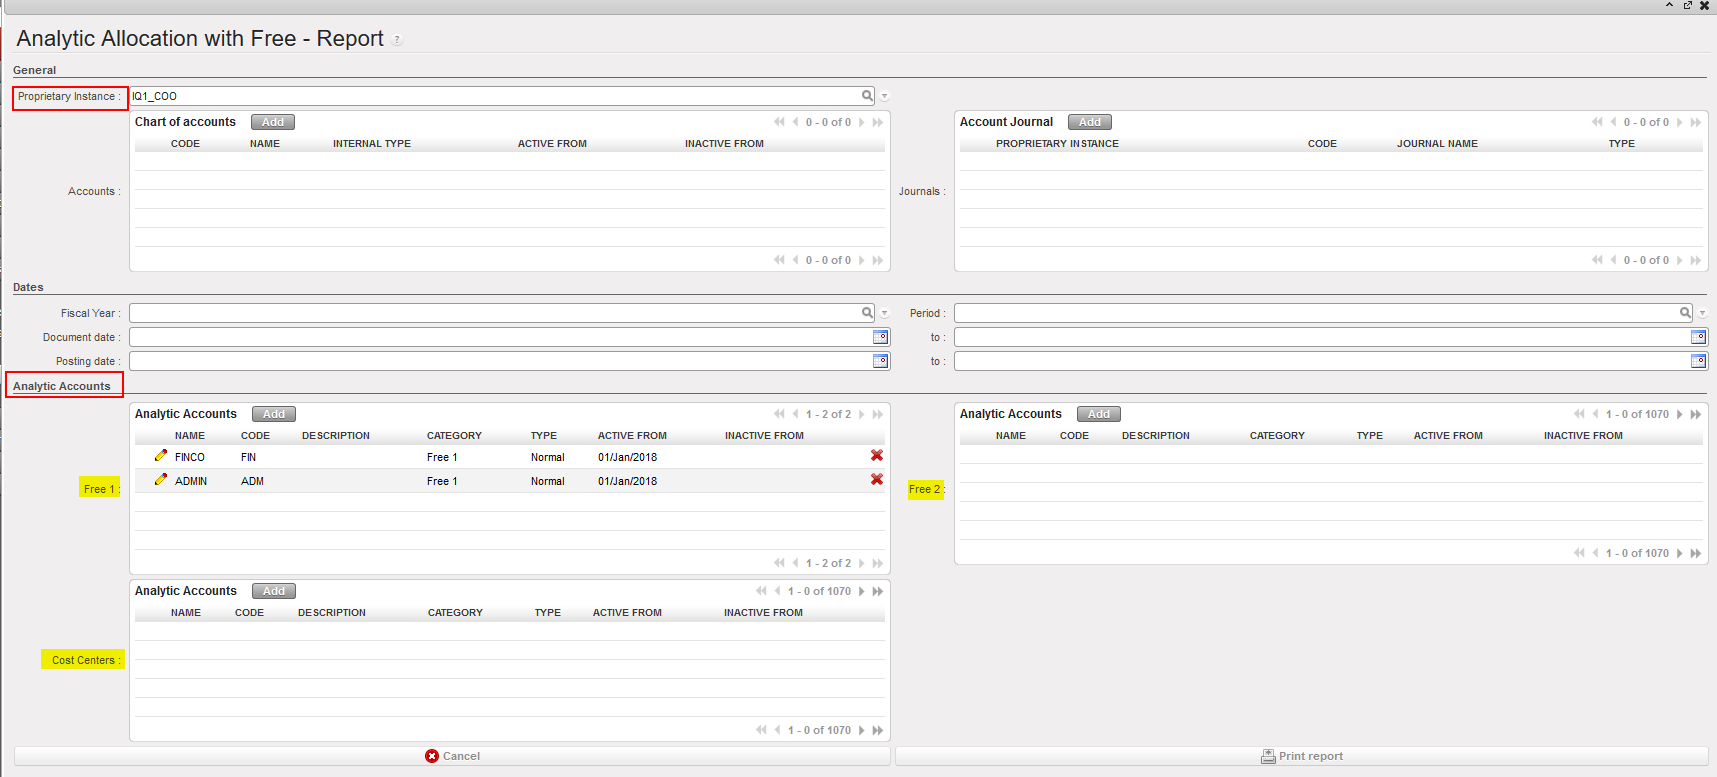
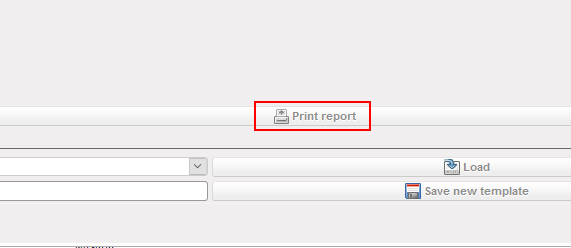
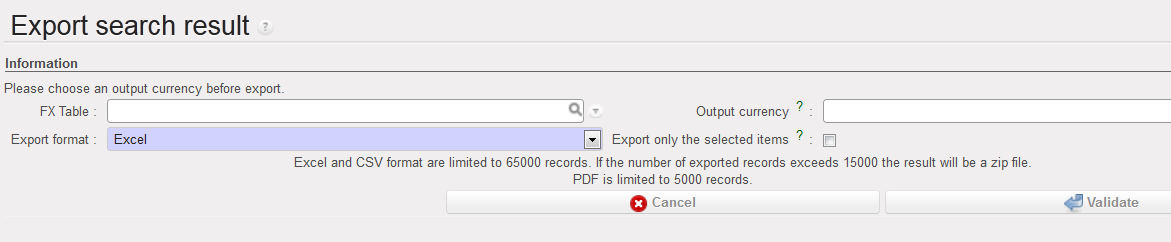
- In order to export the report, you need to click on {Print Report}
- Then you will get the report based on the selection you made

Clear/Cancel the request when loading:
When a query/search is launched from a Search view, there is a button that appears while the search is loading and called “Cancel Query”. This button enables to cancel the query that is running in background when it keeps loading.
- Use the cancel Query button that appears when the search takes time and the system is loading.
- This button will cancel the query that is running in background, so space is freed in the server. This is useful when the search keeps on running because there are no results matching with the search.


 List of draft HQ entries displayed in the {HQ Entries List} Search view
 {Validation} action
 {HQ Entries Validation} wizard
 Validated HQ entries displayed in {Journal Items} Search view
 Validated HQ entries displayed in {Analytic Journal Items} Search view
 Corrections History viewed from the Analytic Journal Items
  List of draft HQ entries displayed in the {HQ Entries List} Search view
 {Analytic reallocation} action
 {Analytic reallocation} wizard
 Entries with invalid analytic distribution in red displayed in the HQ Entries Search view
 {Change Account} action
 {Change Account} wizard
 List of draft HQ entries displayed in the {HQ Entries List} Search view
 Editing an HQ entry
 {Other staff costs} account set as not correctable by HQ
 Account changed from 64100 to 64110