LUFI-40105_I: How to Import Salary Payments into a Register
The validation of payroll entries recognizes expenses and payable amounts. Mid month salary advances have already been paid via the registers. The end of month net to pay salary amount is still to pay and has not physically impacted your cash or bank balance until you record the payment directly in your registers.
If you made any mid-month salary advance payments, you should have recognized money that was paid from your liquidity account by manually creating an entry in the register (1 register entry could consolidate the payment of salary advances for several employees). Regarding the payable entries remaining to pay at the time of importing the payroll (e.g.: net to pay salary dispersed at the end of the month, social contributions, taxes, etc.), UniField allows you to import these expenses into your registers.
Go to Accounting/Registers
-
- Open the register the payments were made from.
- Select the {Pending Payments} button.
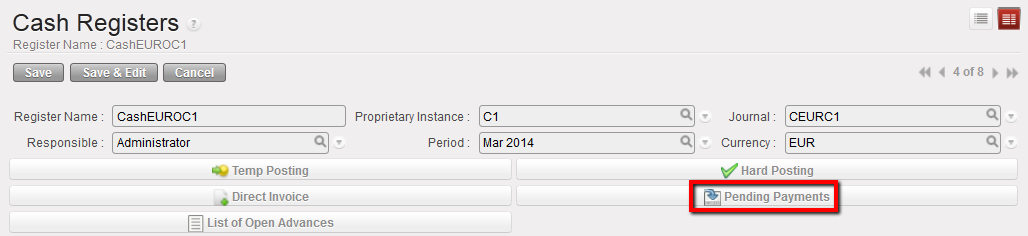
Pending Payments button to import A/P entries
-
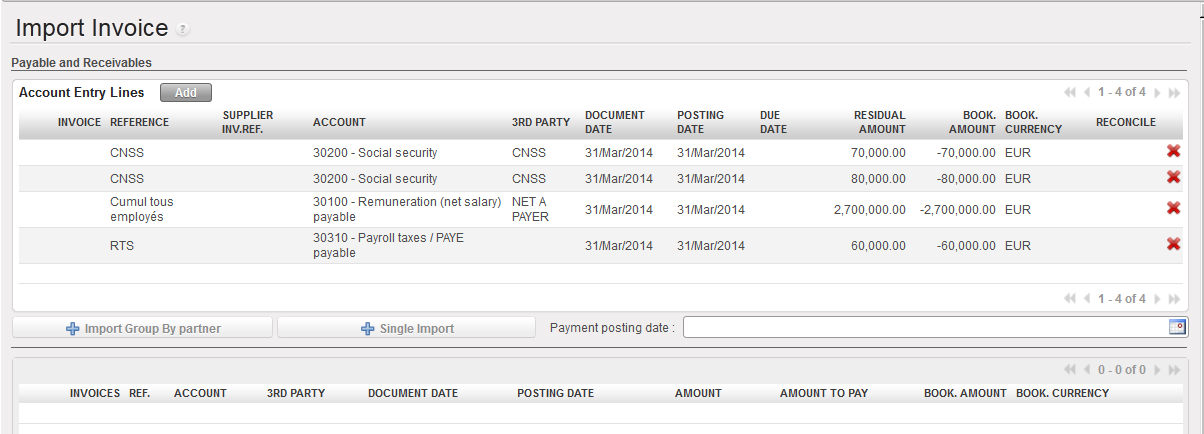
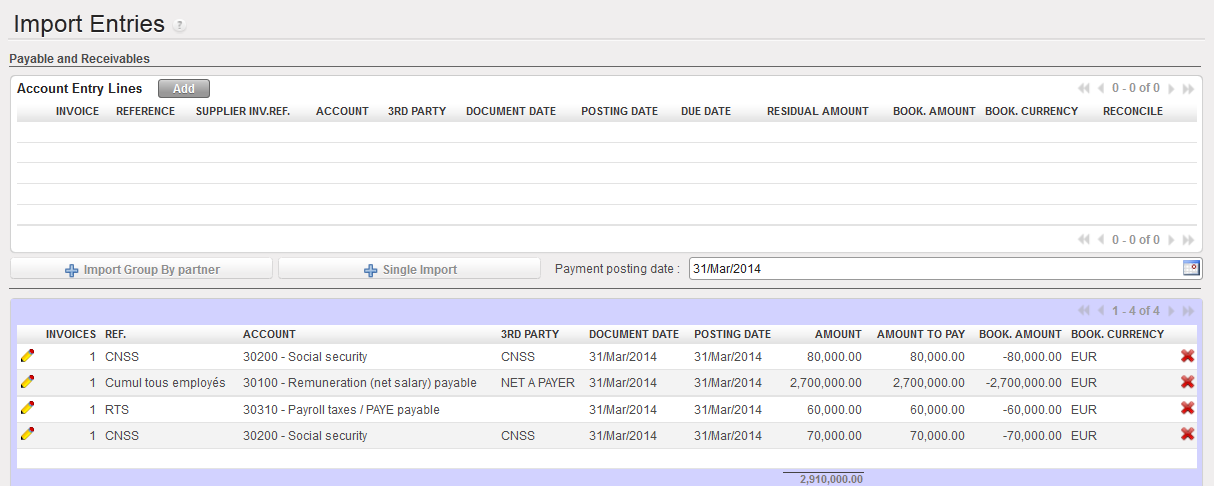
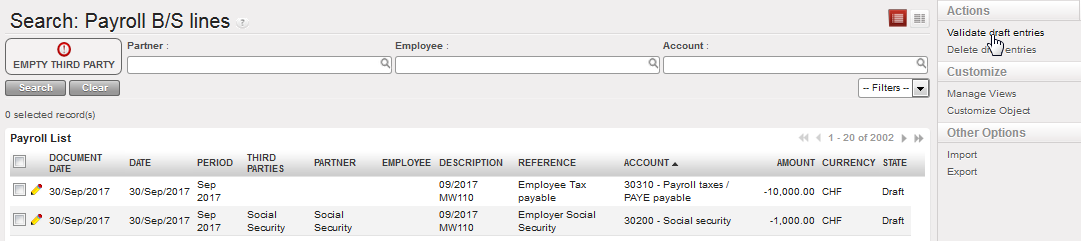
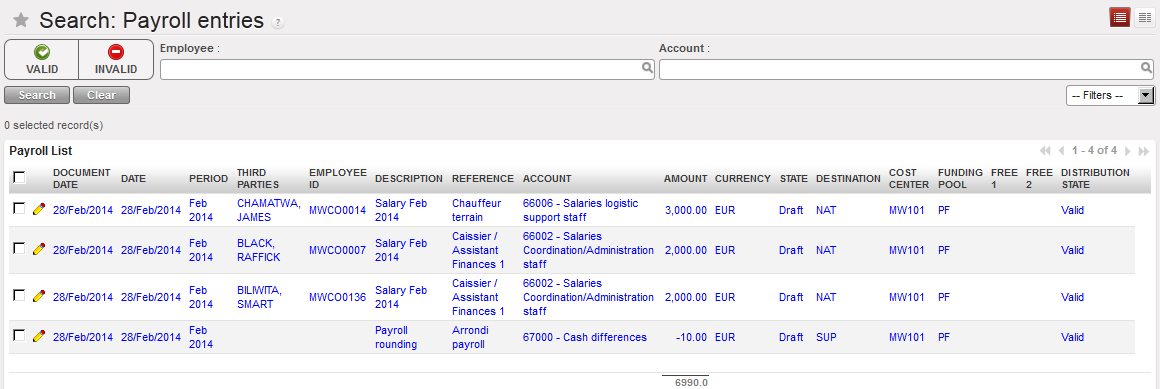
- In the {Import invoice} window, select and in the {Search Account Entry Line}, select the relevant A/P (only the entries you will pay at this time). Depending on your payroll import file, you will see:
![]()
- 30200 – Social Security Entries. Depending on your Homere settings this could be split into employer contribution and employee contributions entries.
- 30310 – Income Tax entries.
- Any other contribution as required by your mission and set in Homere.
- 30100 – Remuneration (net salary) payable. There should be one entry for the amount of the end of month salary payment.
- 13210 – Salary Advance for national staff. If your mission entered salary advance in Homere, there will be an additional salary entry from the Homere import. If you followed the instructions above and made a manual entry for mid-month salary advance AND reconciled the entry in journals, the amount will no longer appear here. If the mid-month salary amount is still in the pending payment screen you should NOT import it or your cash/bank balance will be decreased twice for the same expense.

A/P selected to import
-
- Back to the import invoice window, input a payment {Posting date} and select {Single import} if you want the entries to remain separate payments. Select {Import group by partner} if you would like to make one payment for different entries for the same partner.
For example, if you make one employee contribution payment and one employer contribution payment to the social contribution office then you should select {Single import}.
If you combine the employer and employee contribution into one payment then select {Import group by partner}.
Importing A/P
-
- Then click at the bottom of the screen.
![]()
Importing A/P
At this point you can use the pencil to edit lines as needed. For example, if you paid some of the salary via a bank register and some via the cash register you can edit the amount so that you import only the appropriate amount. If you don’t pay all of the taxes at one time you can edit the amounts.
-
- The import has created register lines.
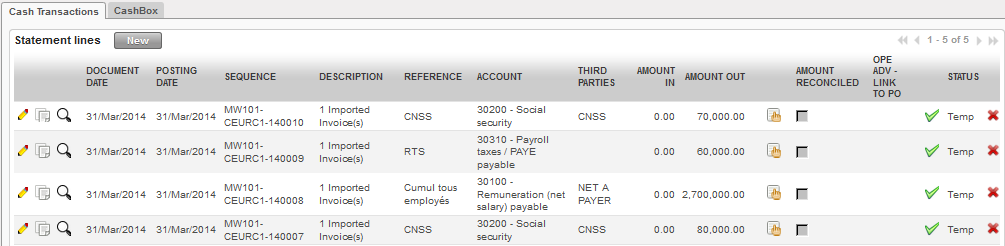
Register lines created in Temp posted state
Once the imported entries are hard posted they will automatically be reconciled with the entries from the Homere import.
If you pay salaries, taxes and contributions at different times in the month, it is possible to select them individually. The expenses you do not pay will remain in the journal as {Unreconciled} until you make the payment entry in your register. As you manually entered the mid-month salary advance it will need to be manually reconciled.


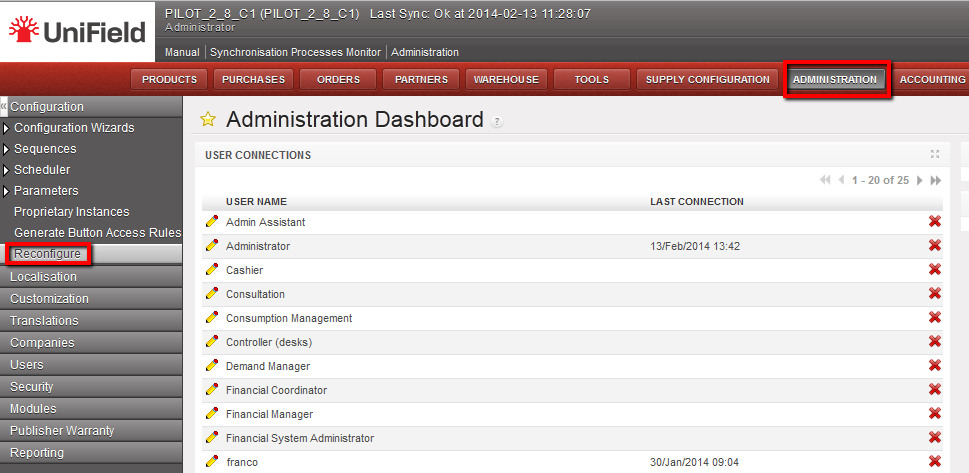 Welcome menu and {Reconfigure} function
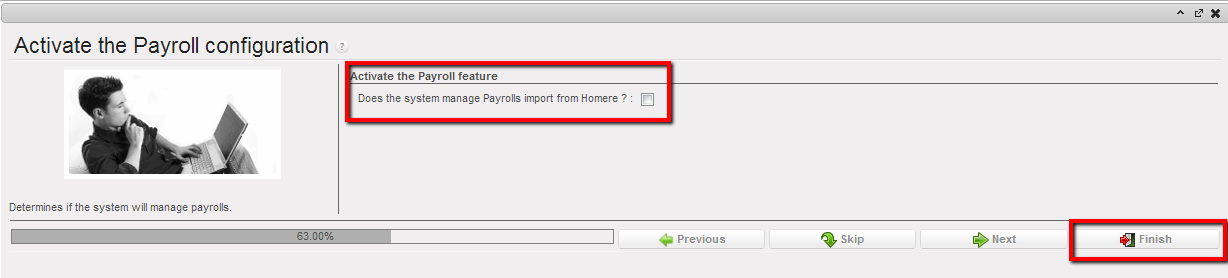 The payroll configuration is disabled
 The payroll module is disabled
  Import nat. staff sub-module
 Import nat. staff wizard
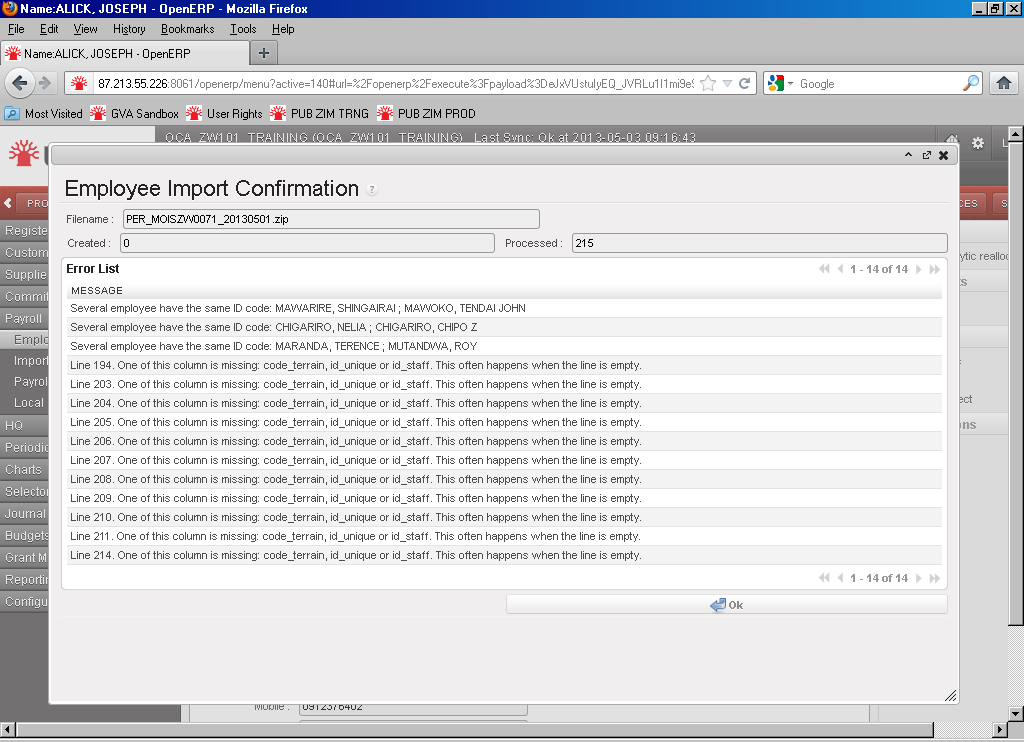
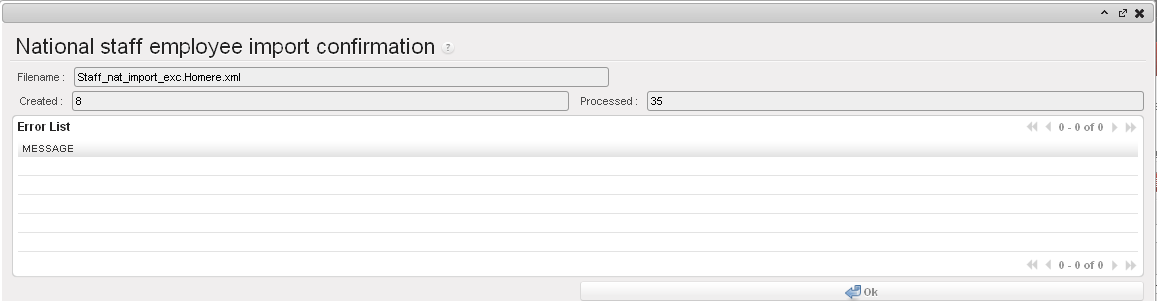 National staff employee import confirmation
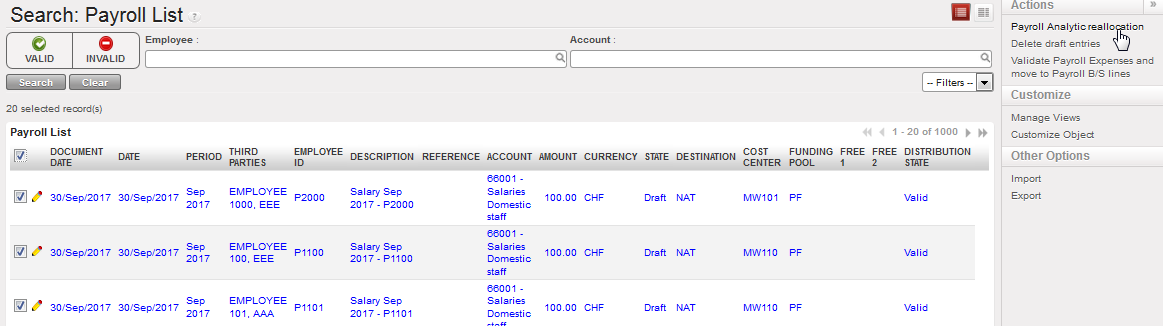
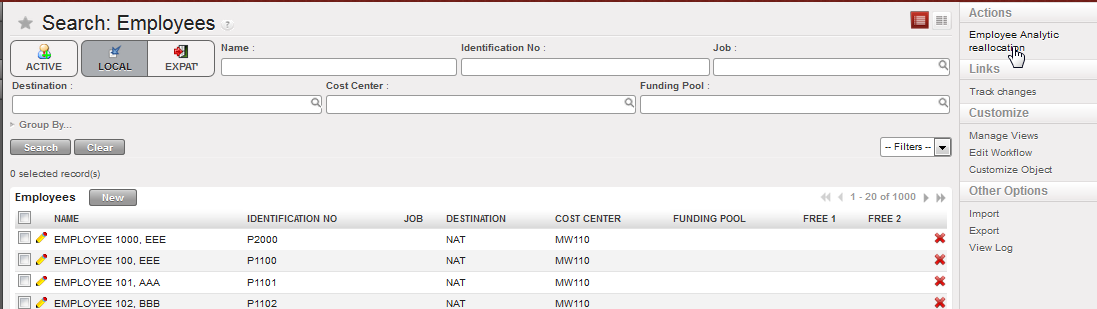 National staff analytical allocation (Sections not using Homere)
 Employee Analytical reallocation
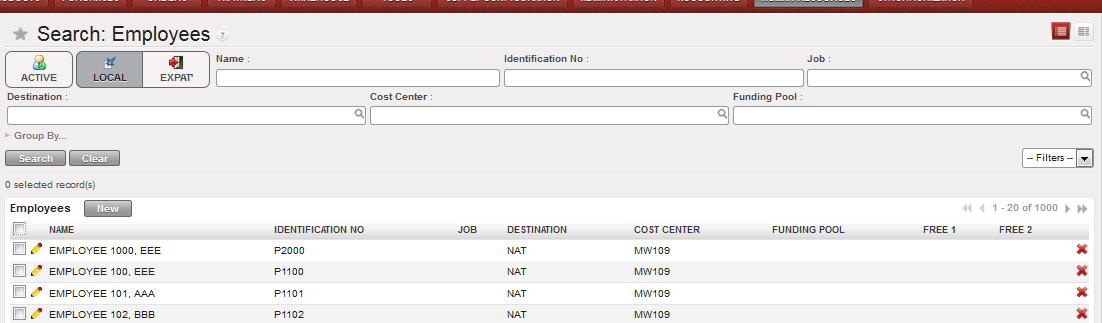 Employee Analytical reallocation performed on national staff (for sections not using Homer)
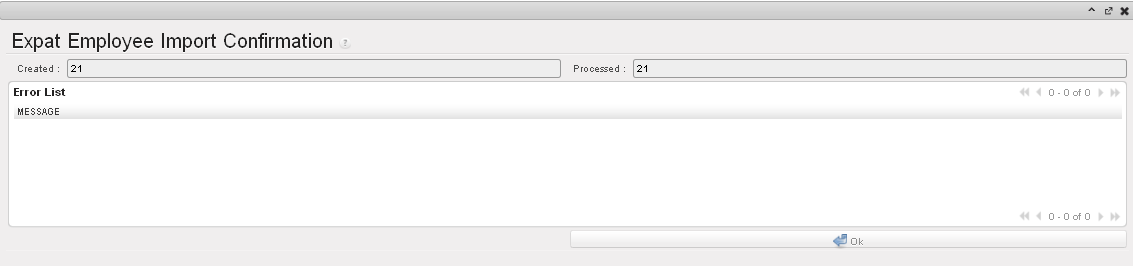 Expat Employee Import Confirmation
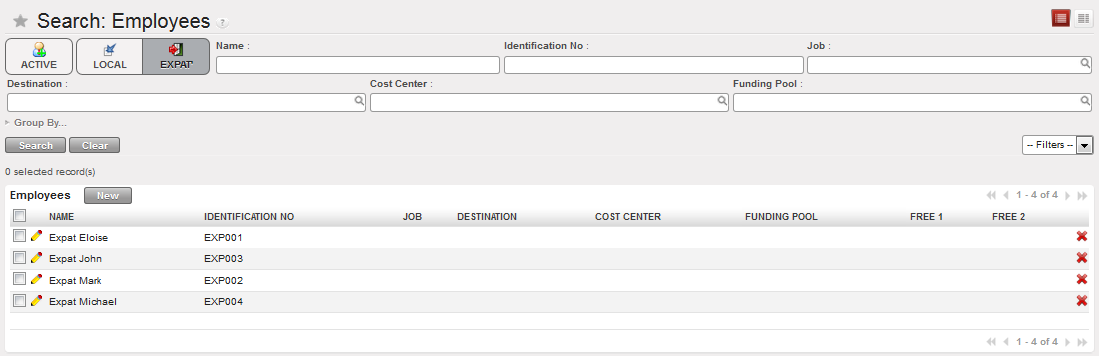 Expat active employee list
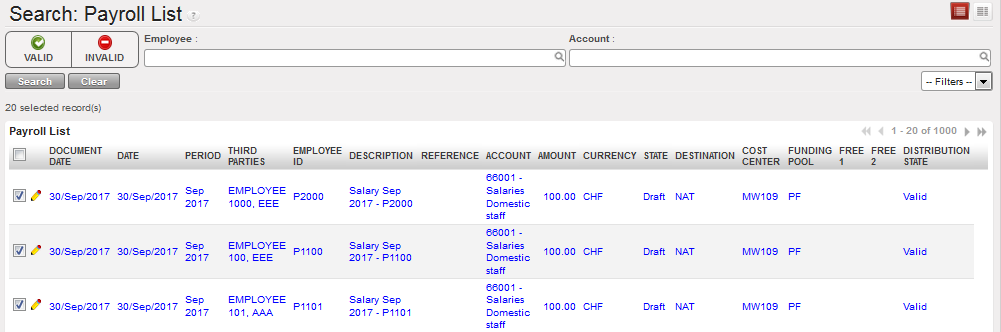
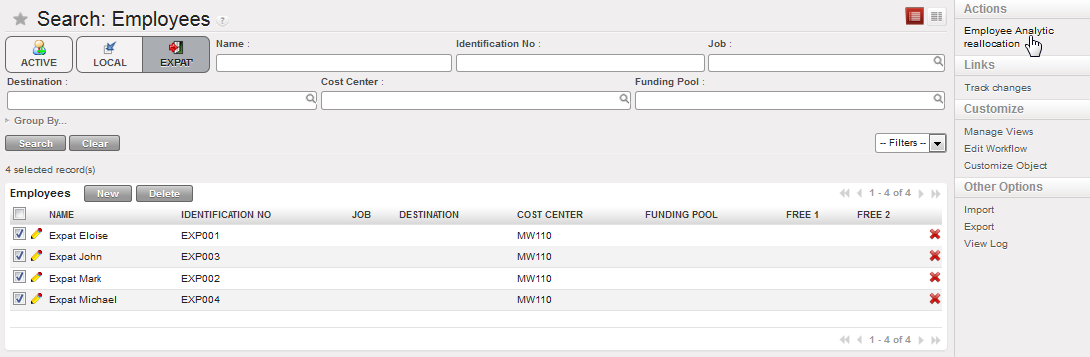 Expat staff analytical allocation
 Employee Analytical reallocation
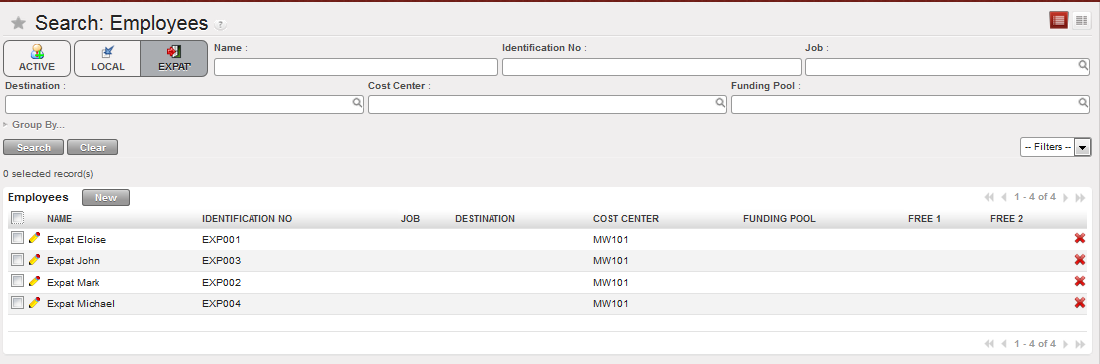 Employee Analytical reallocation performed on expatriate staff
 {Employee Analytic reallocation} Wizard
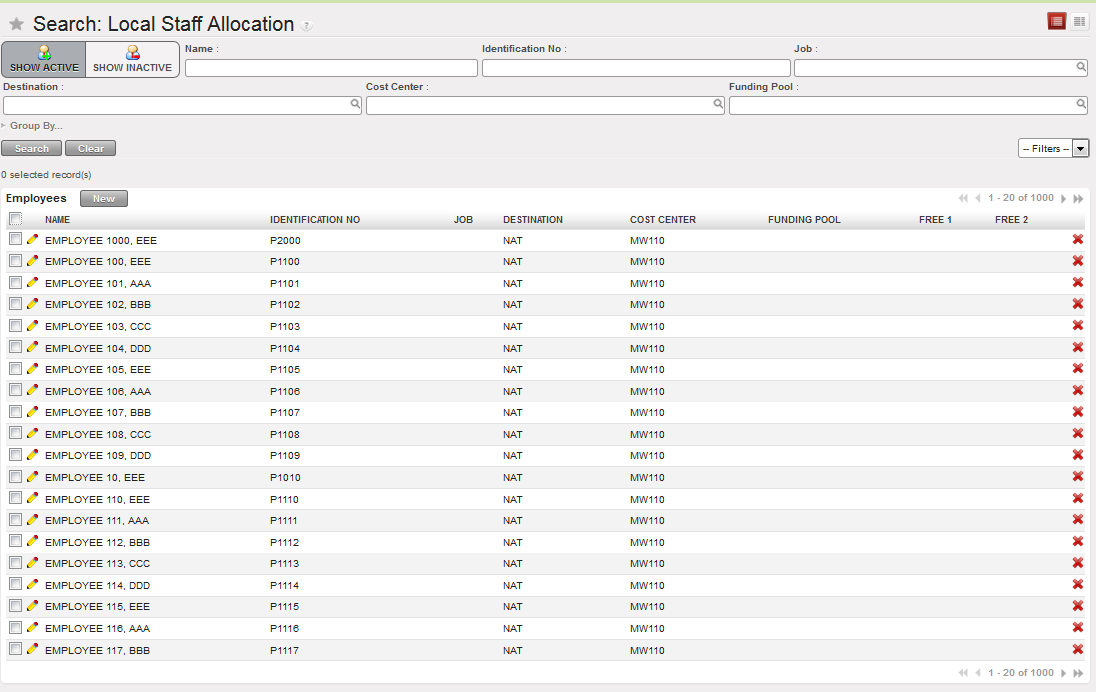 Analytical re-allocation completed on national staff
 Importing Employees files
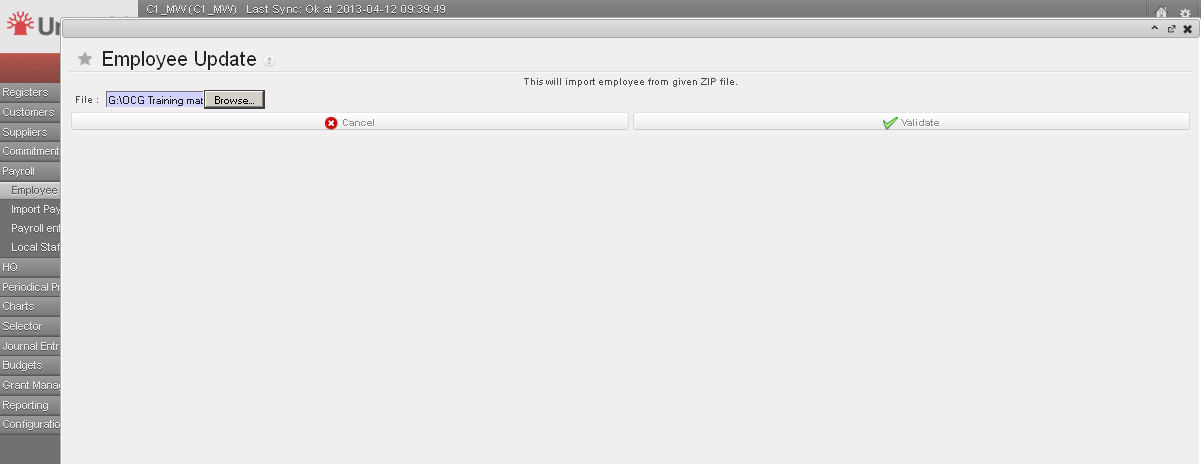 Import files validation
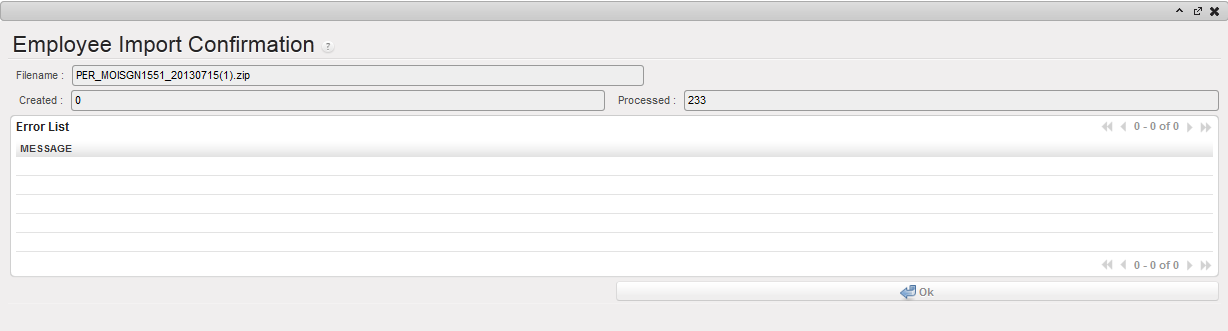 Employee Import confirmation wizard showing an empty Error List view
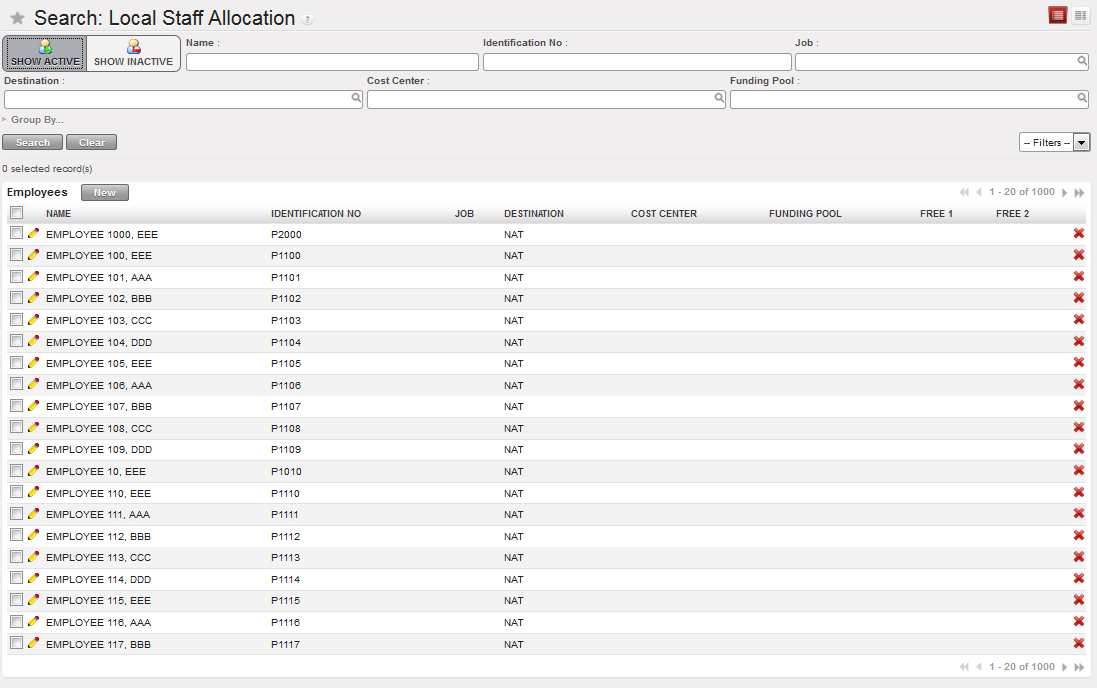 The list of active national staff is loaded