This chapter describes how to activate, configure, and use the e-mail notification functionality for electronic signatures in UniField. It covers configuration settings, notification delays, reminder logic, signature expiration alerts, and how to access notification logs.
1. Activating the E-mail Notification Functionality
The e-mail notification module for electronic signatures is managed centrally from the Administration menu. Access requires the Sync_Config user role.
1.1 Navigating to the Configuration Screen
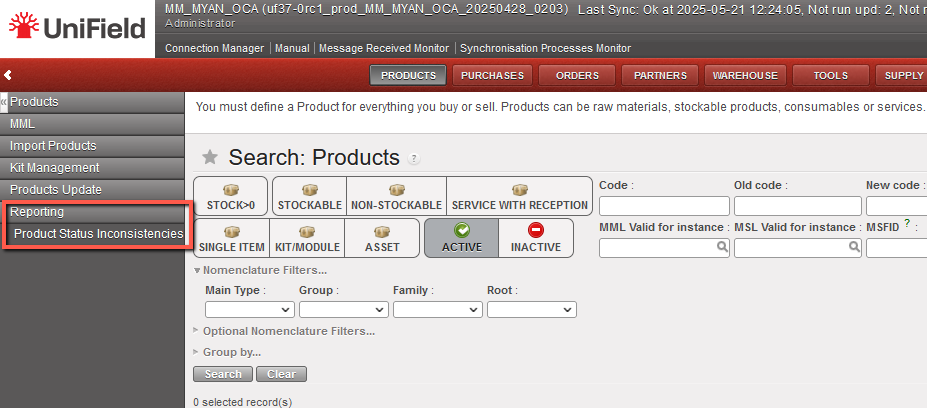
From the UniField main screen, go to:
Administration → Configuration → Email → Email Notification for Signatures Configuration
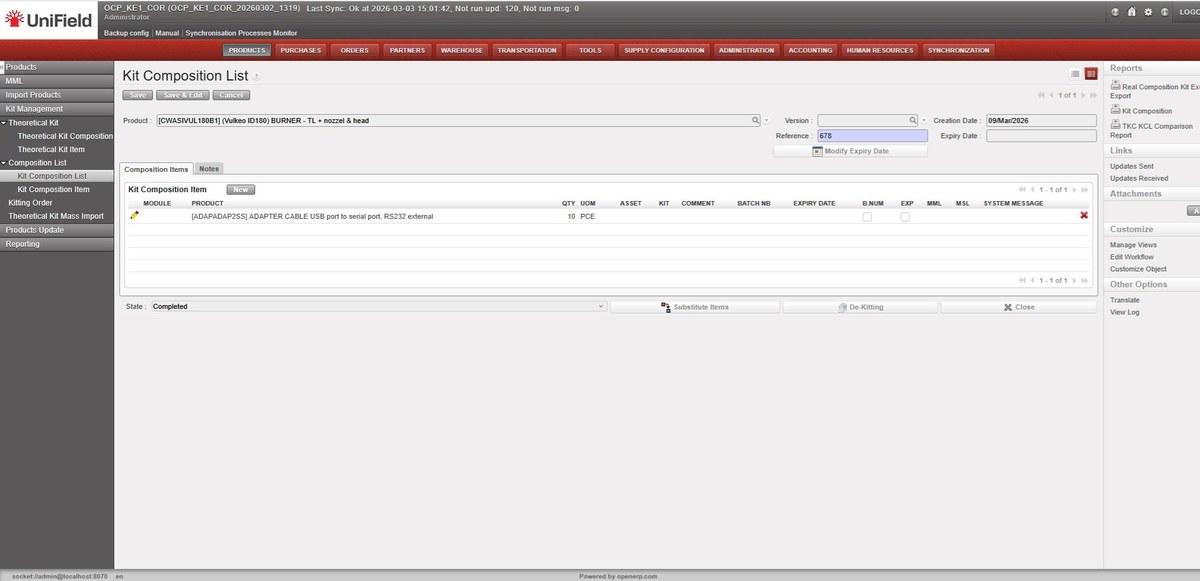
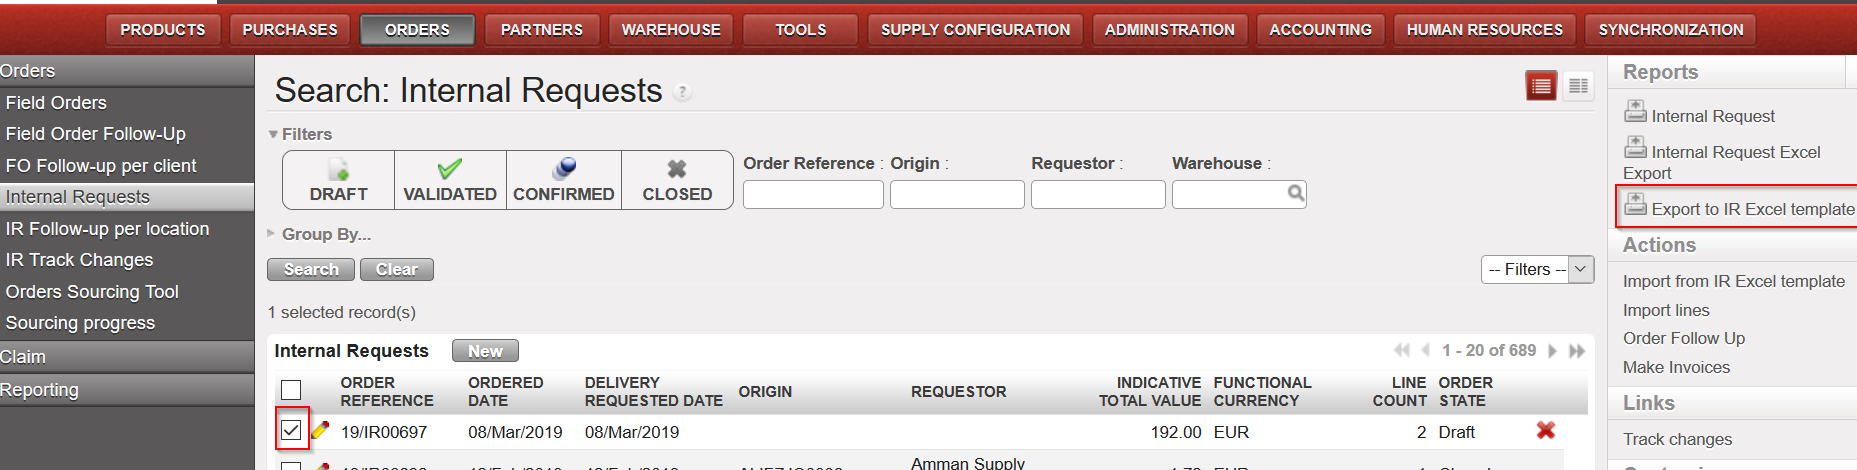
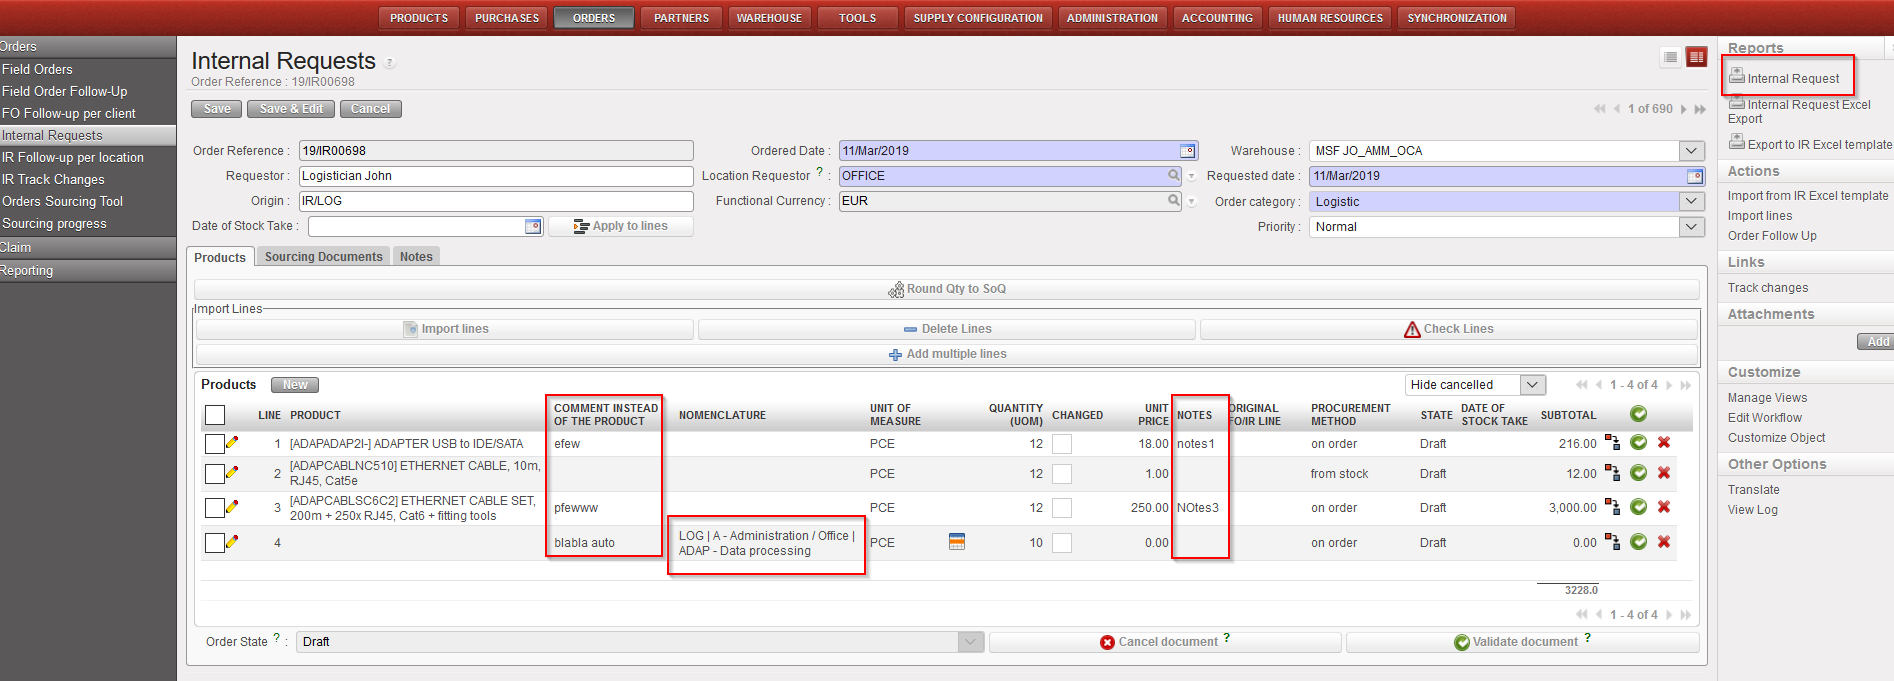
Figure 1 – UniField home screen: navigate to Administration to access e-mail notification settings.
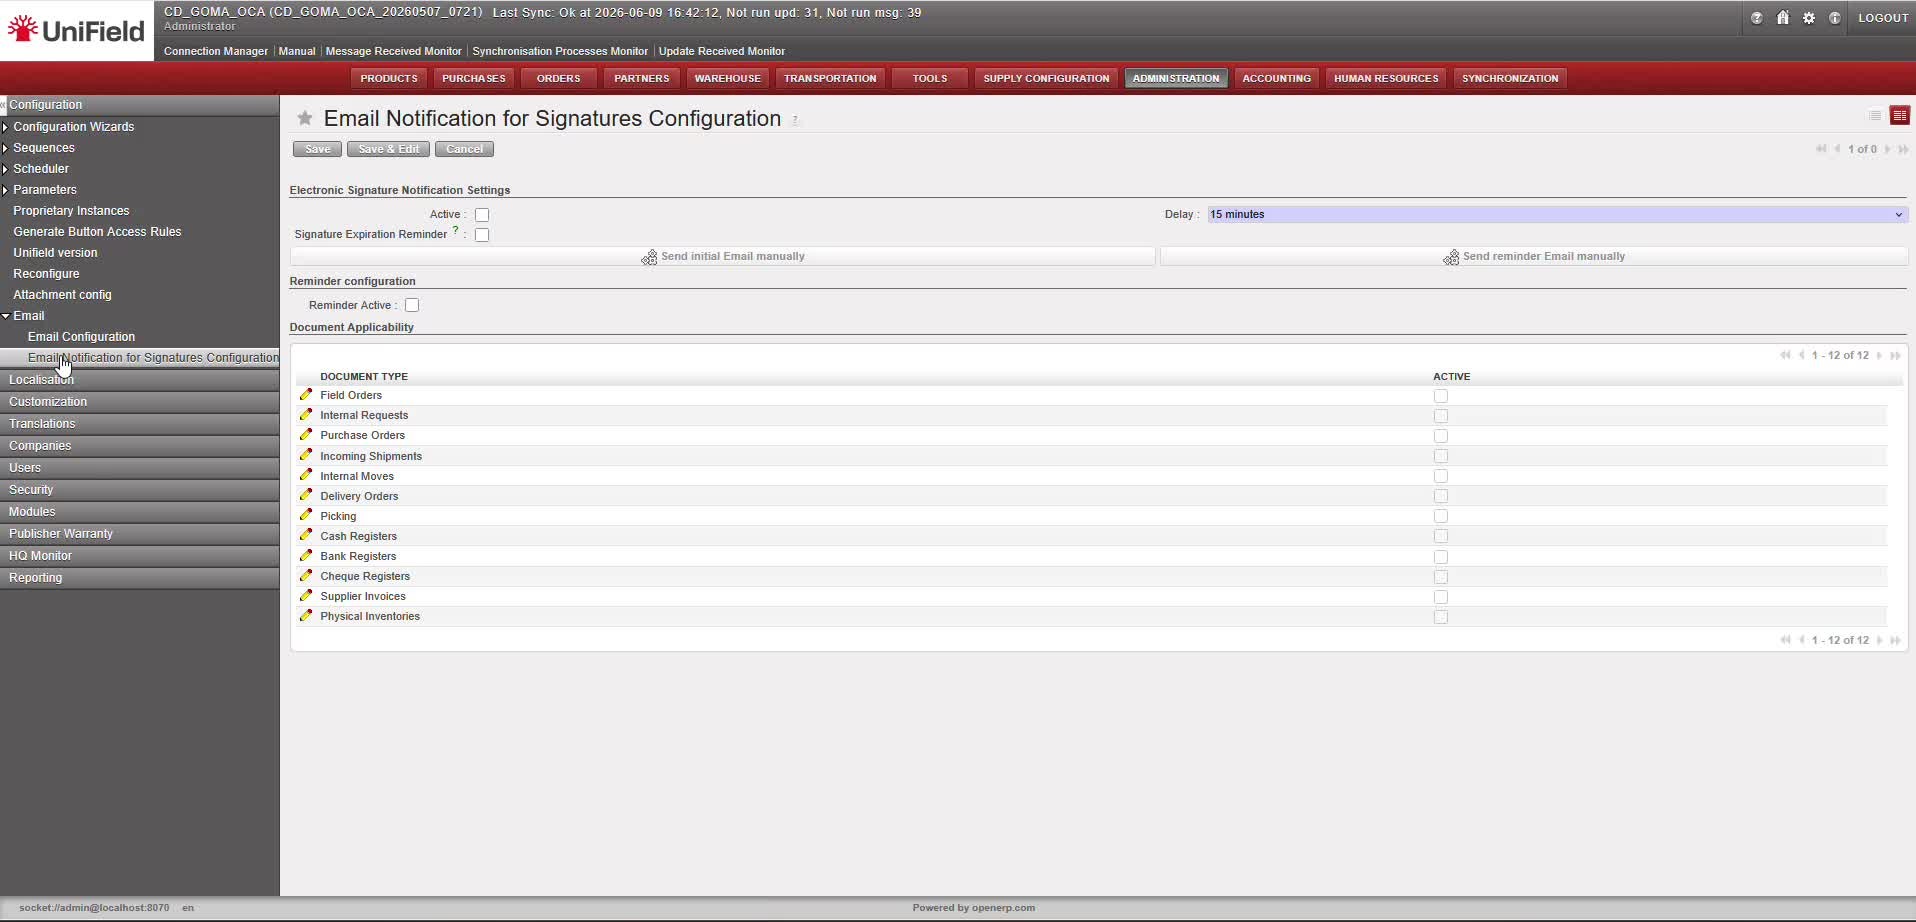
Figure 2 – Email Notification for Signatures Configuration screen (all options inactive by default).
1.2 Configuration Settings Overview
The configuration screen is divided into three sections: global notification switches, reminder configuration, and document applicability.
| Setting | Description |
| Active | Master switch. When unchecked, no e-mail notifications are sent for electronic signatures, regardless of other settings. |
| Delay | Configurable delay before the first automatic notification is sent after a document becomes signable. Options: 15 minutes, 30 minutes (default), or 60 minutes. |
| Signature Expiration Reminder | When checked, a reminder about approaching signature validity expiry is included in notifications and reminders when the stored e-signature is 30 days or less from its expiry date. |
| Send initial Email manually | Shortcut button to immediately trigger a test or manual initial notification without waiting for the scheduler. |
| Send reminder Email manually | Shortcut button to trigger a manual reminder for testing purposes. |
| Reminder Active | Activates the daily reminder cycle. When enabled, the system sends periodic reminder e-mails to pending signees until the document is fully signed or 30 days have elapsed since the first notification. |

Figure 3 – Configuration screen with Active, Signature Expiration Reminder, and Reminder Active all enabled.
1.3 Document-Level Activation
Below the global settings, the Document Applicability table lists all document types that support electronic signatures. Notifications are sent only for document types that are marked as Active in this table.
Note: By default all documents are set Inactive
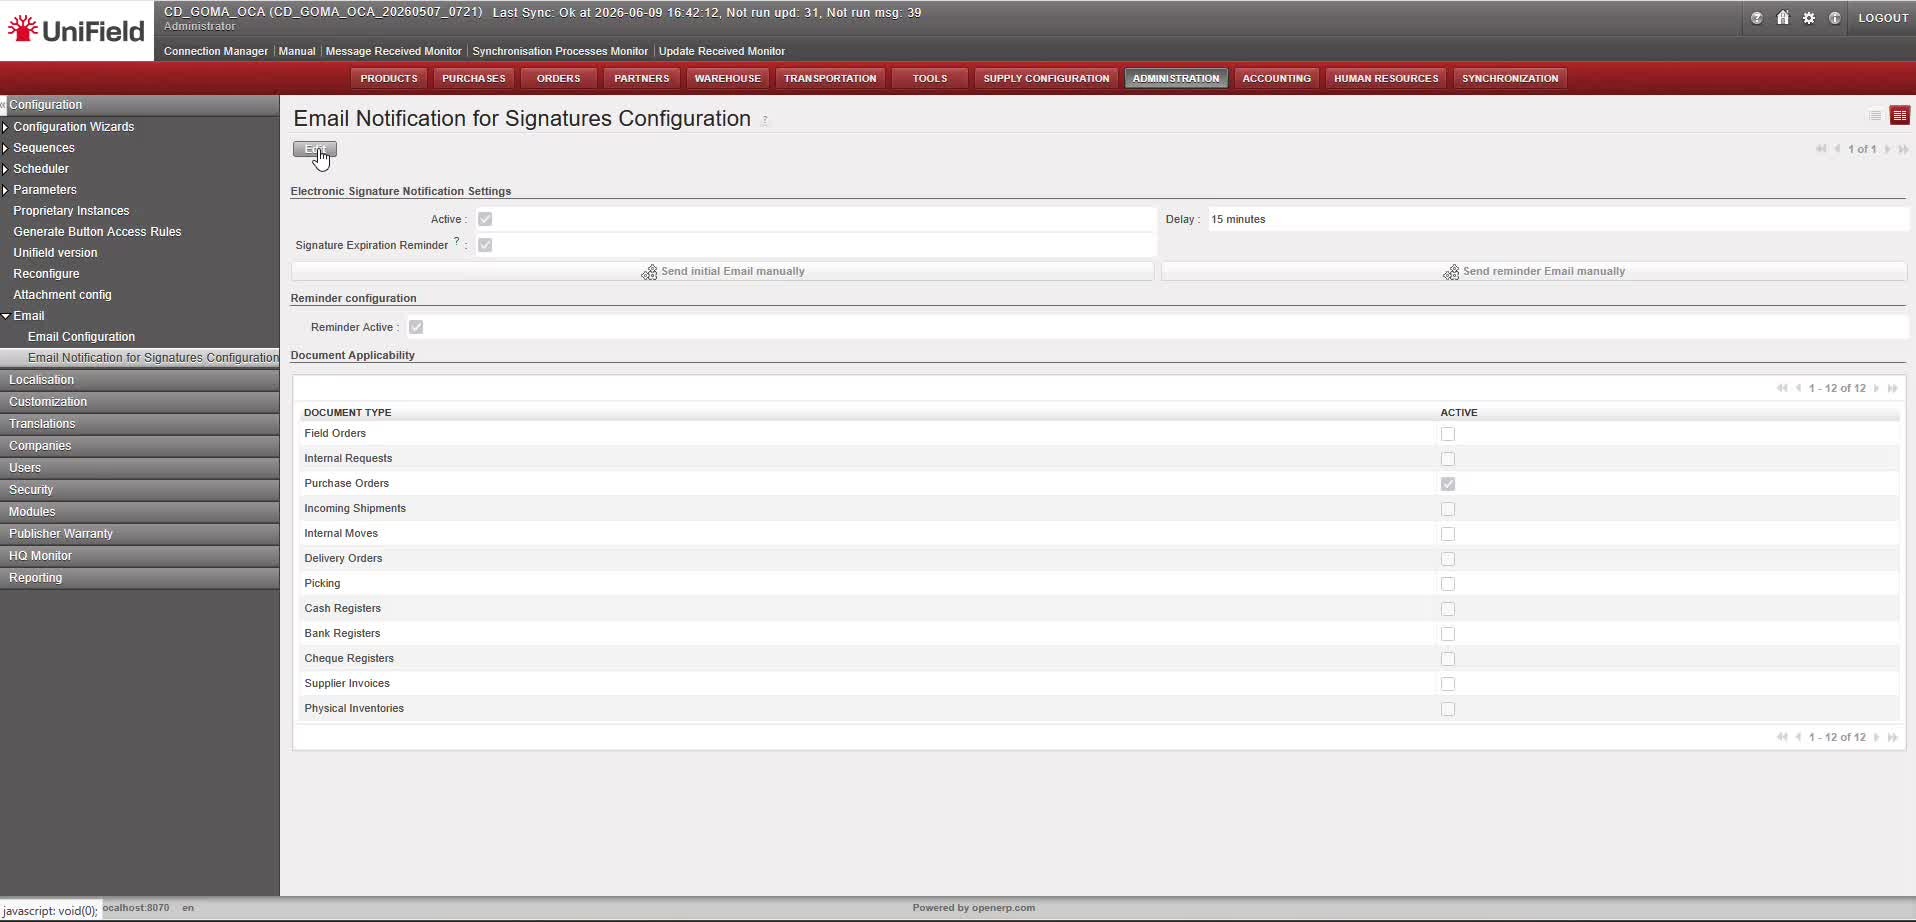
Figure 4 – Document Applicability table.
2. Notification Delays and the Initial E-mail
The notification system operates through two distinct scheduled mechanisms, each with a different delay pattern. Understanding how they interact is important for setting user expectations.
2.1 First (Initial) E-mail Notification
When a document becomes signable, a configurable delay is applied before the system sends the first notification to the current signee. This delay provides a correction window: if the document is signed before the delay expires, no notification is sent at all.
There are two ways to trigger the initial notification:
Option A – Automatic (Scheduler-based)
The scheduler runs periodically and checks for documents that have been in a signable state longer than the configured delay. Once the delay has elapsed and the signature is still pending, the system automatically sends the initial notification.
| Setting | Description |
| Delay options | 15 minutes / 30 minutes / 60 minutes |
| Grouping | Notifications for the same recipient are consolidated: a single e-mail lists all documents awaiting that user’s signature. |
| Condition | No notification is sent if the document was signed during the delay window. |
Option B – Manual Trigger
Users with appropriate access can bypass the scheduler by clicking the “Send request to sign” button on the Signature tab of the document. This sends the notification immediately, without waiting for the scheduler.
- The button is visible only when: notifications are globally active, the document type is active, all required signees are assigned, and the document is not yet fully signed.
- Manually triggered notifications are sent per document (not consolidated into a grouped e-mail).

Figure 5 – Signature tab of a Purchase Order: the ‘Send request to sign’ button (top right) and the Email logs section at the bottom showing notification history.
ℹ Note: the manual ‘Send request to sign’ button is functional only on Purchase Orders. On other document types, the button is hidden.
2.2 Cascade Notification Logic
Notifications follow a strict cascade: only the next required signee in the sequence is notified. No “for your information” e-mails are sent to previous signees who have already acted, or to future signees whose turn has not yet been reached.
When a signee completes their signature, the cascade logic applies the same configured delay before sending the notification to the next signee in the sequence.
| ⚠ Important: E-mail notifications are strictly informational. They do not constitute approval, delegation, or legal signature. All signature actions must be performed within UniField directly. |
2.3 Daily Reminder (Reminder Workflow)
If the Reminder Active checkbox is enabled in the configuration, a separate daily scheduler runs once per day to send reminders to signees who have not yet acted on a pending signature request.
| Setting | Description |
| Trigger | Runs once per day. |
| Condition | Initial notification must already have been sent (automatic or manual). |
| Duration | Reminders are sent for a maximum of 30 days after the document first became signable. After 30 days, reminders stop automatically. |
| Grouping | Reminders for the same recipient are consolidated into a single daily e-mail covering all pending documents. |
| Stop conditions | Reminders stop when: the document is fully signed, the document is cancelled, or the 30-day window has elapsed. |
| ℹ Note: The 30-day reminder window is counted from the moment the document becomes signable — not from the date the initial notification was sent, and not from the signature validity expiry date. |
3. Signature Expiration Reminder
UniField stores a validity period for each user’s electronic signature. The signature expiration reminder is an optional add-on that embeds an expiry alert within regular notifications and reminders, without generating a separate e-mail.
3.1 How it works
When the Signature Expiration Reminder checkbox is active in the configuration, the system checks the stored signature expiry date of each notified signee. If the expiry date is 30 days or less from today, an expiry alert line is automatically included in the same notification or reminder e-mail.
| Setting | Description |
| Activation | Enabled via the ‘Signature Expiration Reminder’ checkbox in Administration → Configuration → Email → Email Notification for Signatures Configuration. |
| Trigger condition | The stored e-signature of the notified user expires within 30 days. |
| Delivery | The expiry message is appended to the regular notification or reminder e-mail — no separate expiry e-mail is generated. |
| Independence | The expiry reminder is independent from the 30-day document reminder window. Expiry alerts can appear in any notification triggered by the scheduler or manually. |
| ⚠ Important: If a user’s signature has already expired, they cannot be assigned as a signee. The system prevents selection of signees with expired validity. A notification is sent to users holding the Sign_document_creator_finance or Sign_document_creator_supply role so that renewal or reassignment can be arranged. |
4. Who Receives the Notifications
Notification recipients follow the cascade logic of the electronic signature workflow. A clear set of rules governs who receives which type of e-mail.
| Setting | Description |
| Initial notification / Reminder | The current required signee only — the next person in the signature sequence whose action is pending. |
| Cascade (next signee) | The notification is sent to the next signee only after the previous one has signed, respecting the same configured delay. |
| Fully signed notification | Sent to the document creator once the last required signature has been applied. |
| Expiry alert (signature expiry approaching) | Included in notifications sent to the signee whose personal e-signature validity is within 30 days of expiry. |
| Expired signature alert (for reassignment) | Sent to users with the Sign_document_creator_finance or Sign_document_creator_supply role, to allow corrective action. |
| ℹ Note: E-mail content is intentionally minimal: it includes only the instance name, document type, document reference, a call to action, and — if applicable — the expiry alert. No financial data, supplier names, document content, or signature history is included in the e-mail. |
5. Viewing Notification Logs
Two levels of notification logging are available in UniField: per-document logs, and a global log accessible from the Tools menu.
5.1 Per-Document Log (Signature Tab)
Within any signable document, open the Signature tab and scroll to the bottom. The Email logs section lists all notifications sent for that document, showing:
- Email recipient(s)
- Date sent
- Final result (e.g. “The email was sent successfully”)
- State (Success / Error)
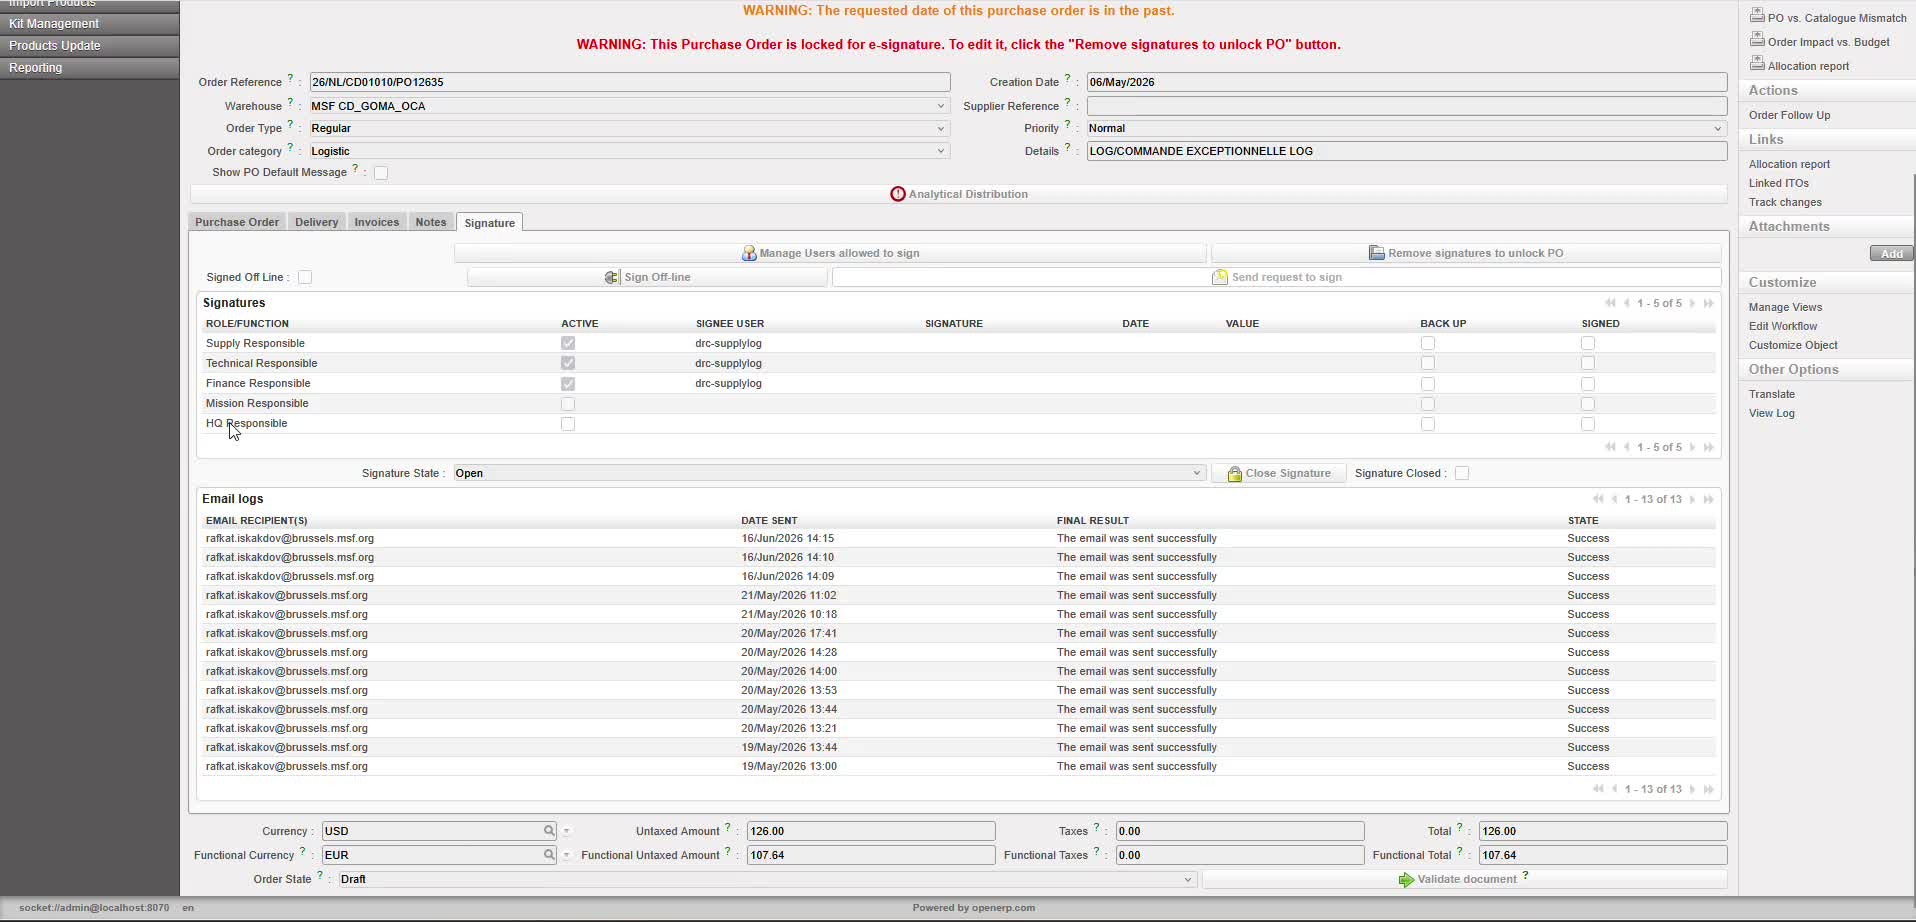
Figure 6 – Email logs section at the bottom of the PO Signature tab, showing the full notification history for that document.
5.2 Global E-mail Log (Tools)
A consolidated log of all signature-related e-mails sent across the instance is available at:
Tools → Email logs → Signature email logs
This logs limited to technical information only: recipient e-mail address, linked UniField user, and timestamp. No message content or delivery metadata is stored.
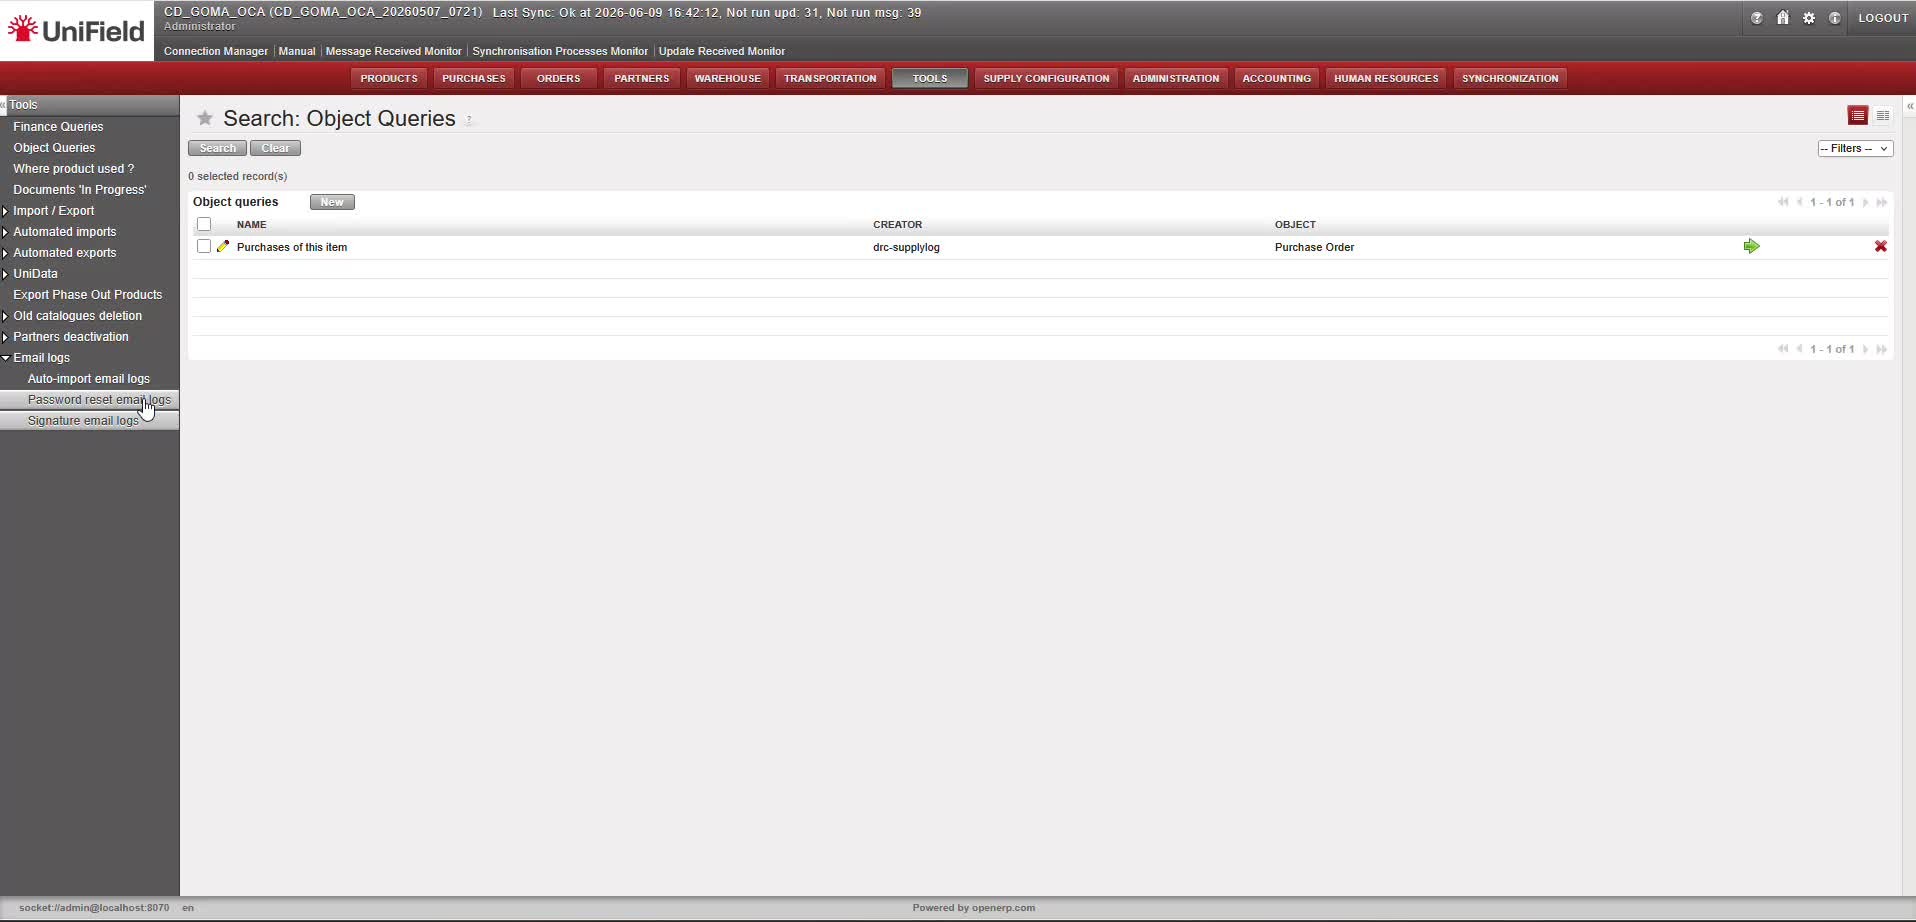
Figure 8 – Tools → Email logs menu, showing the Signature email logs entry alongside existing log categories.