Supply User Manual ENG -> 5. Warehouse -> 5.2 LU-SU4101: Incoming Shipments -> Q. HOW TO RECEIVE A PRODUCT IN CROSS DOCKING
Q. HOW TO RECEIVE A PRODUCT IN CROSS DOCKING
As already explained in the section “How to receive an Incoming Shipment“, if goods are received on an instance but are not intended to stay in this instance but rather sent to another customer instance, they will transit through the “Cross docking” location.
The “Cross docking” location will also be used as a transit zone if goods are received on an instance but need to be sent to an External Consumption Unit. This will be the case if an IR with an ECU as Location Requestor is sourced on order (PO) and later on received with the processing of an IN. Goods will be received in cross docking and shipped to the ECU with a Delivery Order (OUT).
The cross docking process allows the user to proceed with the reception of an Incoming Shipment without putting the received goods in stock. They will remain in a temporary location, called “Cross docking“, from where they will be shipped to the requester.
Goods ordered via a PO originating from an FO or from an IR with an ECU as Location Requestor will automatically be directed to the “Cross docking” location.
|
|
|
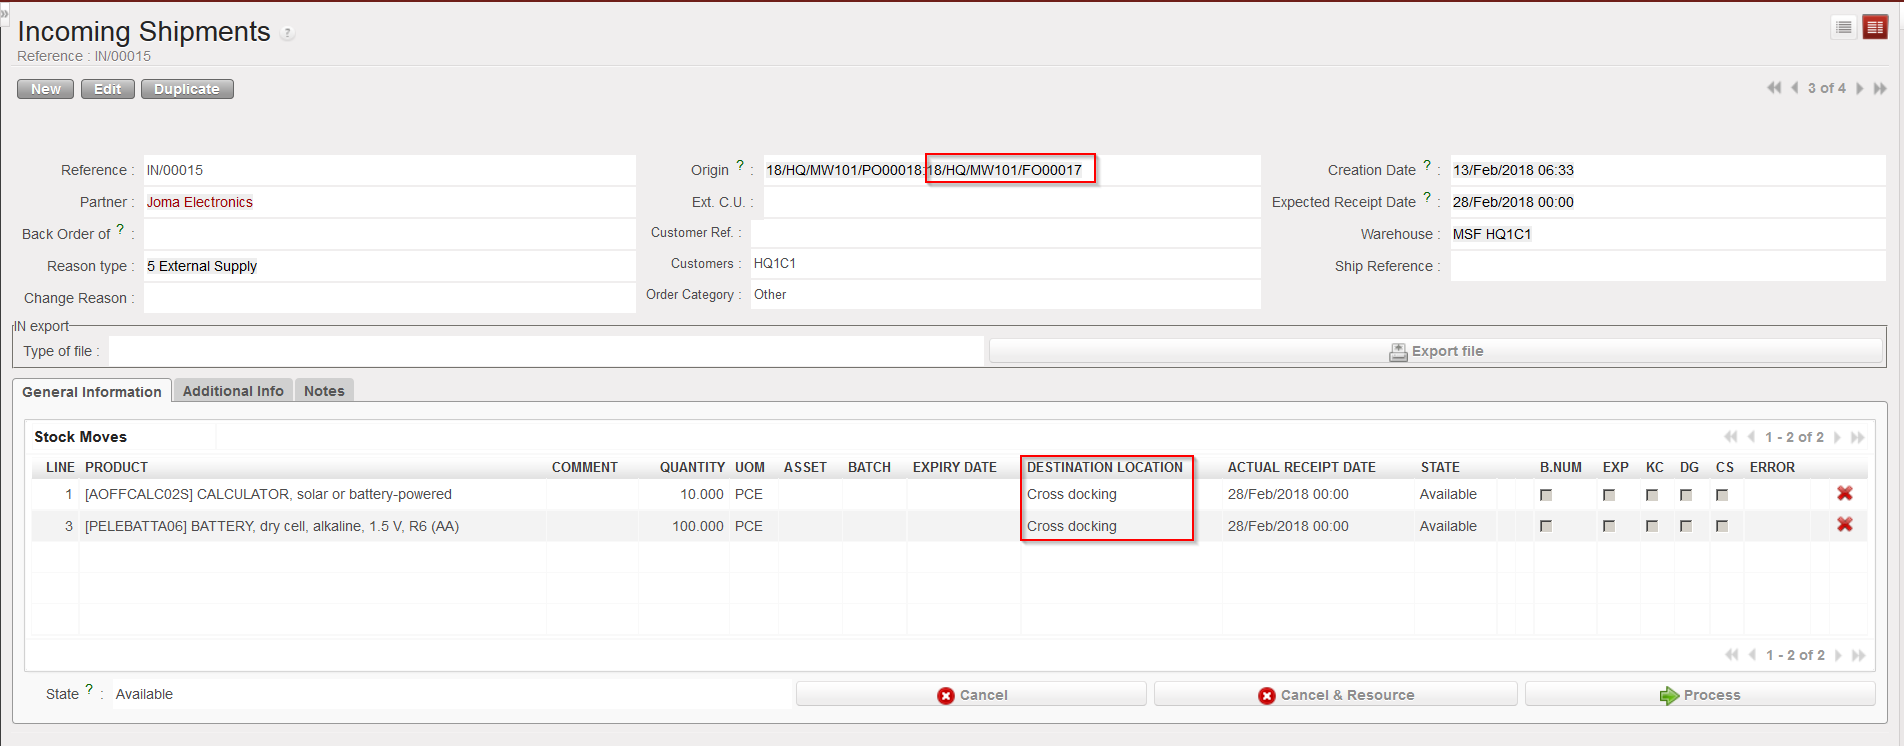
IN related to PO created from FO sourcing |
|
|
|
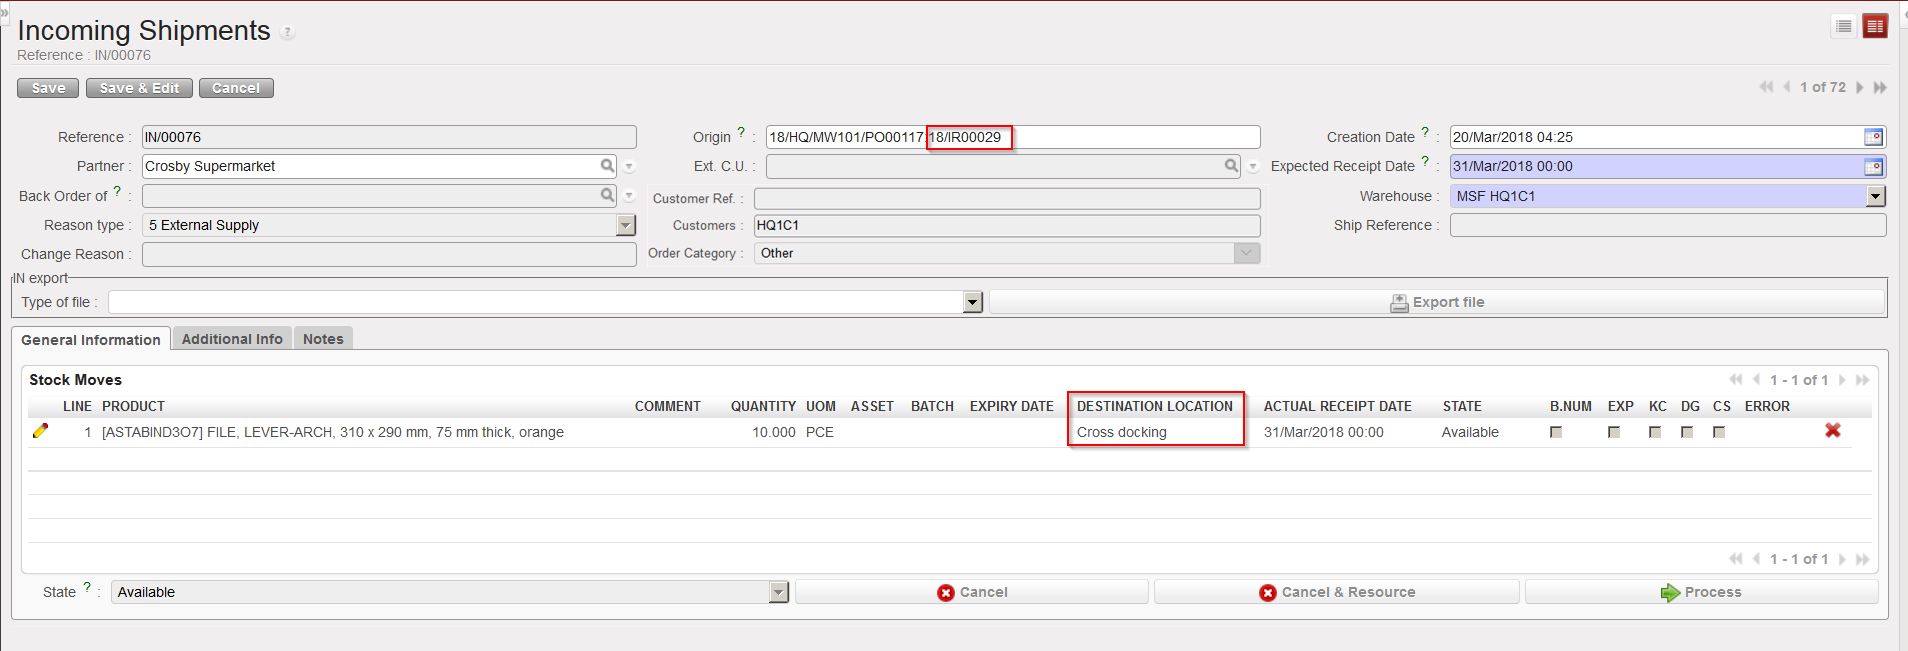
IN related to PO created from IR sourcing with ECU as Location Requestor |
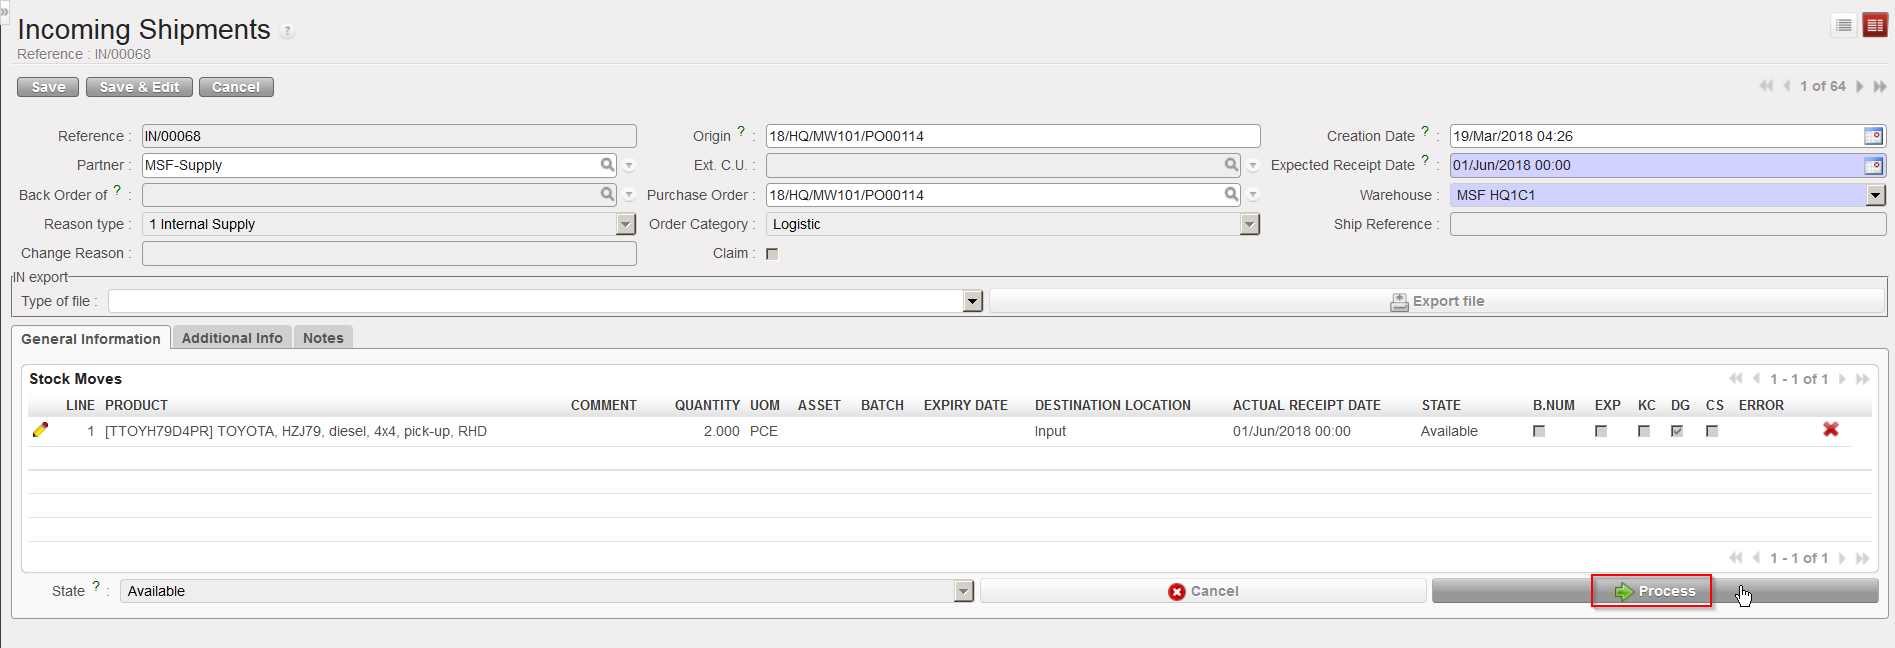
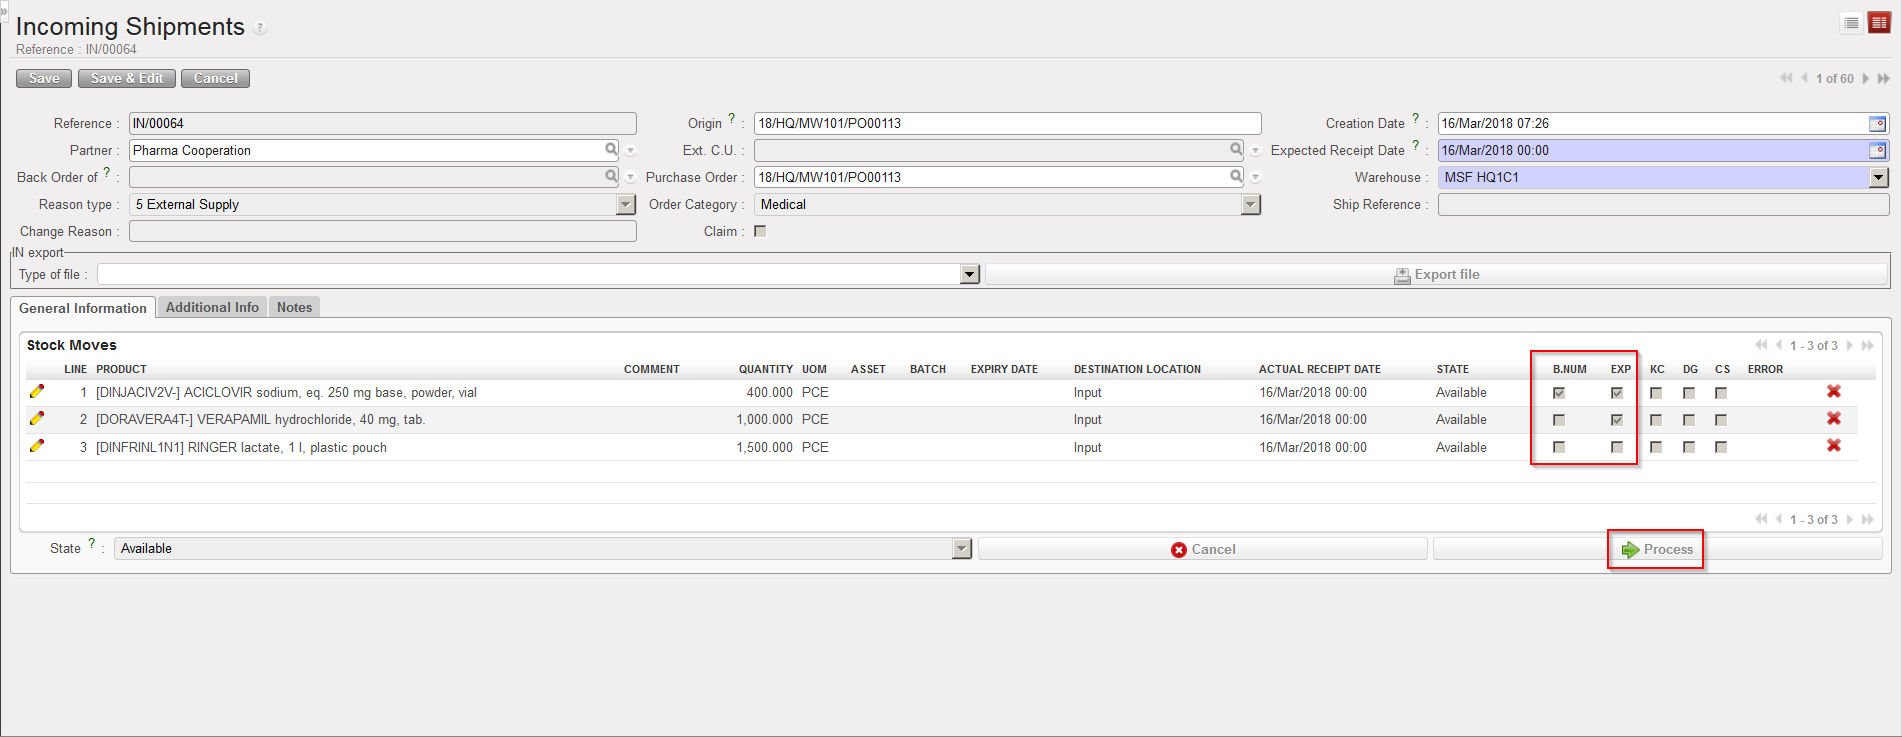
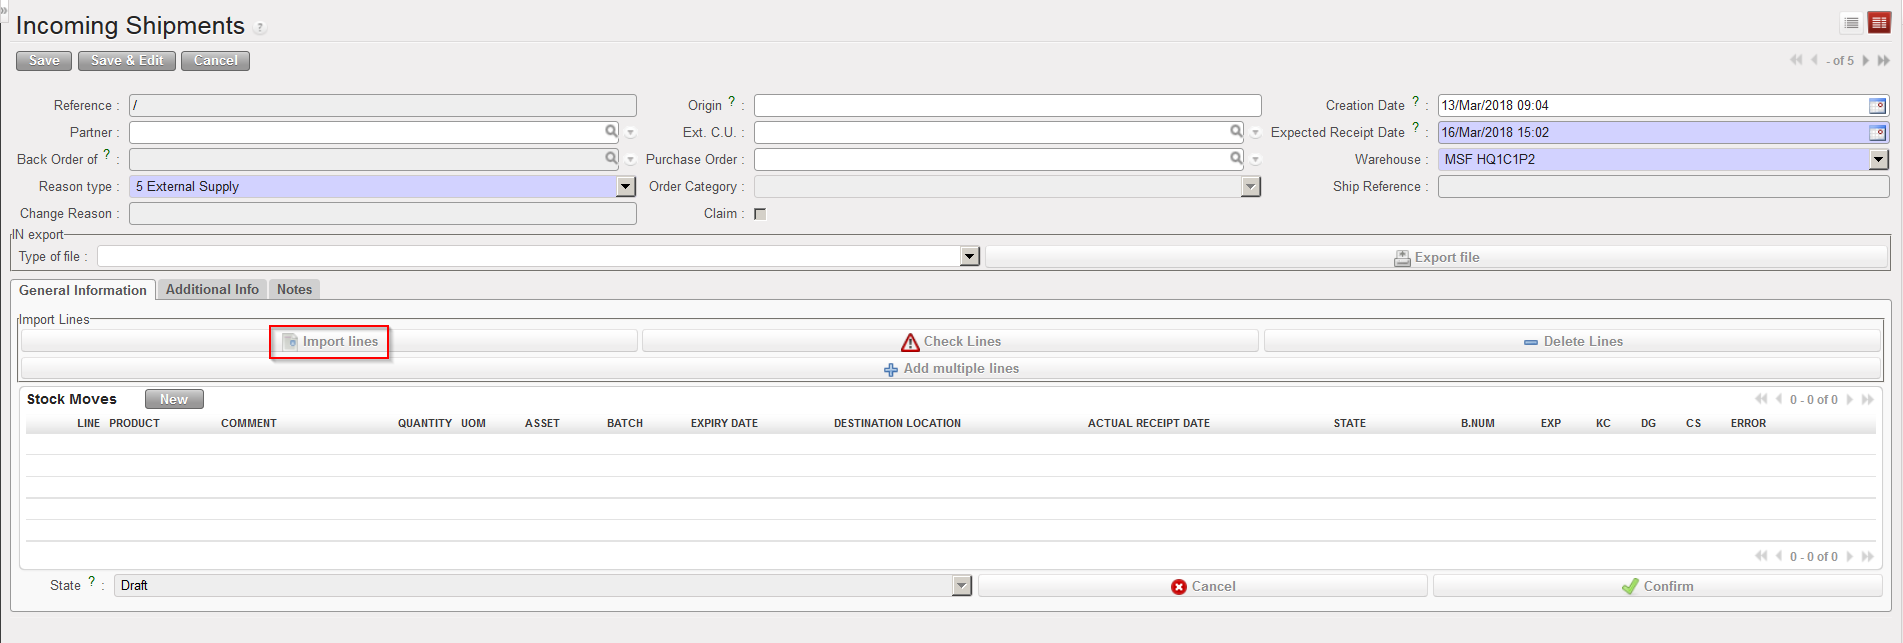
Go to: Warehouse / Warehouse Management / Incoming Shipments
- Open the Incoming Shipment you wish to receive.
- Click on the “Process” button to initiate the reception process.
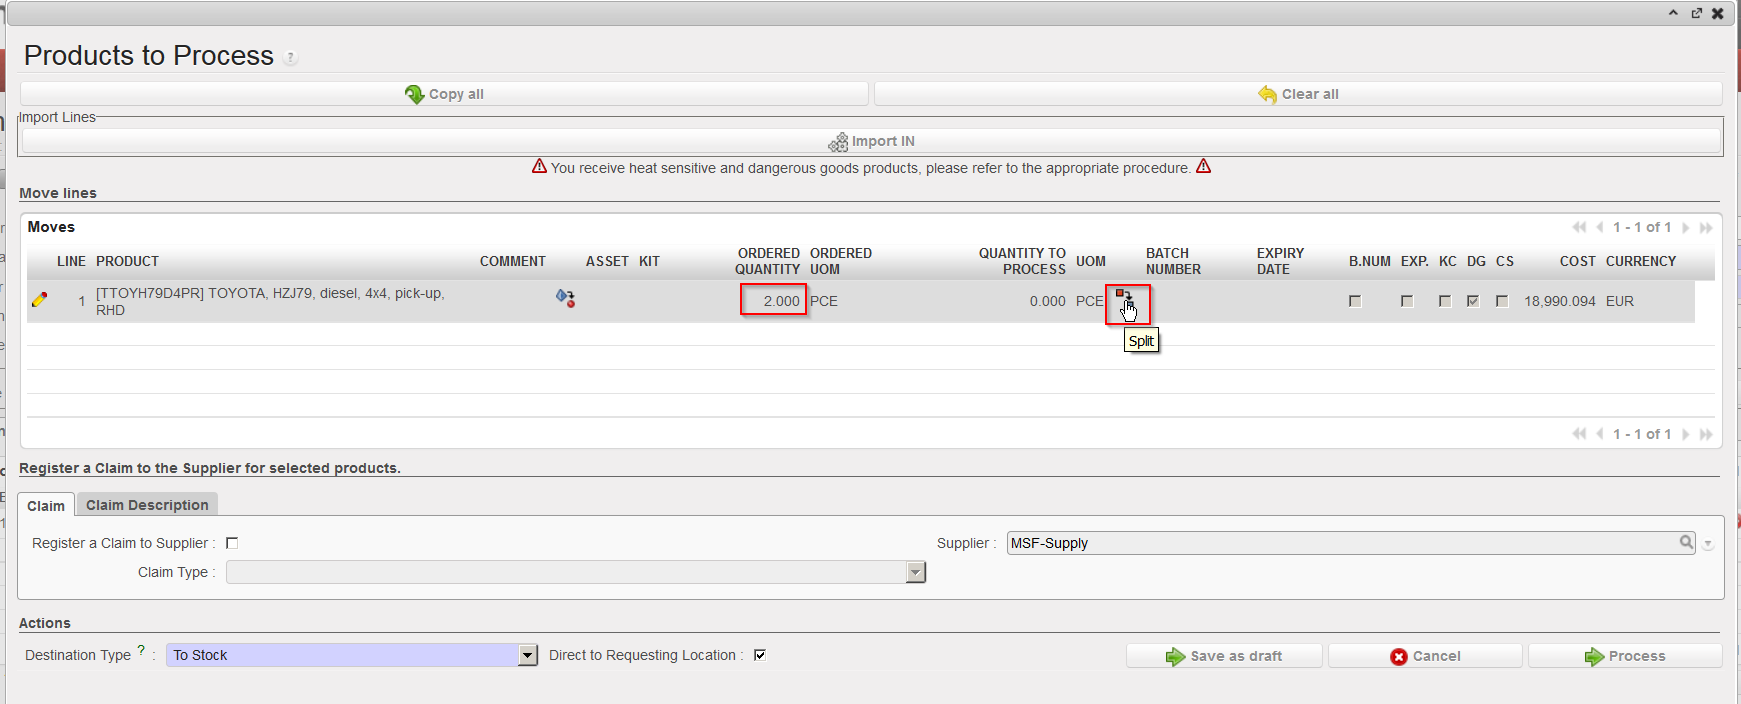
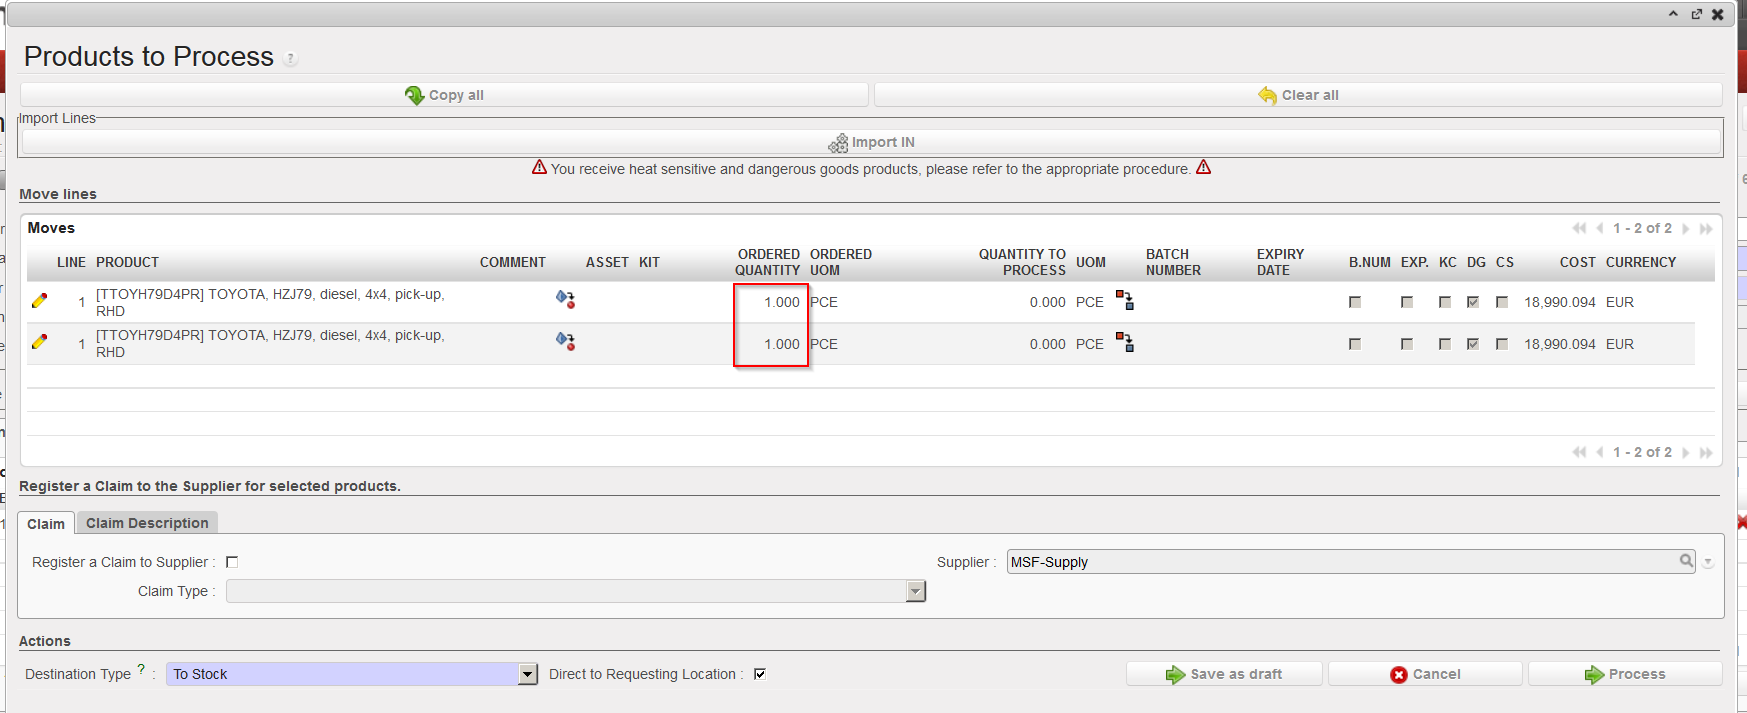
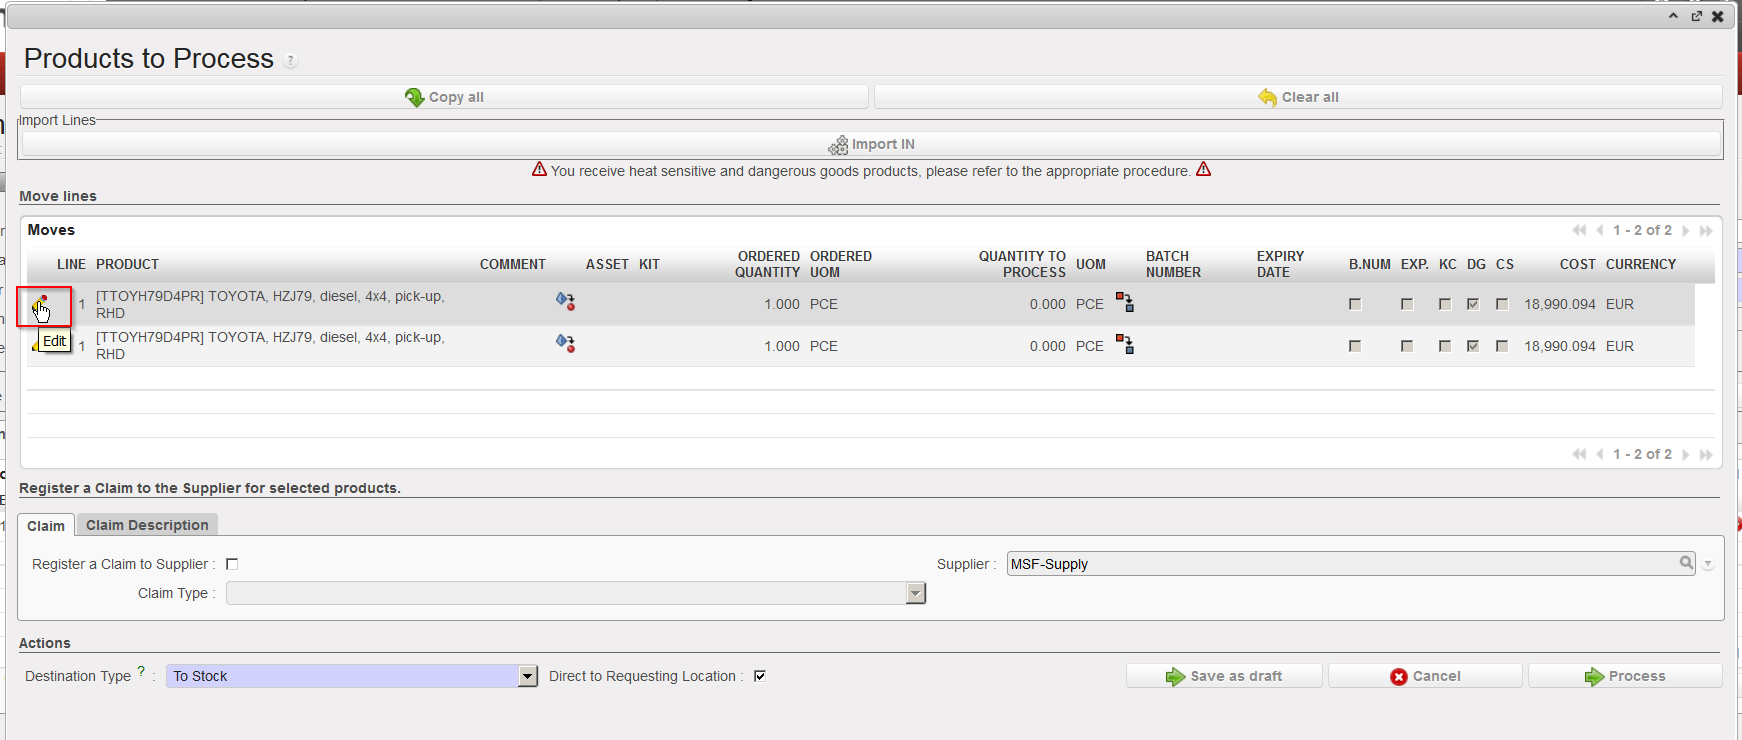
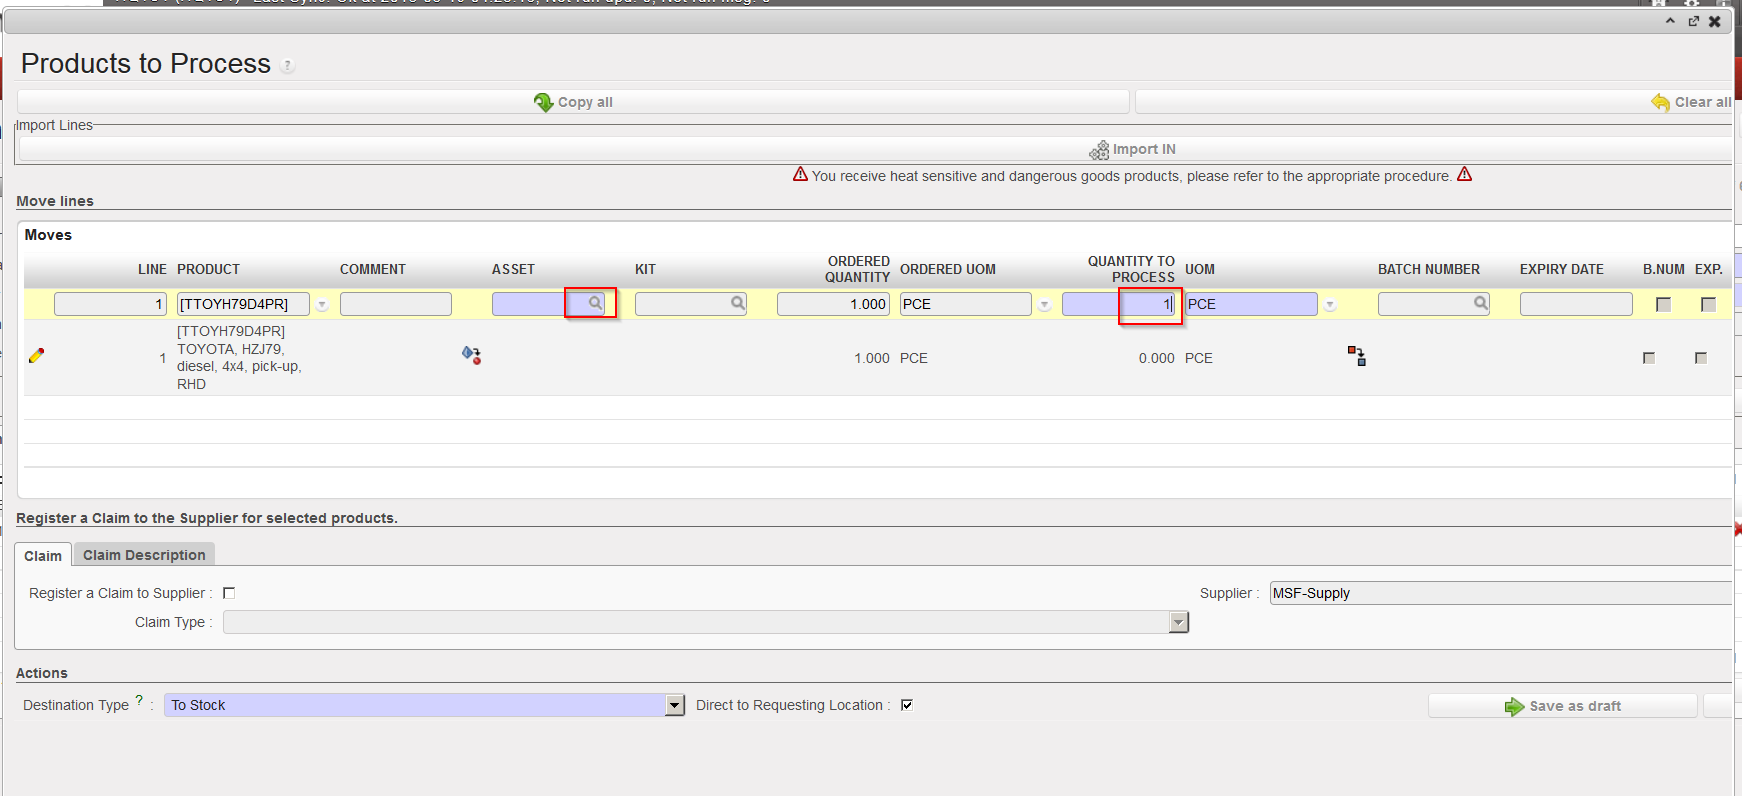
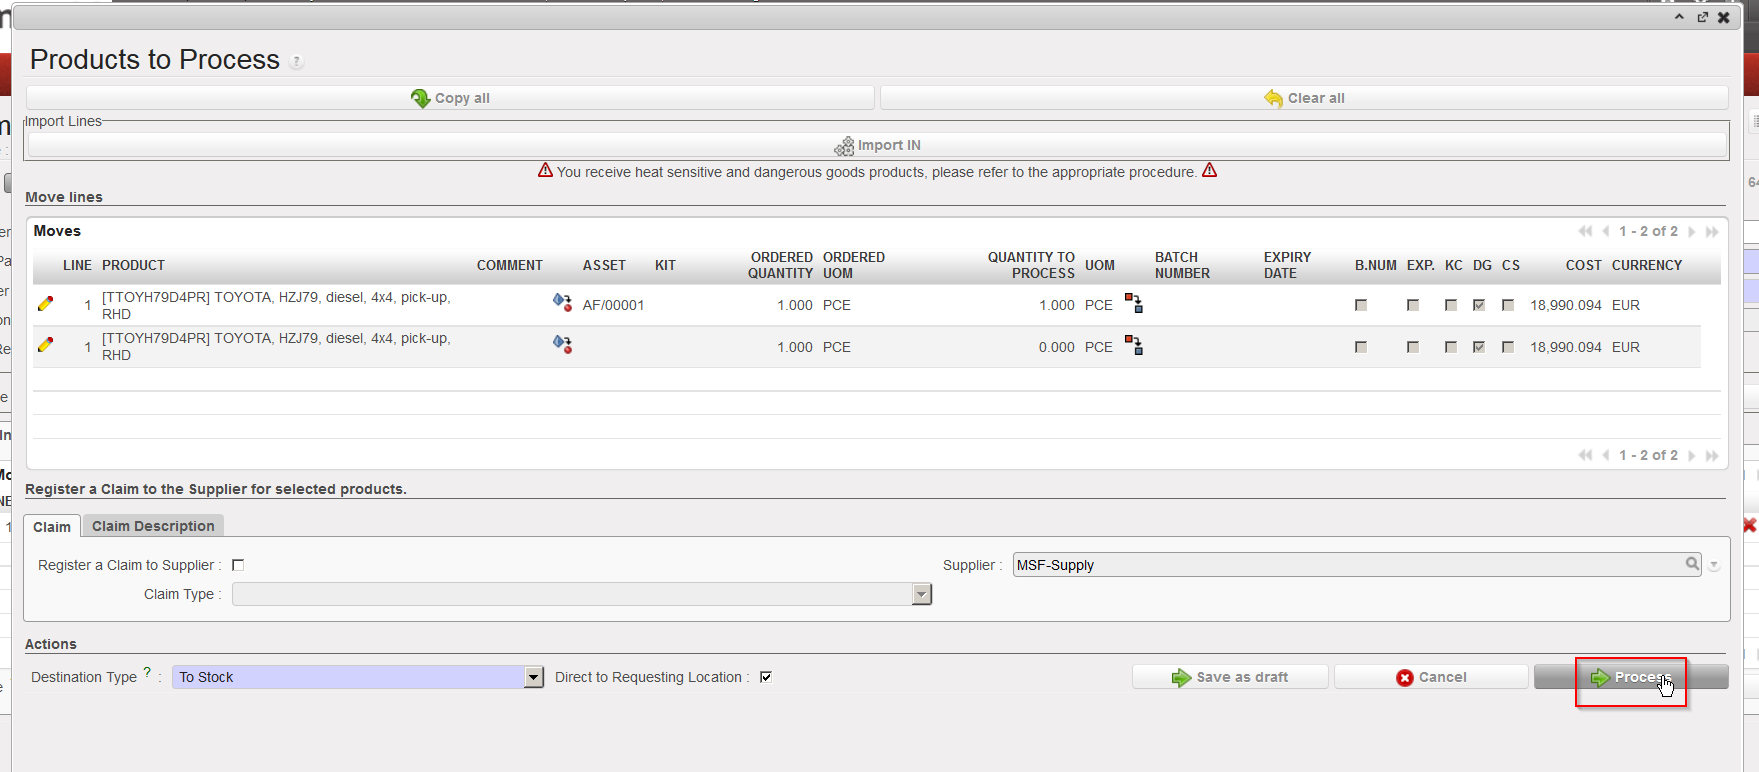
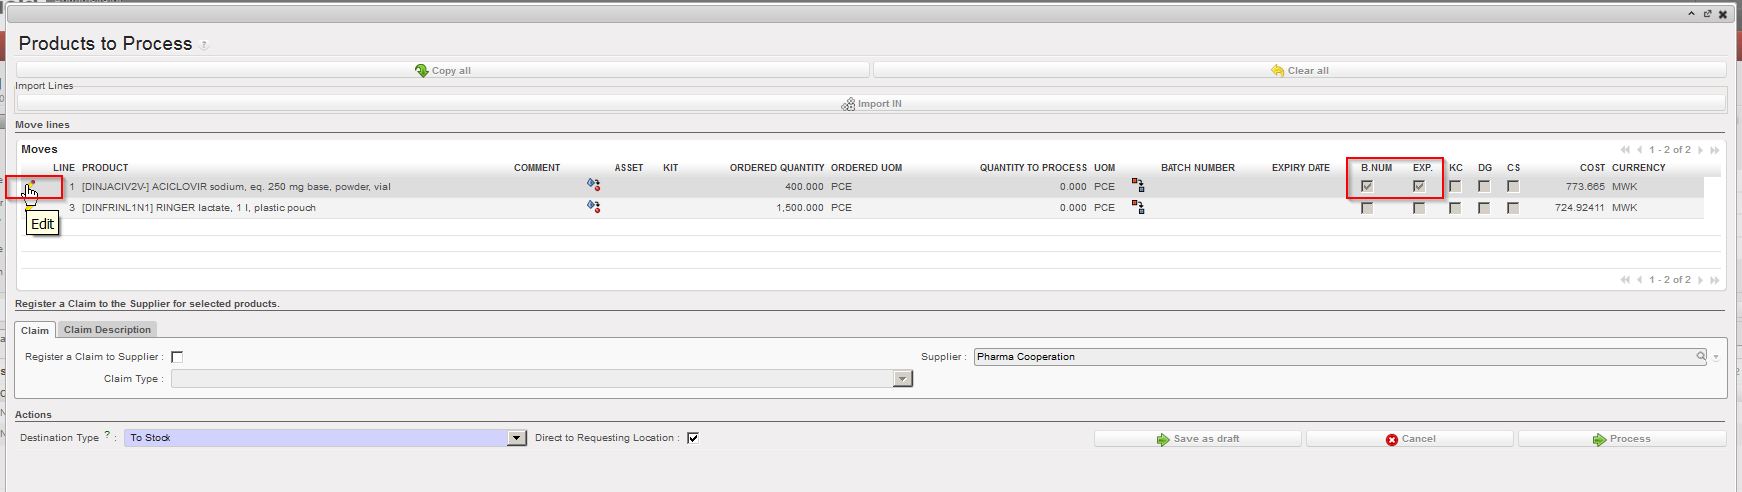
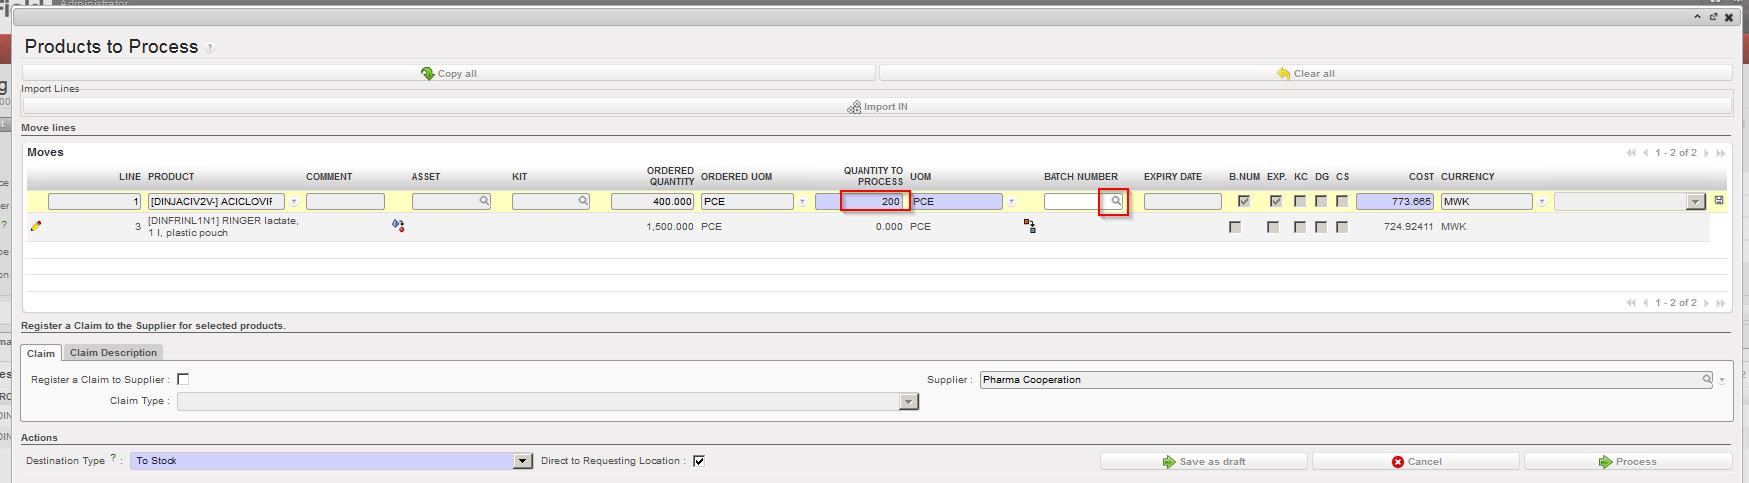
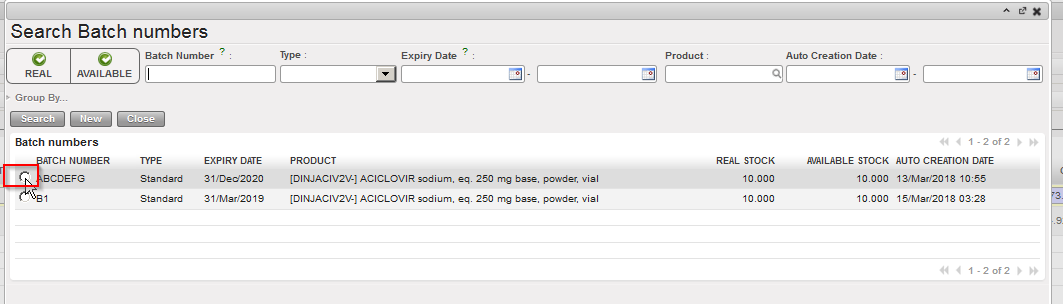
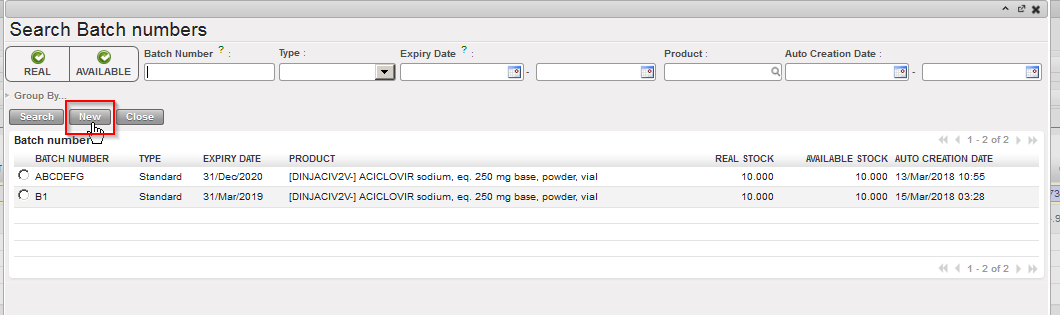
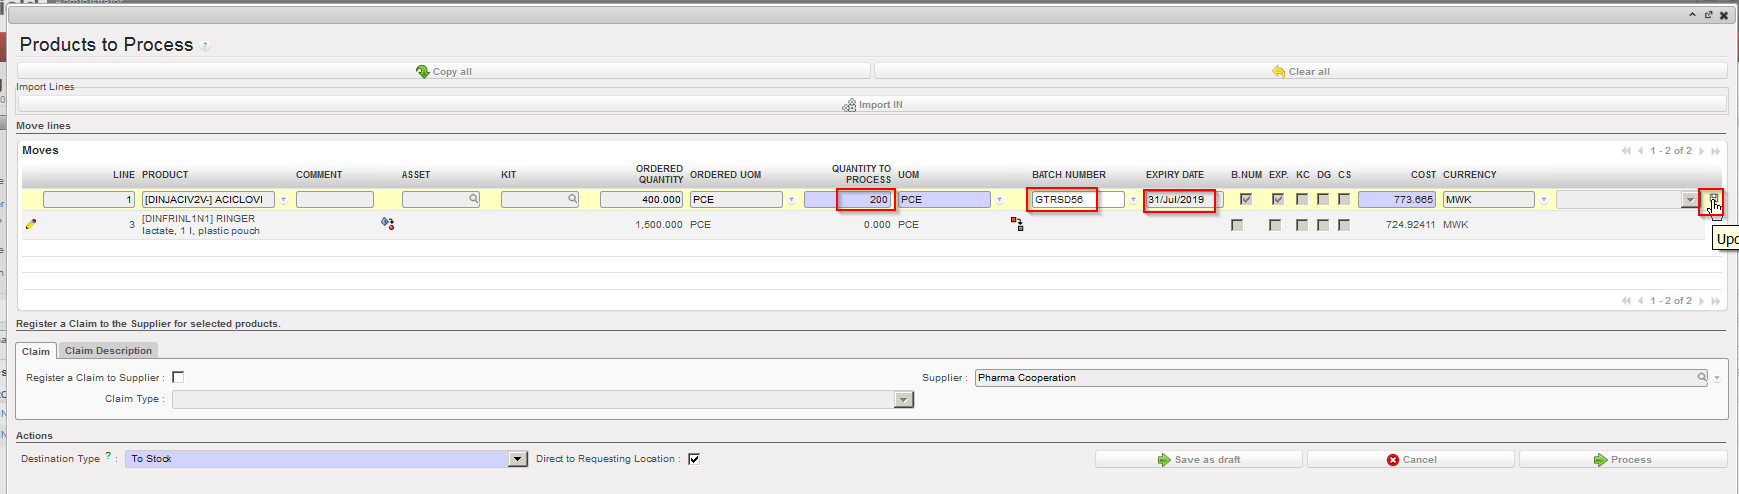
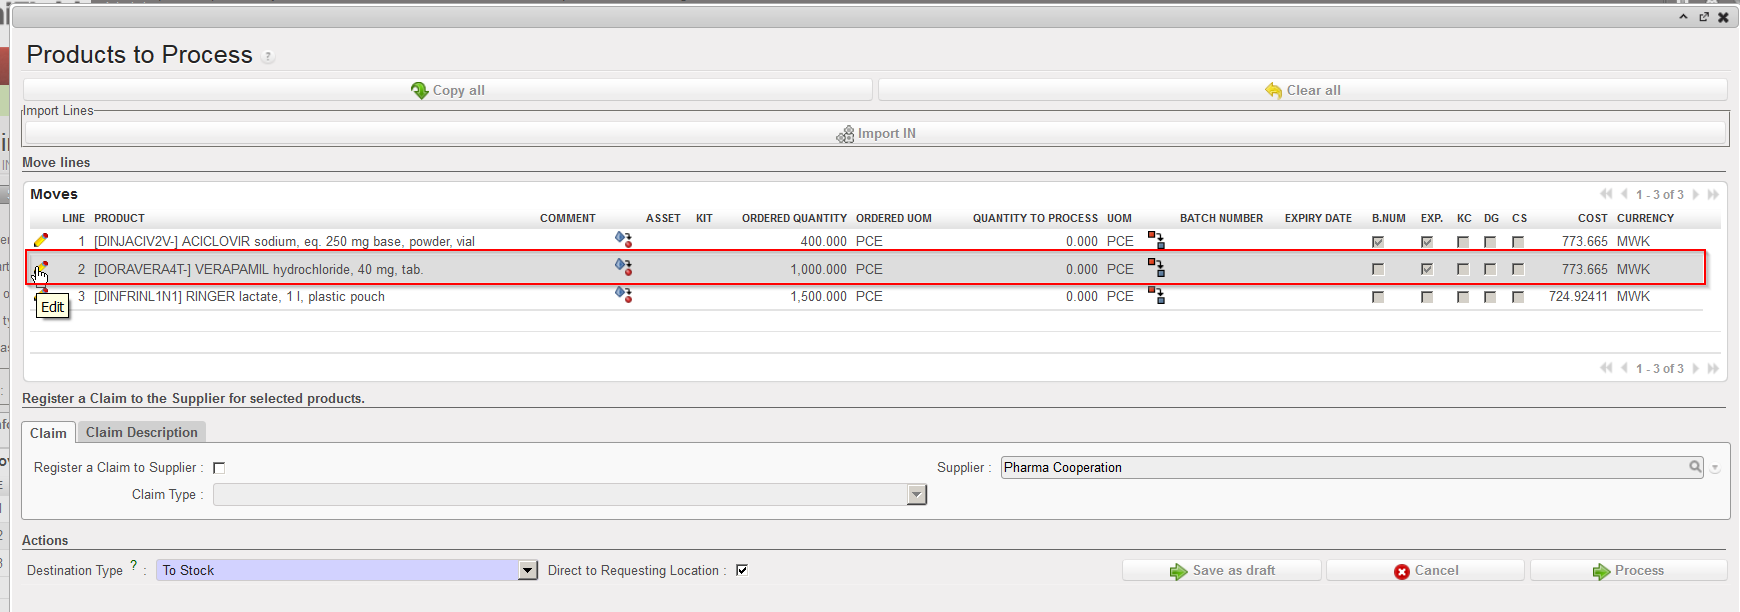
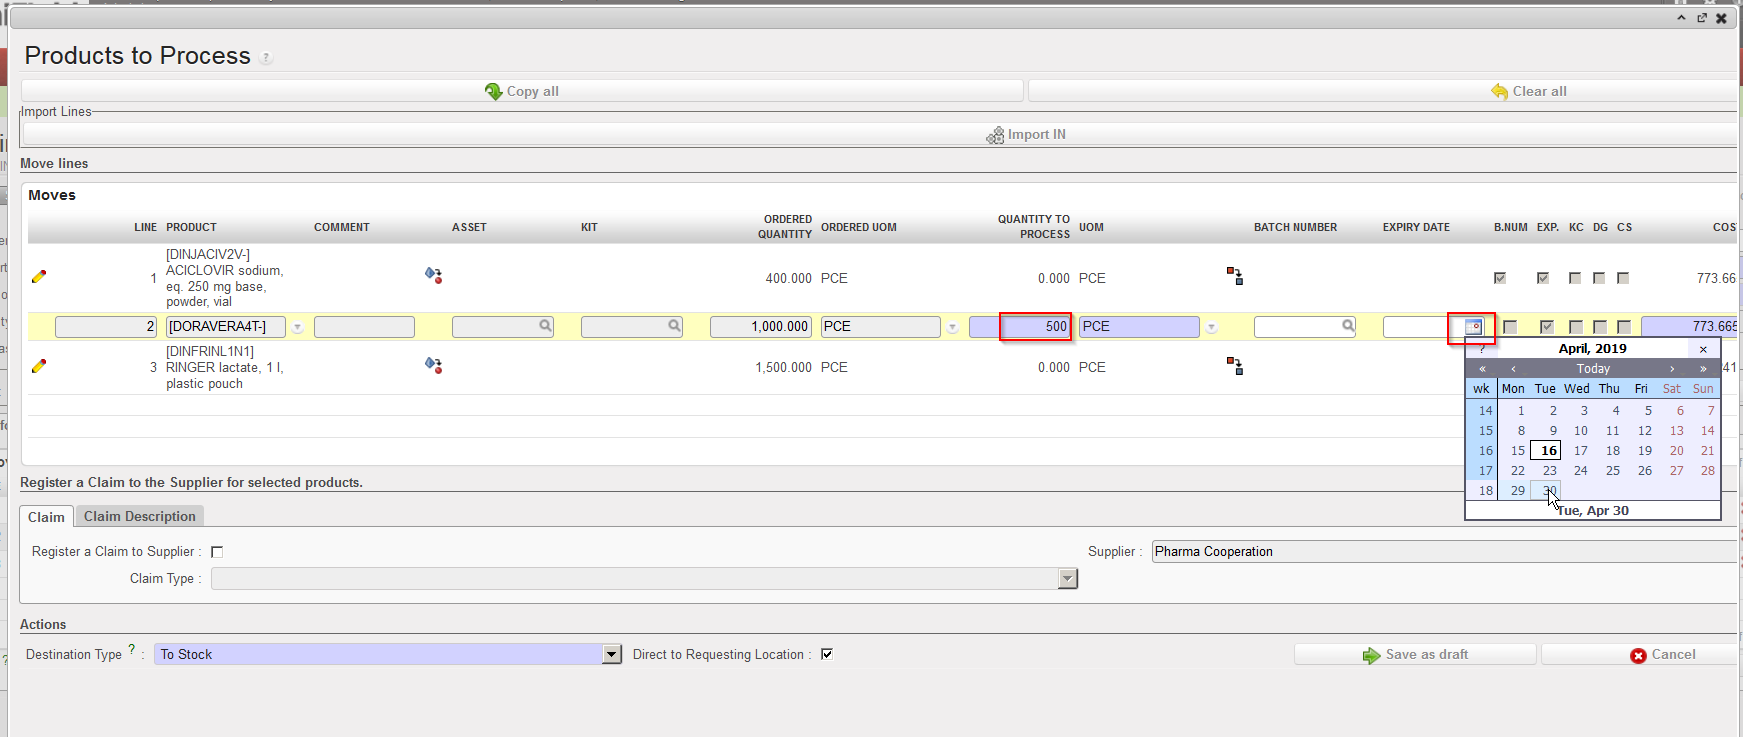
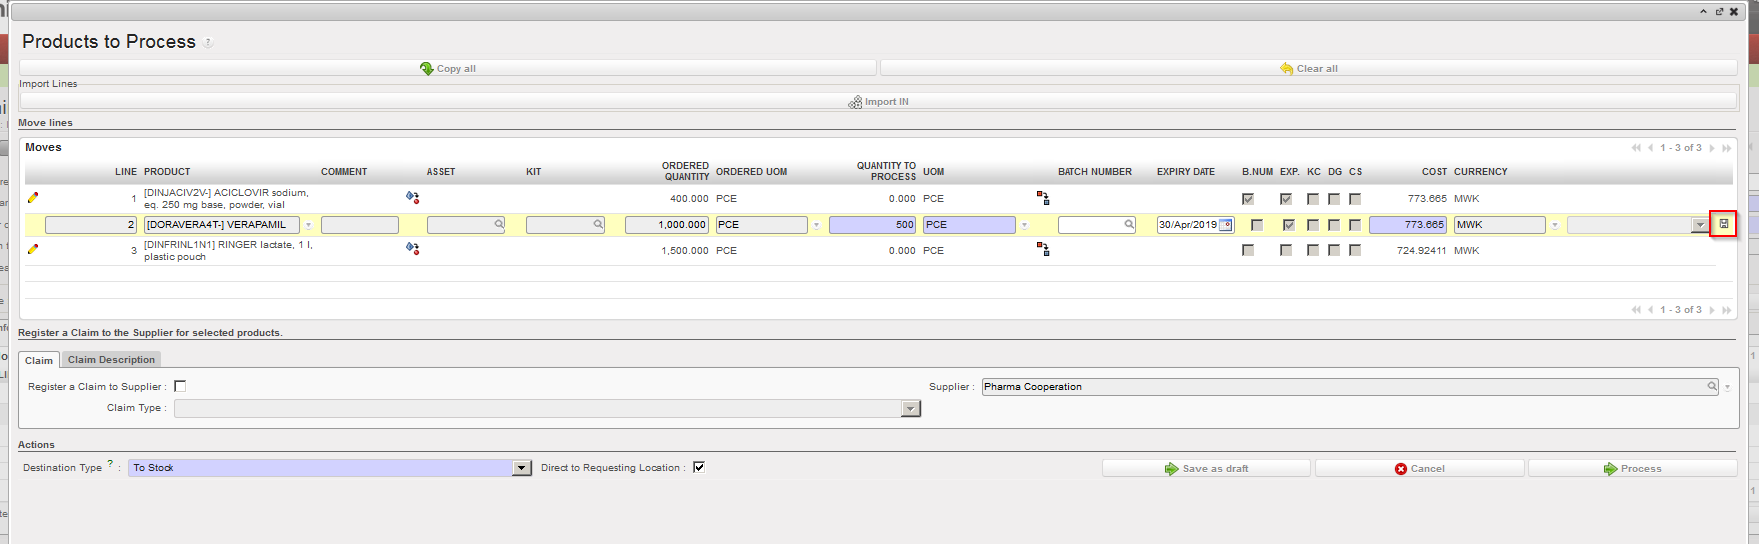
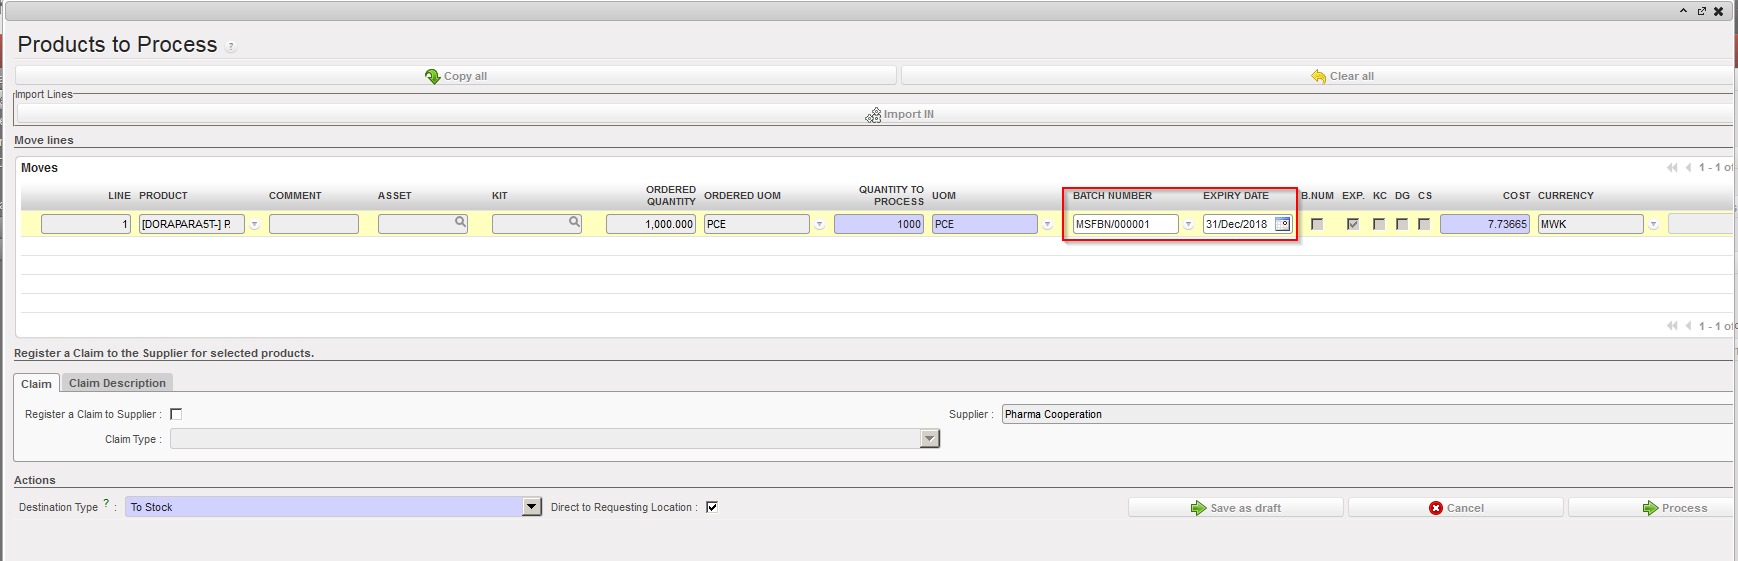
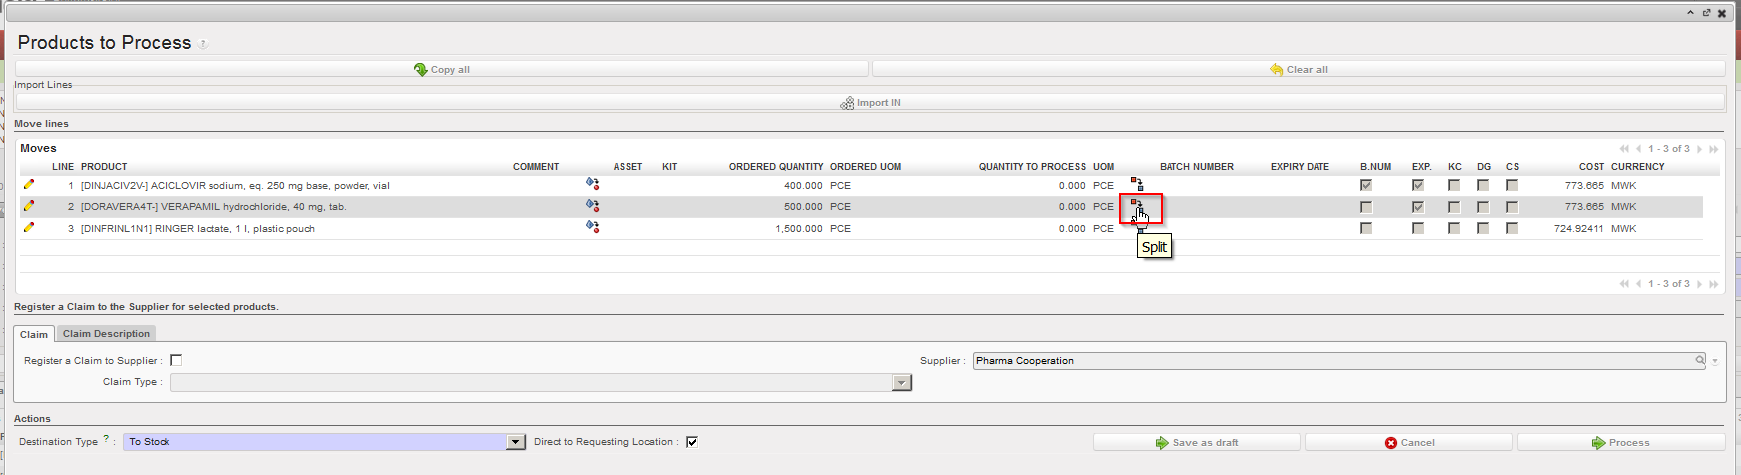
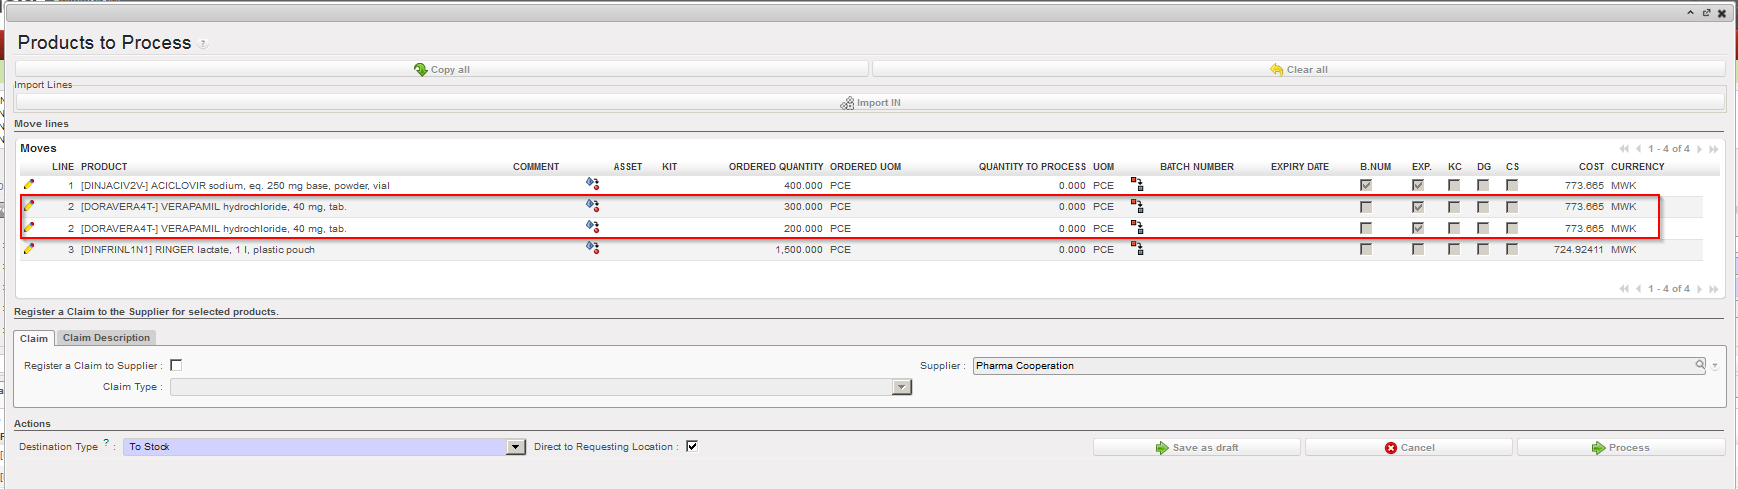
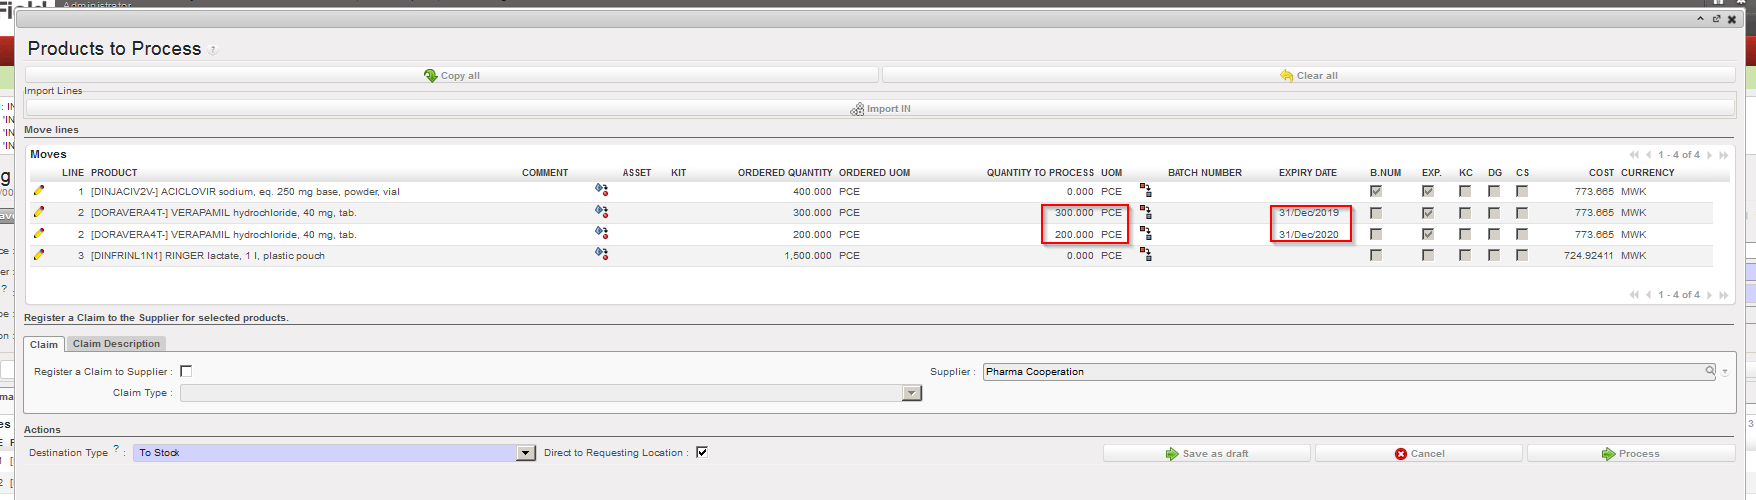
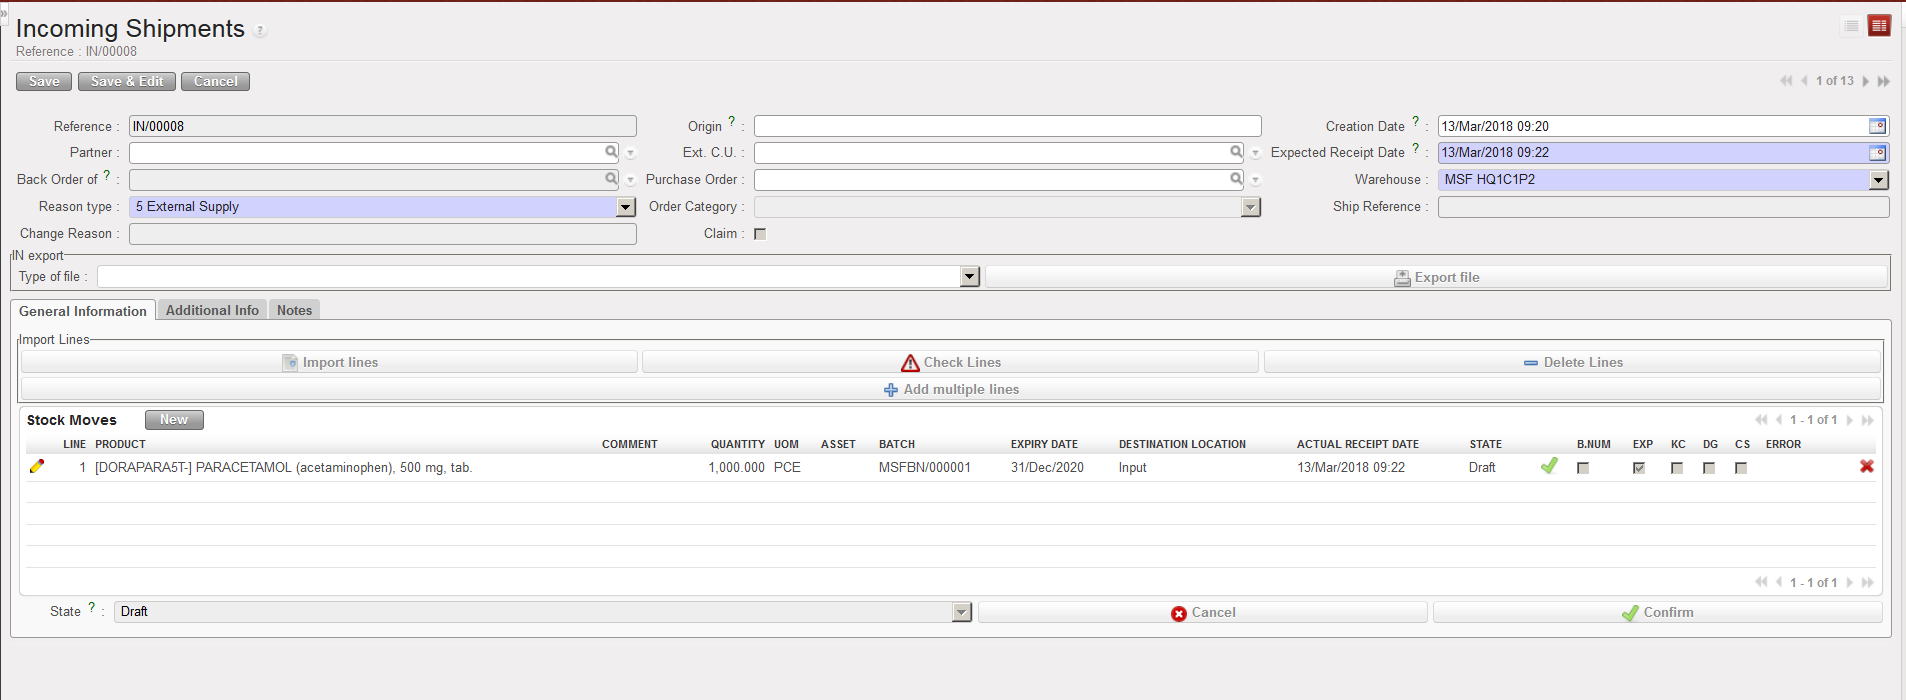
- On the “Products to Process” screen, check that the products and quantities match with the delivery, and add quantities using the “Copy all button” or using the pencil
 icon located on the left side of the screen on the line(s) to process.
|
|
|
Receiving goods in cross docking |
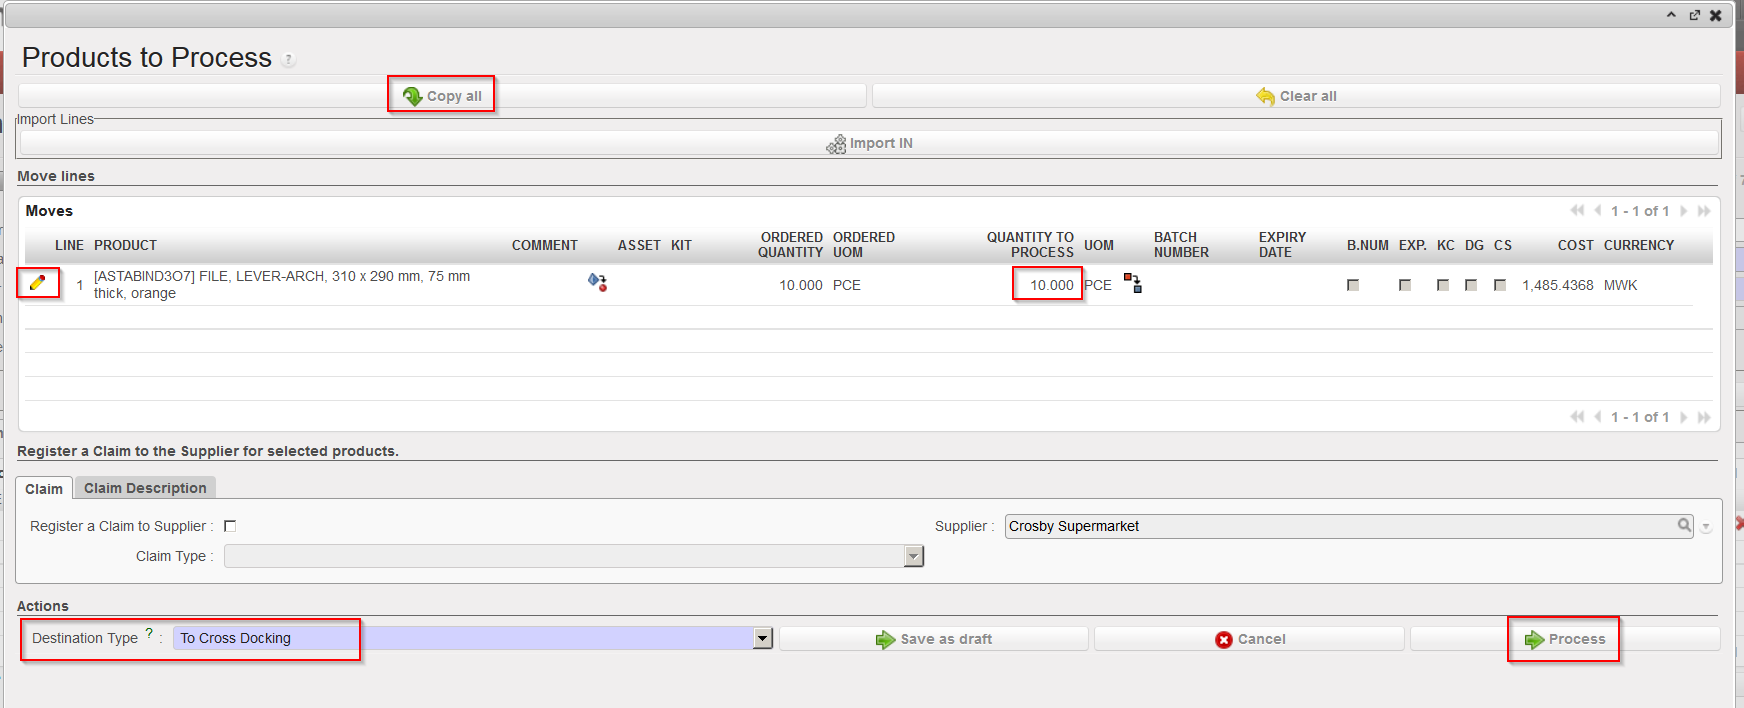
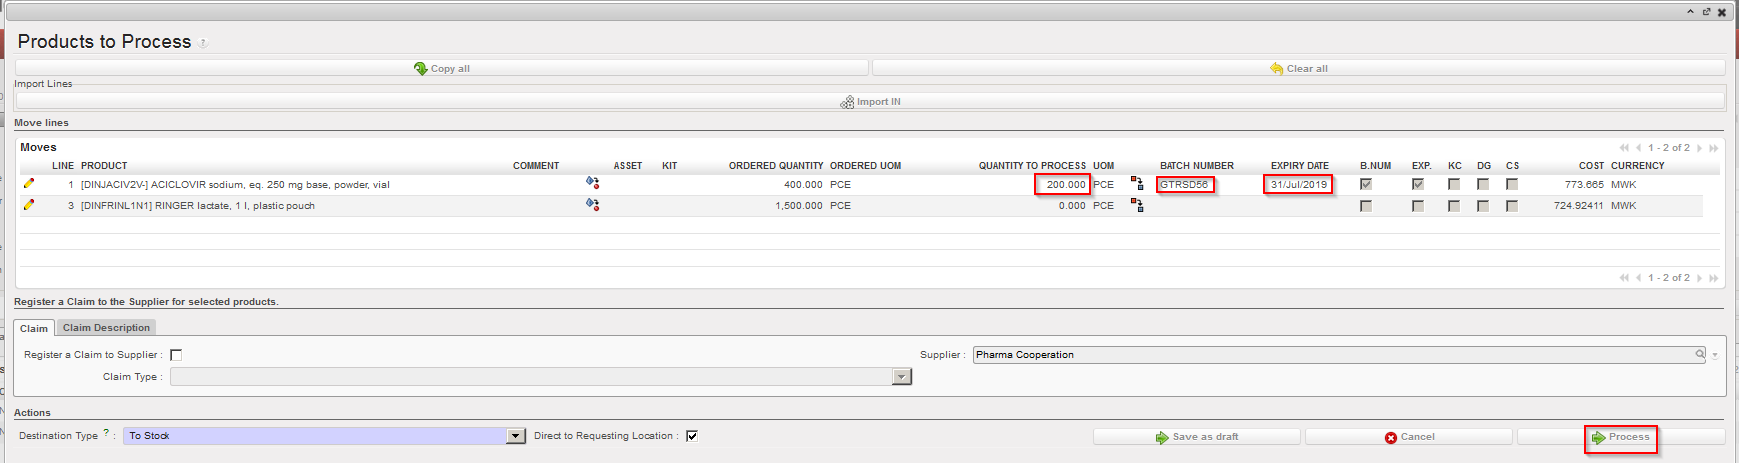
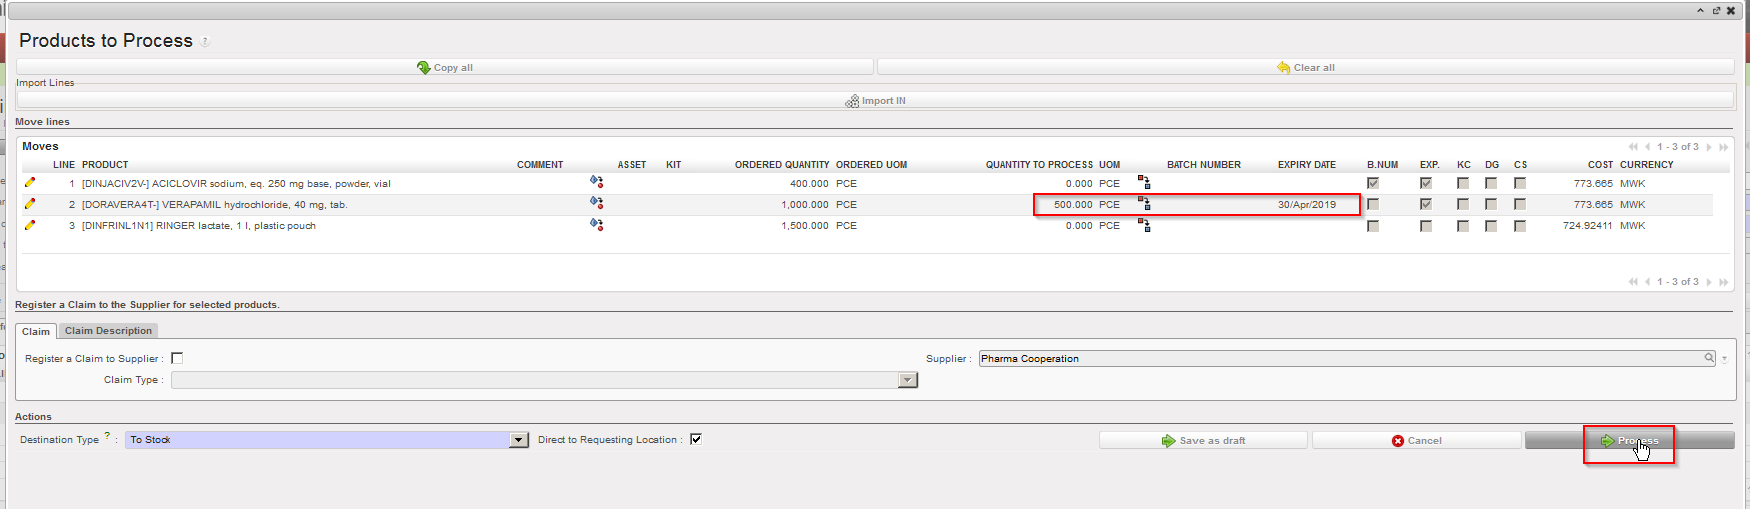
Note that the “Destination Type” is “To Cross Docking” and that the checkbox “Direct to Requesting Location” is not present in this case.
4. Click on the “Process” button to receive the products in cross docking.
|
|
|
Goods received in cross docking |
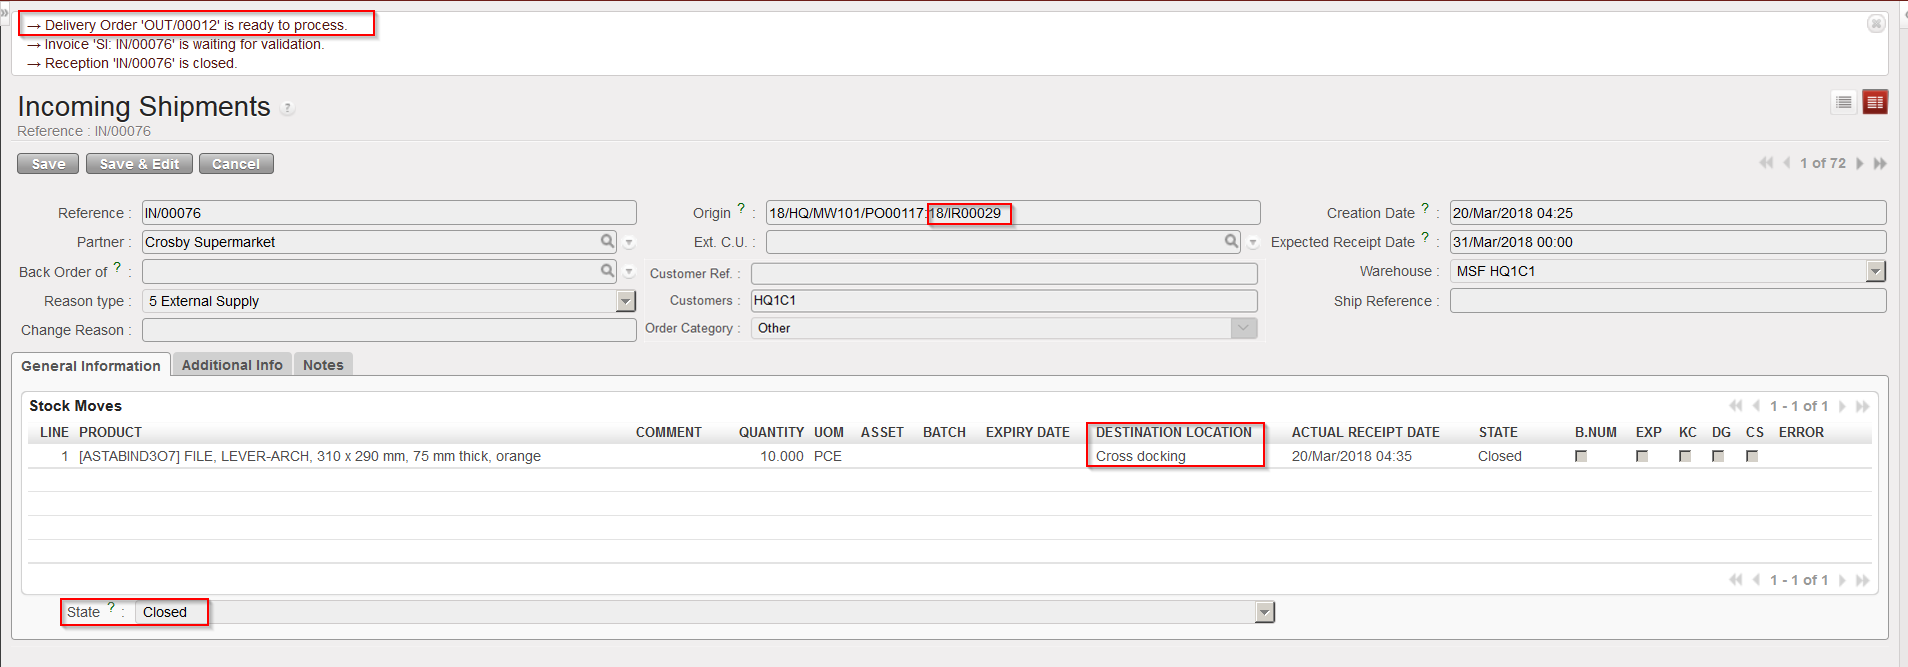
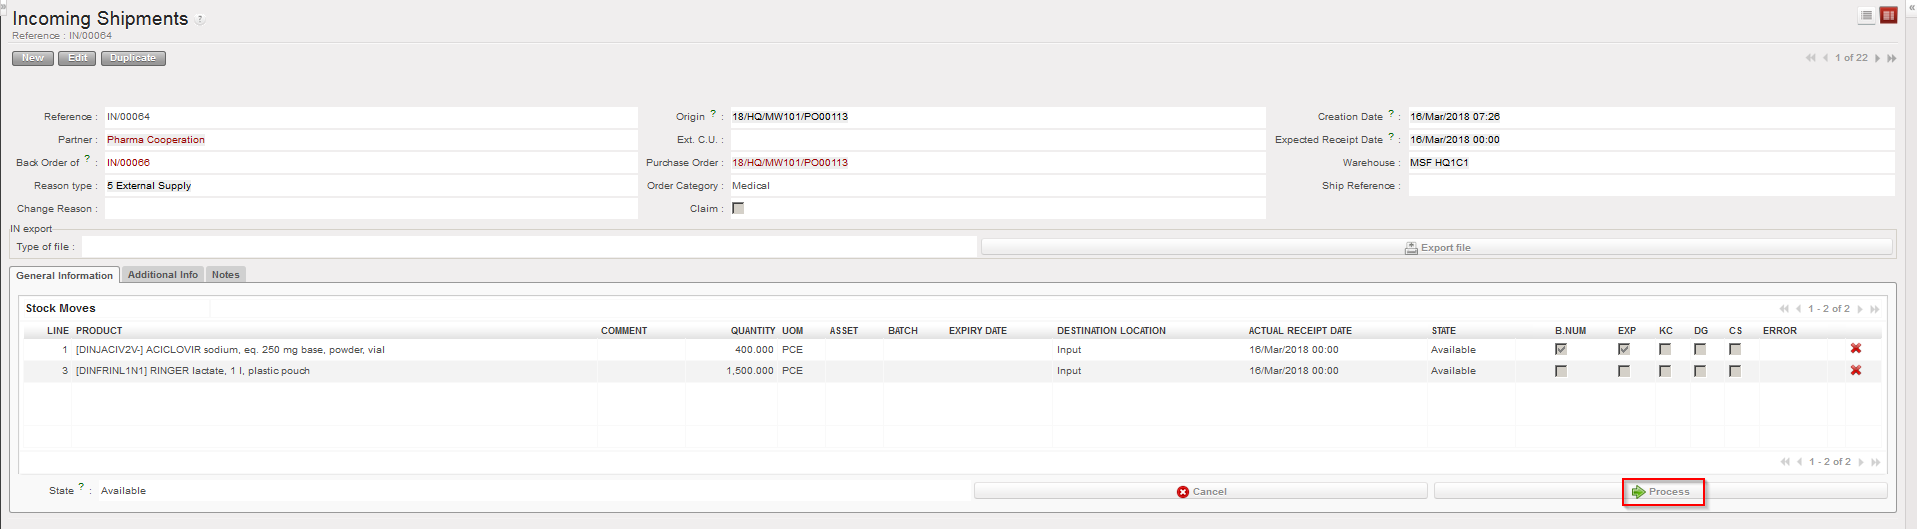
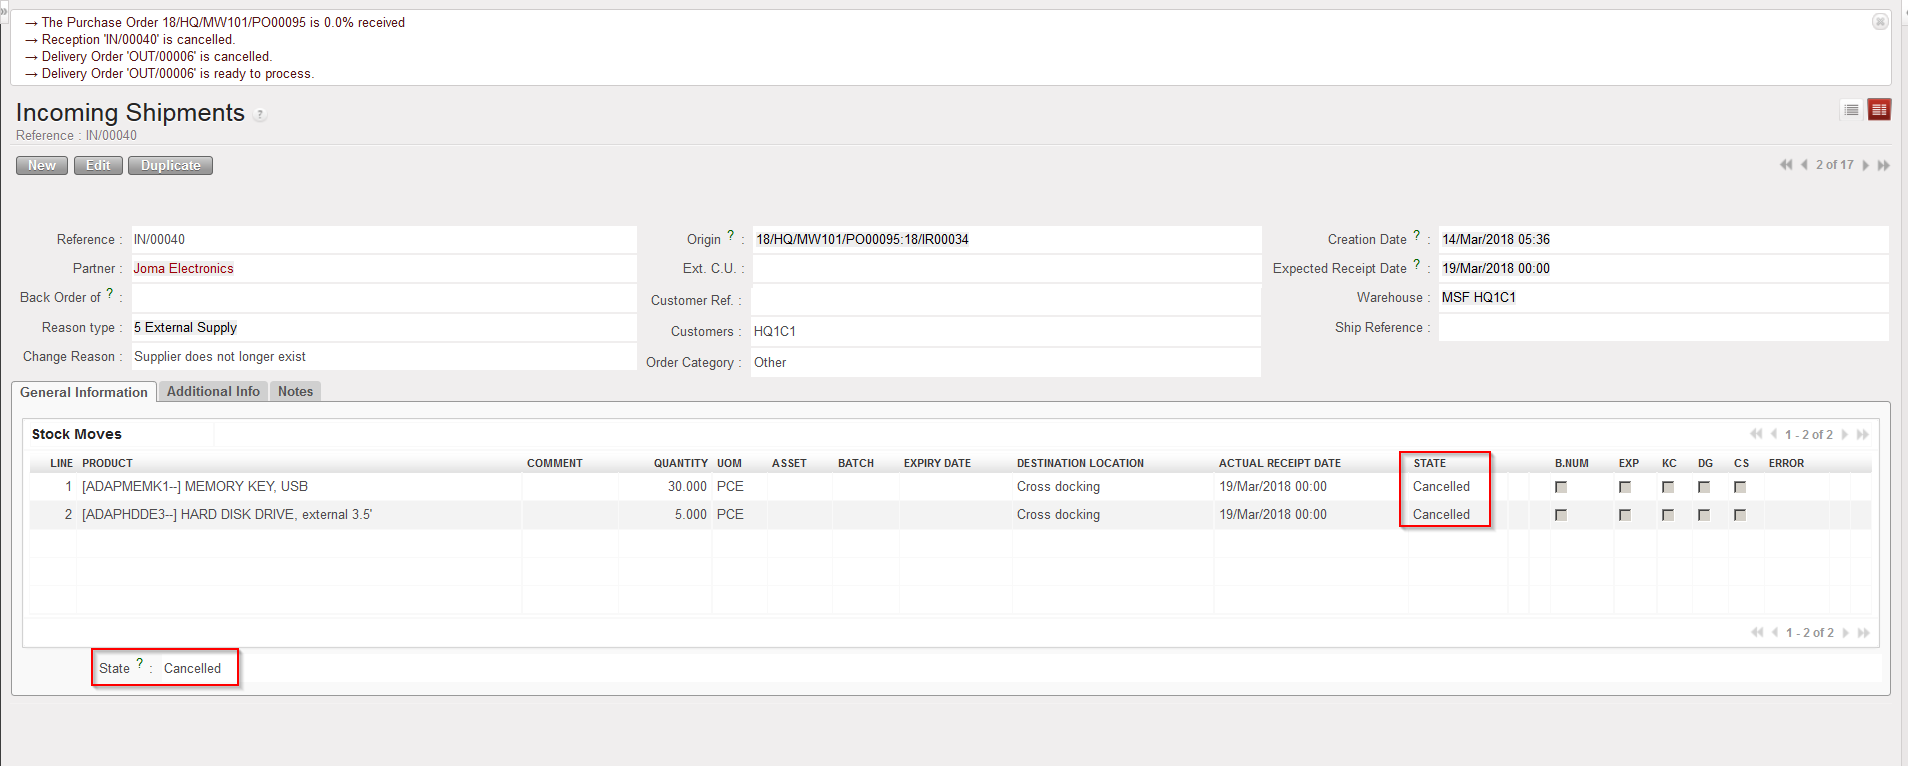
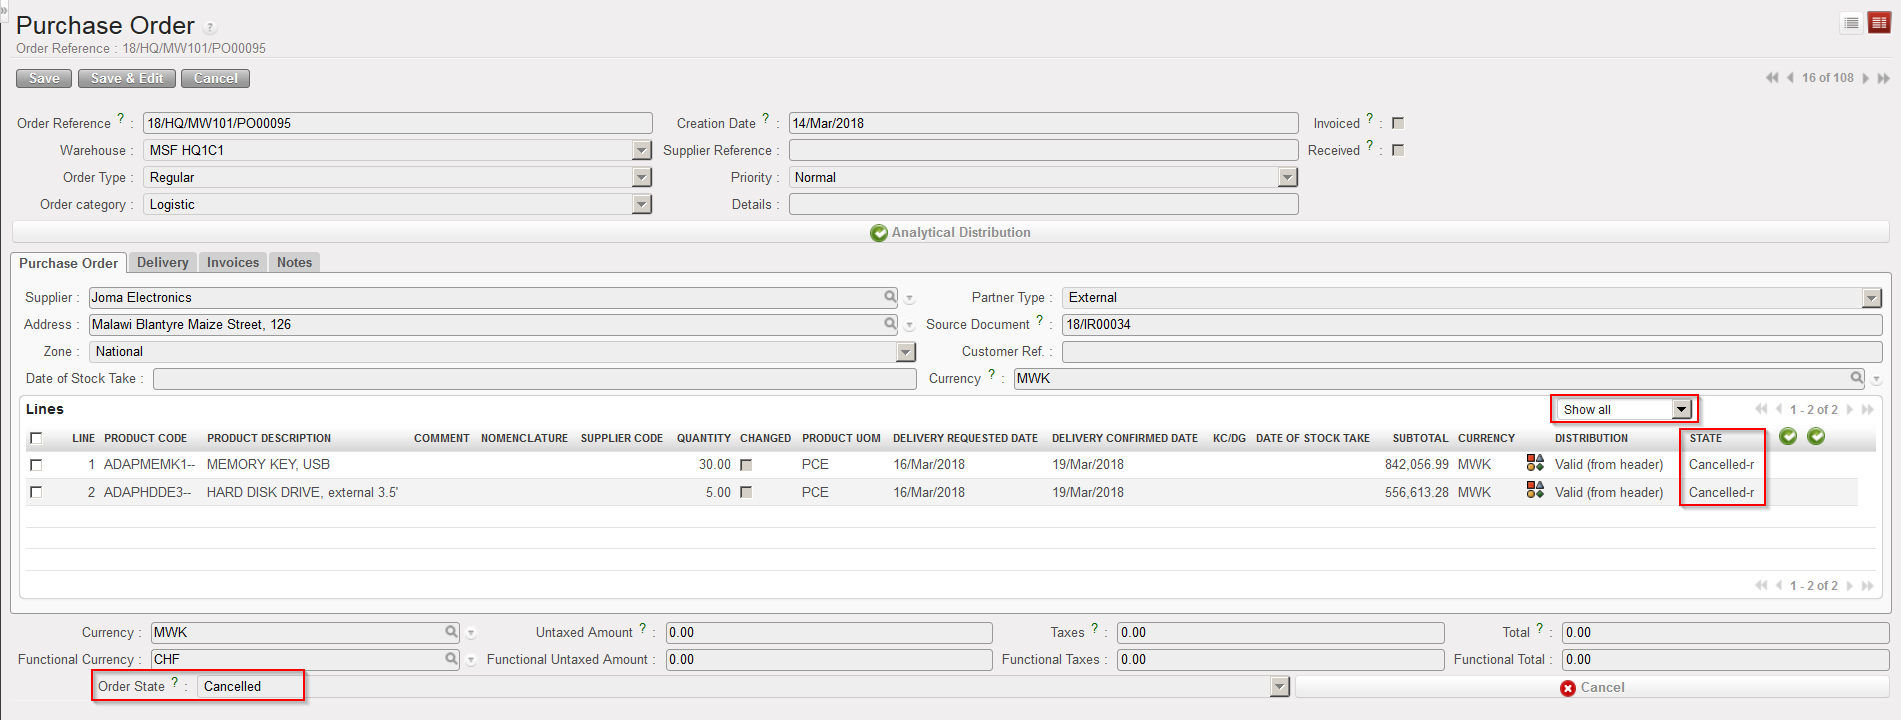
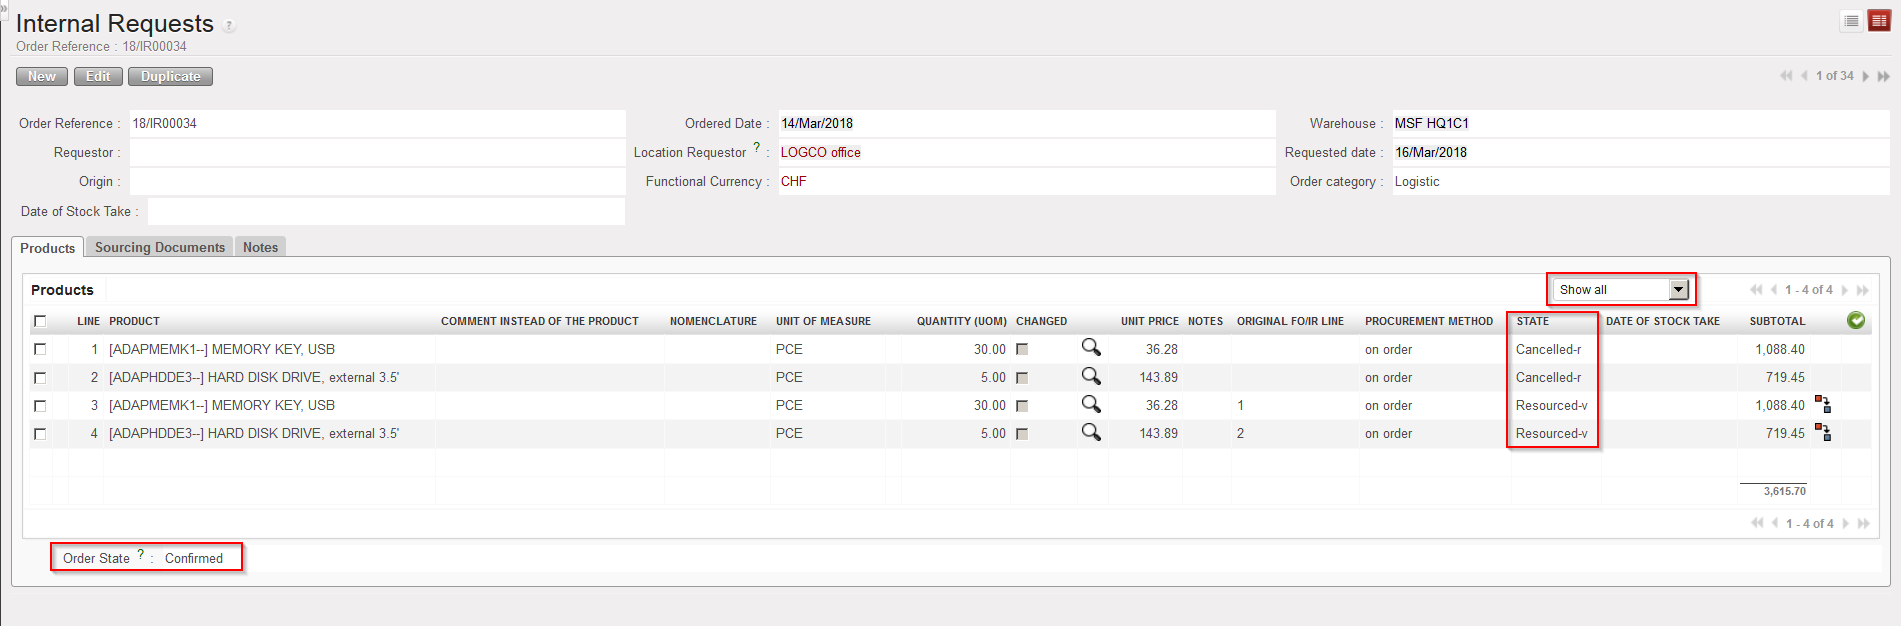
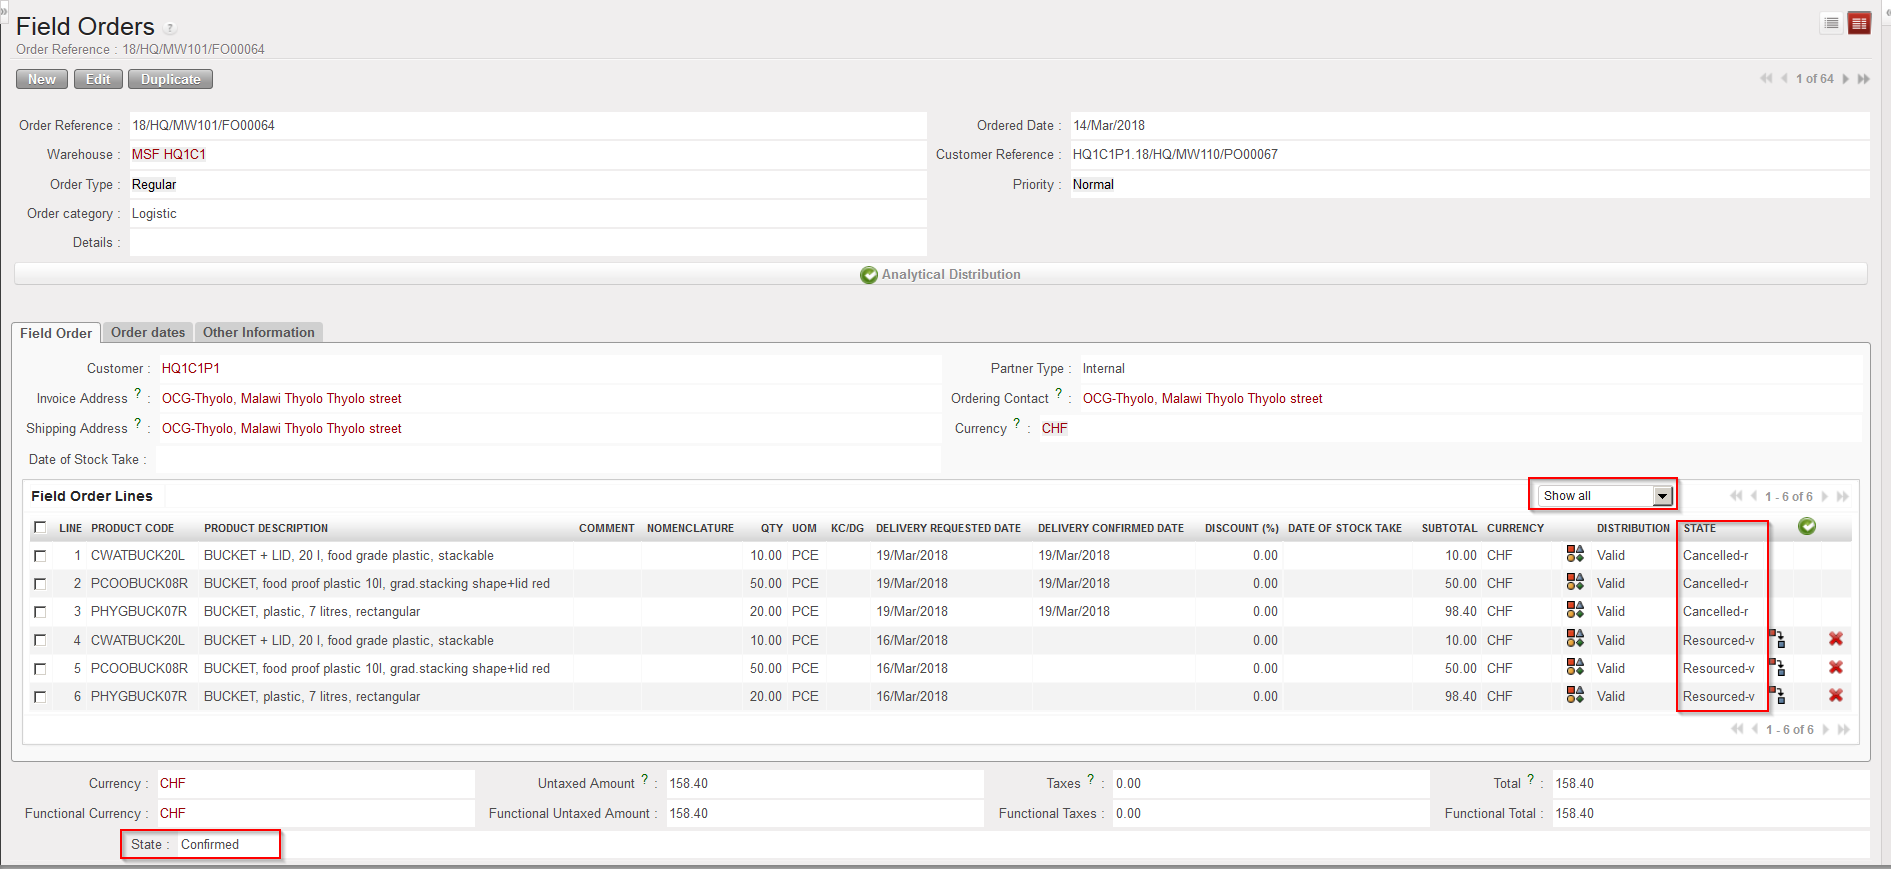
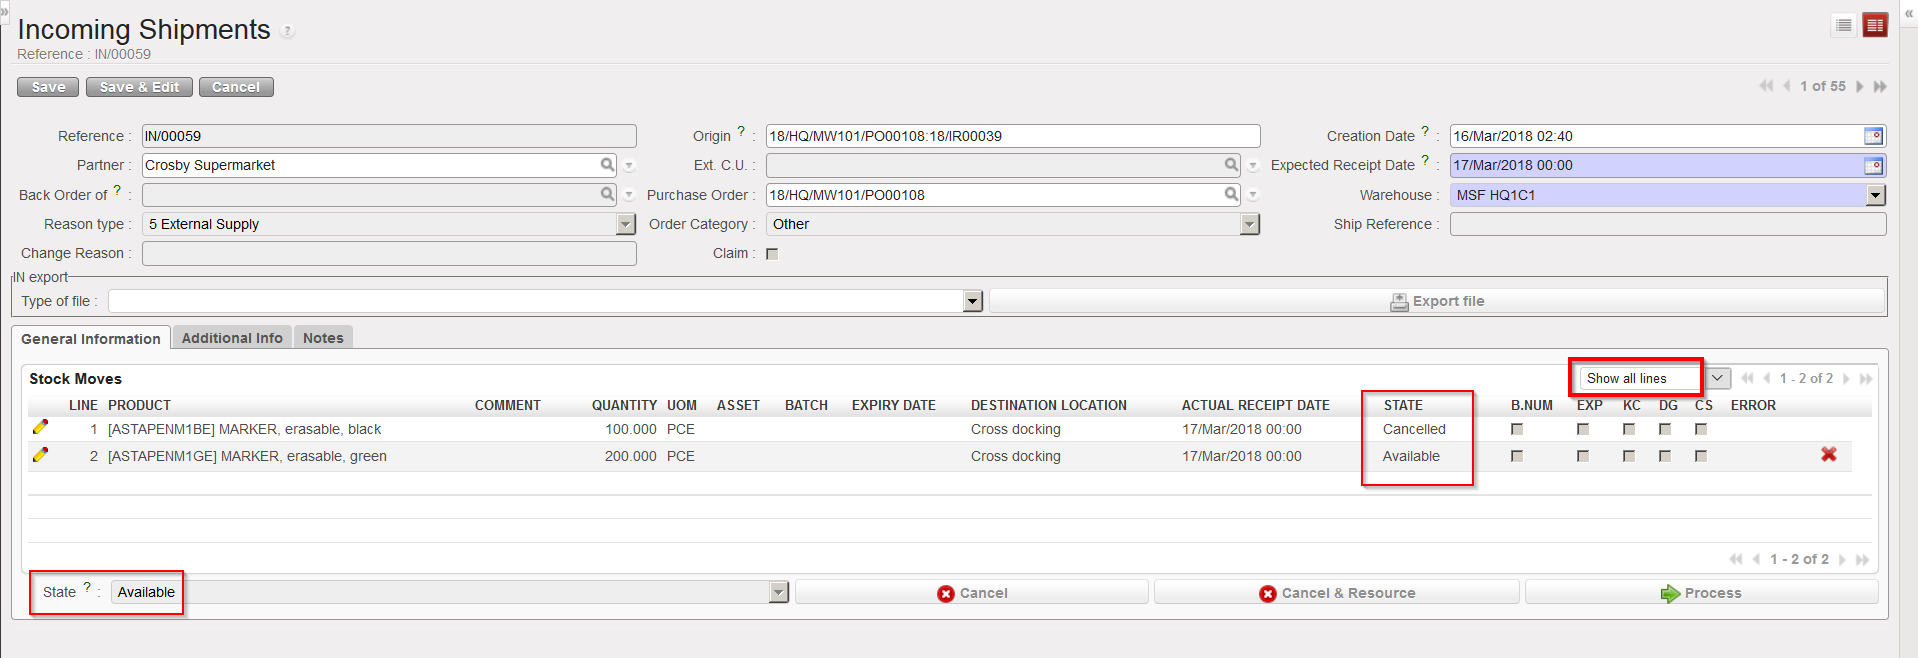
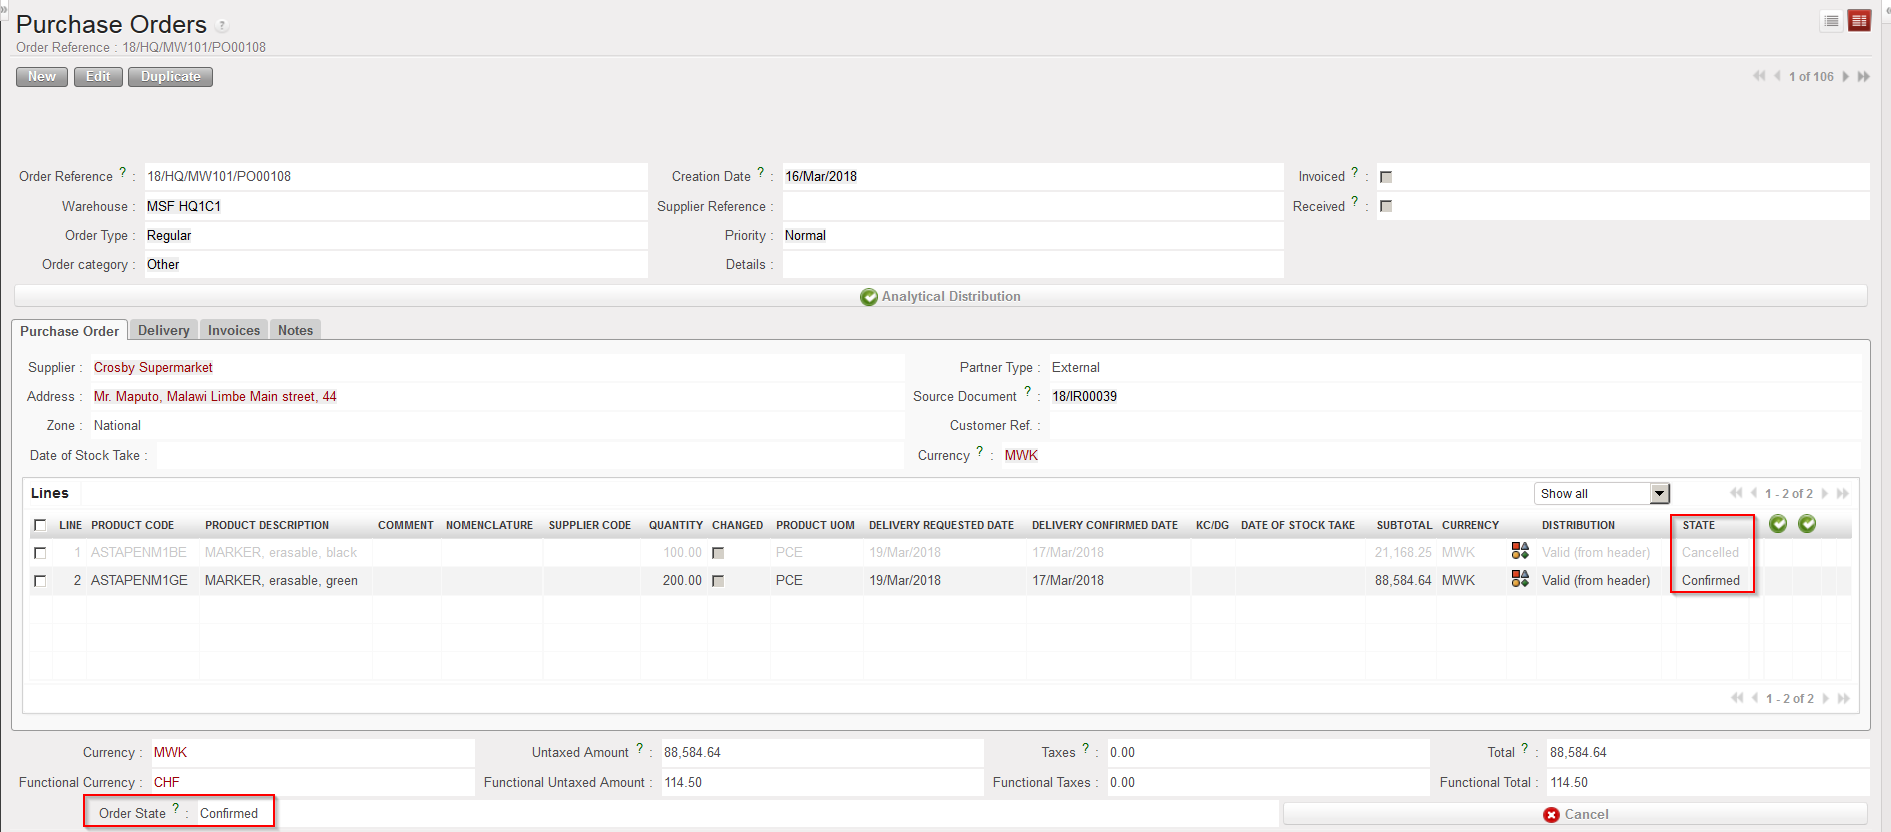
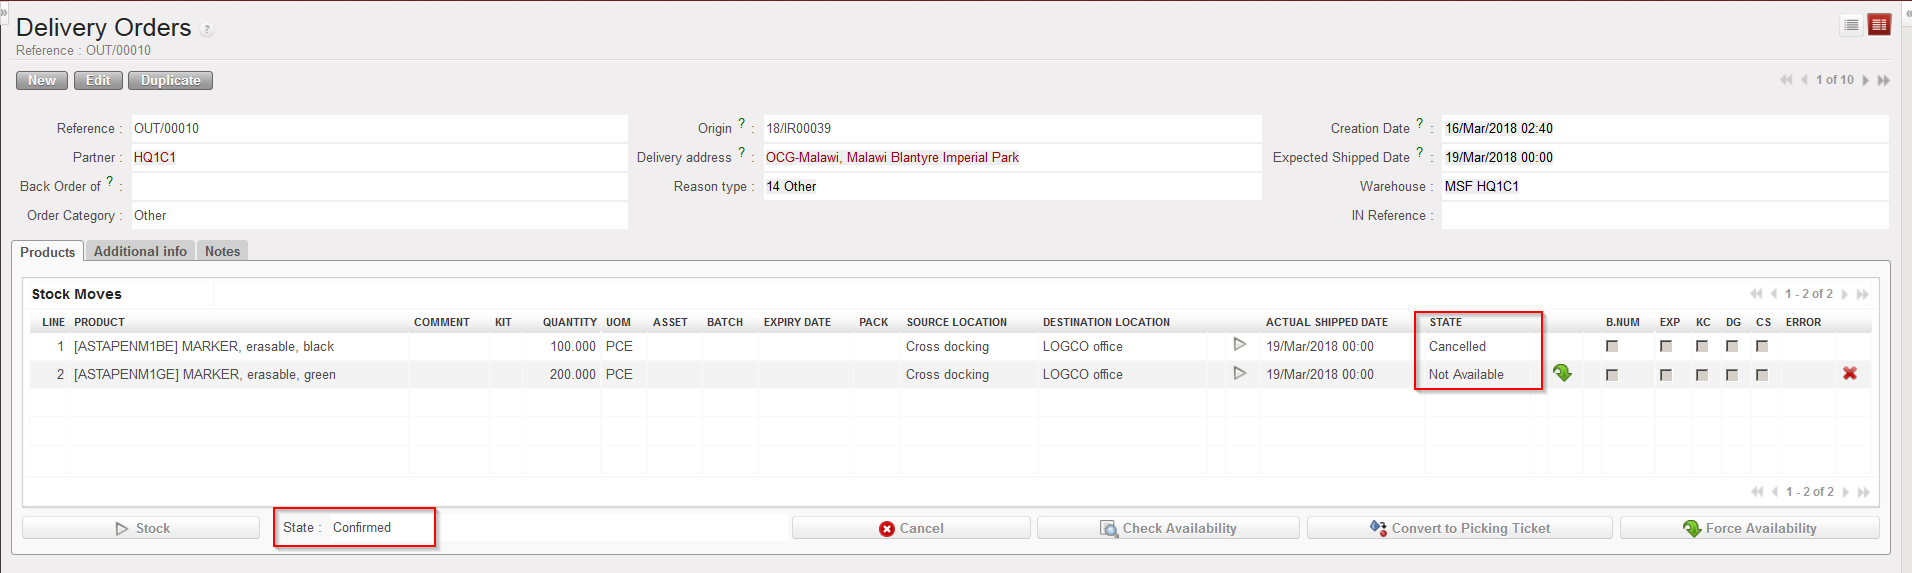
The Incoming Shipment is now closed and goods have been received in cross docking. If the IN is related to a PO created via OST from an IR with Location Requestor = ECU, an OUT will be ready to process. If the IN is related to a PO created via OST from an FO, a PICK will be ready to process.
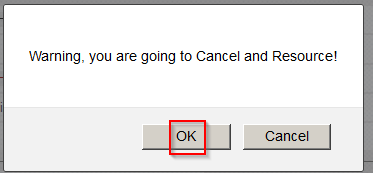
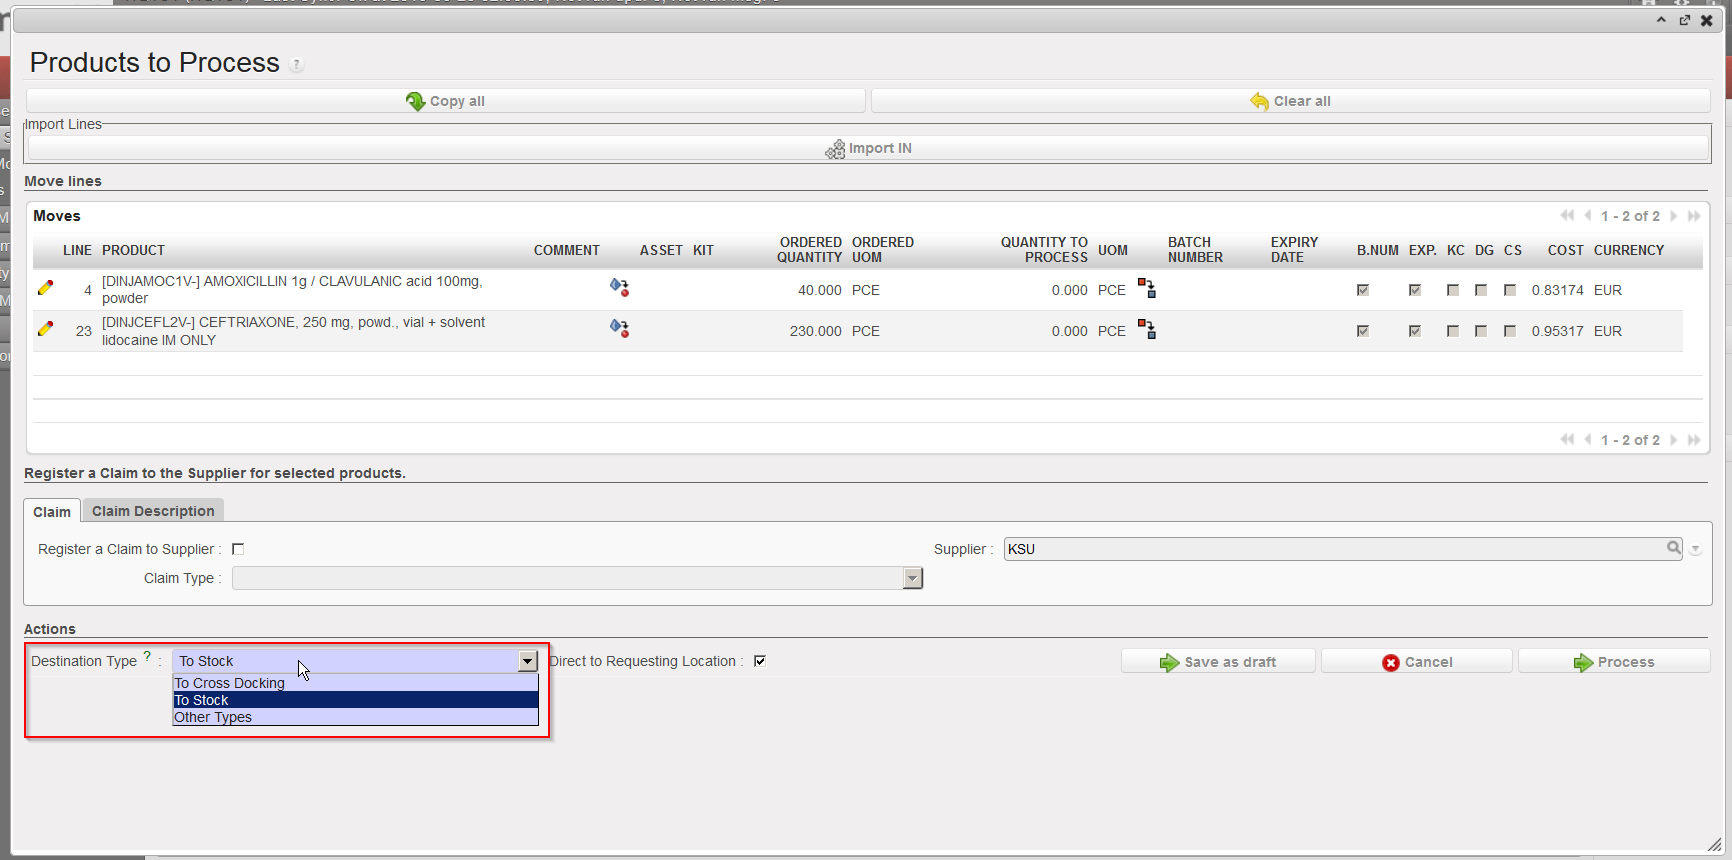
Note that on INs related to PO which are created from scratch (or from IR which do not have an ECU as Location Requestor), you have the possibility to change the “Destination Type” when receiving the goods. and set it to “To Cross Docking“. If you do so, a message will pop up to inform you that you are about to change the planned destination of the goods. Click “OK” if you want to proceed.
This is of course not a standard process and risky as these goods could be “forgotten” in cross docking as they are not related to any customer request. That’s one of the reasons why it is important to frequently check what is in the “Cross docking” location.
|
|
|
Changing the “Destination Type” to “To Cross Docking” |
|
|
|
Warning message when changing the “Destination Type” to “To Cross Docking” |

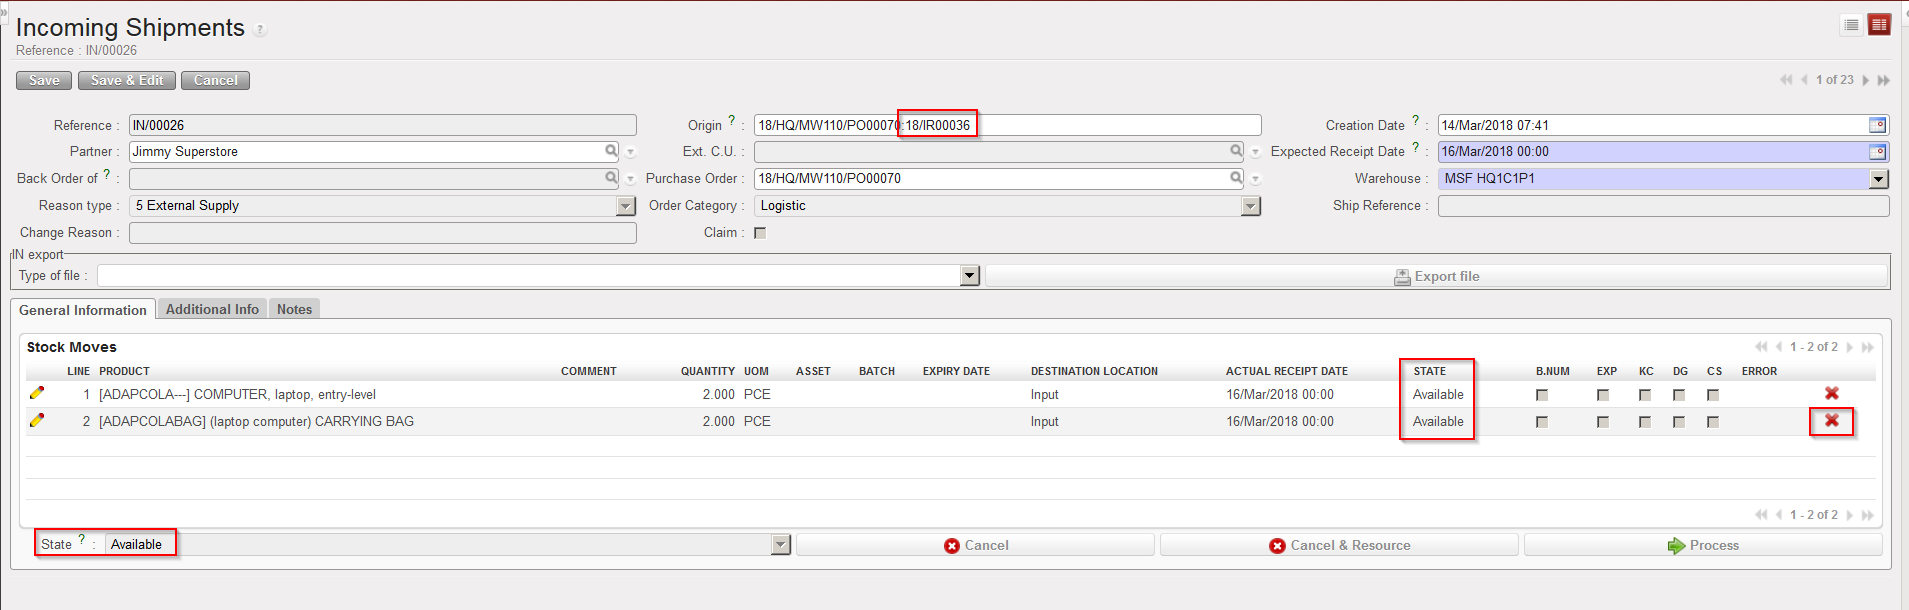
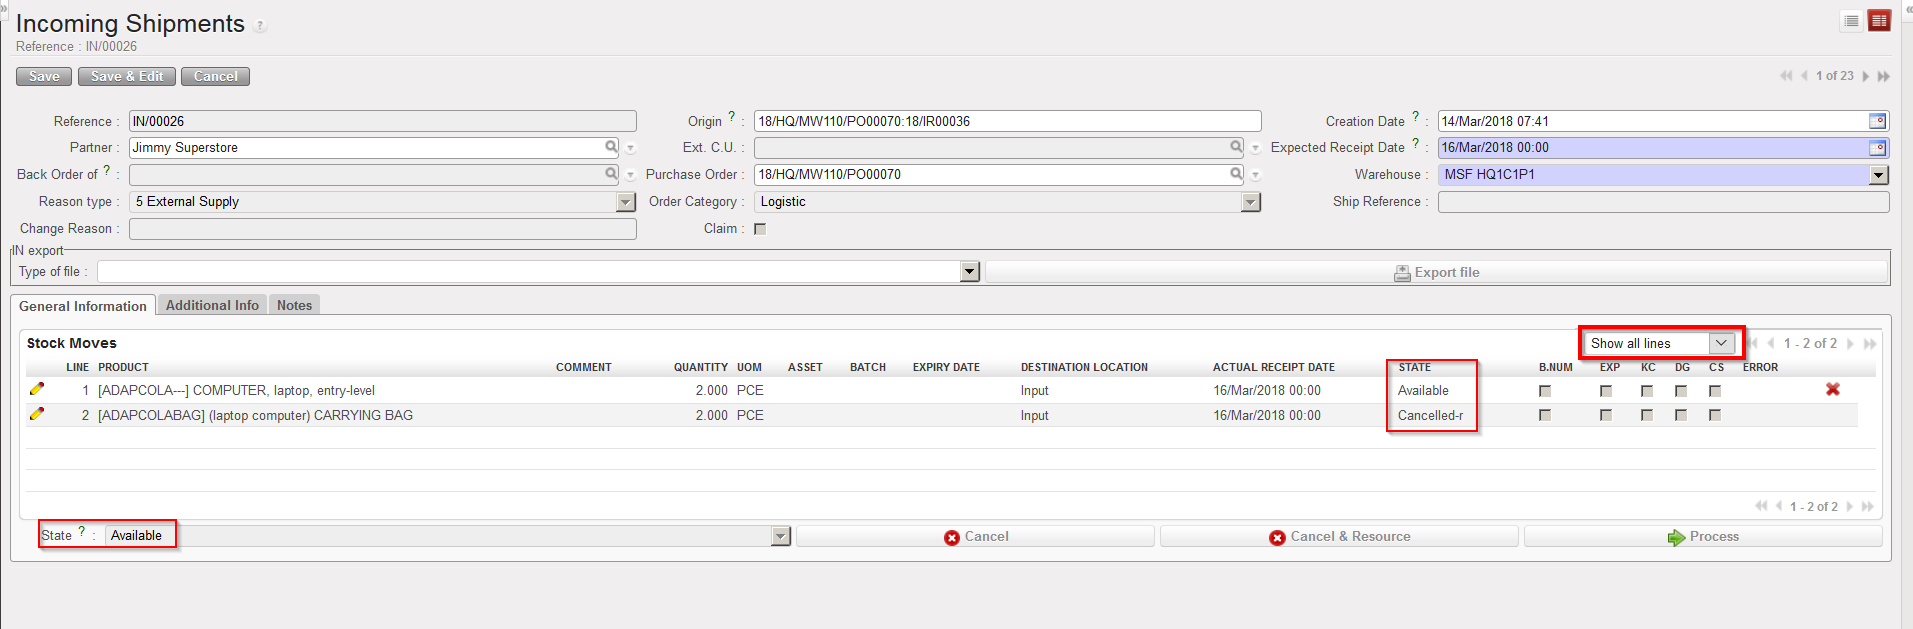
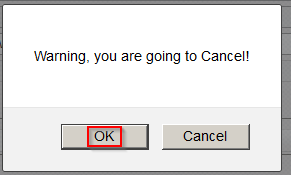
The opposite could also happen. Goods supposed to be received in cross docking could be diverted to stock. A reason could be that a supplier delivers goods but the client does not need them anymore.
In this case all documents created to prepare the delivery to the customer (OUT/PICK) should be checked manually and cancelled if needed as suggested by the warning message which pops-up in this case.
|
|
|
Warning message when changing the “Destination Type” to “To Stock” |