Supply User Manual ENG -> Supply Configurations-> 2.4 LU-SU1104:Unifield instance data migration -> E. LU-SU1104: How to import open orders for migration.
E. LU-SU1104: How to import open orders for migration.
Orders which are under process in the legacy system and haven’t been received/closed yet need to be imported into UniField to ensure continuity of business after go-live. However, this procedure is specific for each OC which decides which open orders are imported and how.
As the procedure might differ from one OC to another, we simply list some possible scenarios, keeping in mind that they are not exhaustive. Please check migration guidelines of your OC to understand how open orders should be migrated in your mission.
- The legacy system must be up to date when orders migration is done (received orders must be closed in the legacy system).
- Closed orders lines (history) are not migrated.
- Migrated orders can be Internal Requests, Field Orders or Purchase Orders.
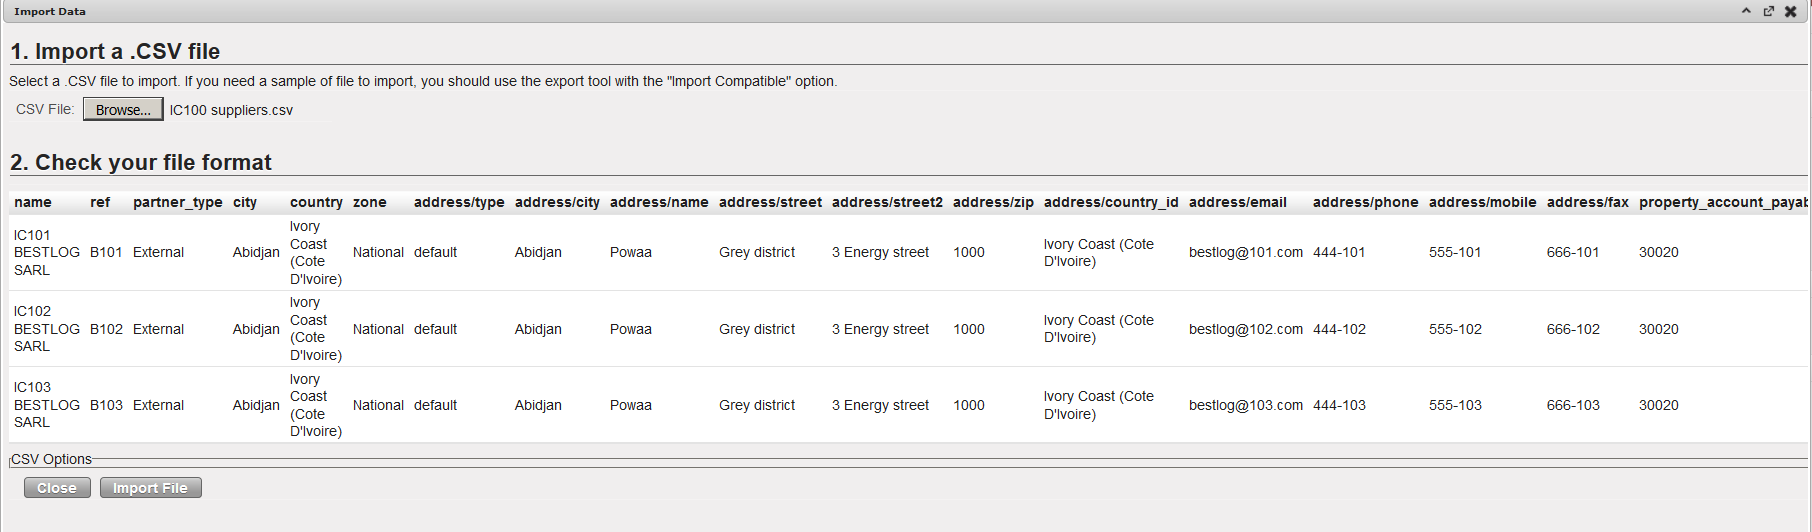
- References of the migrated orders in the legacy system should be indicated on the migrated orders created in UniField to allow linking UniField migrated orders with legacy system orders. The fields origin, notes, comments, and details available on IRs, FOs and POs may be used for this purpose.
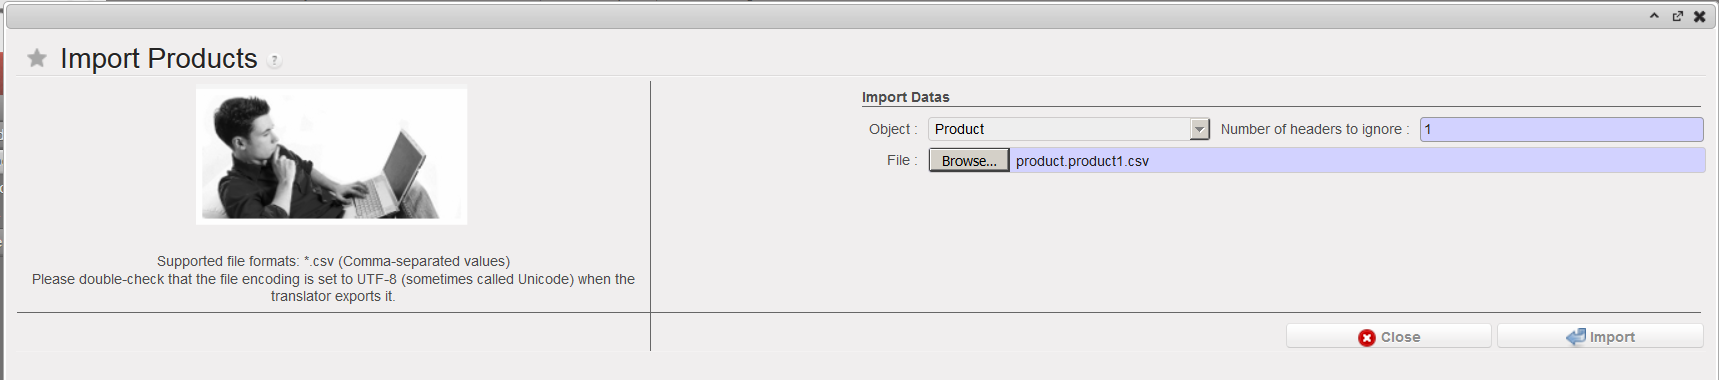
- The order header is always created manually while the order content (the lines) can be imported from an XML file with specific format.
- Some OCs do not migrate the open orders at all. Goods received after go-live on orders open in the legacy system are then included in the stocks using IN from scratch or inventory corrections.
- POs related to an IR can be imported as an IR which is then source on order (PO).
- POs related to an FO can be imported as an FO which is then sourced on order (PO). The FO can be created in the supplying instance (as pushed FO) or in the requesting instance (as PO). Synchronization will then create the corresponding PO/FO in the requesting/supplying instance.
- When migrating POs related to FOs, make sure the order is only created once, as pushed FO in the supplying instance or as PO in the requesting instance. Make sure the order is not created in both instances.
- If a PO is closed but not yet paid, a direct invoice may have to be created to pay the appropriate invoice in UniField.