LUFI-30209 Register Entries Actions
LU Introduction
Register Entries, depending on their status, can be edited and deleted.
How to Edit and Delete Draft and Temp-Posted Direct Entries
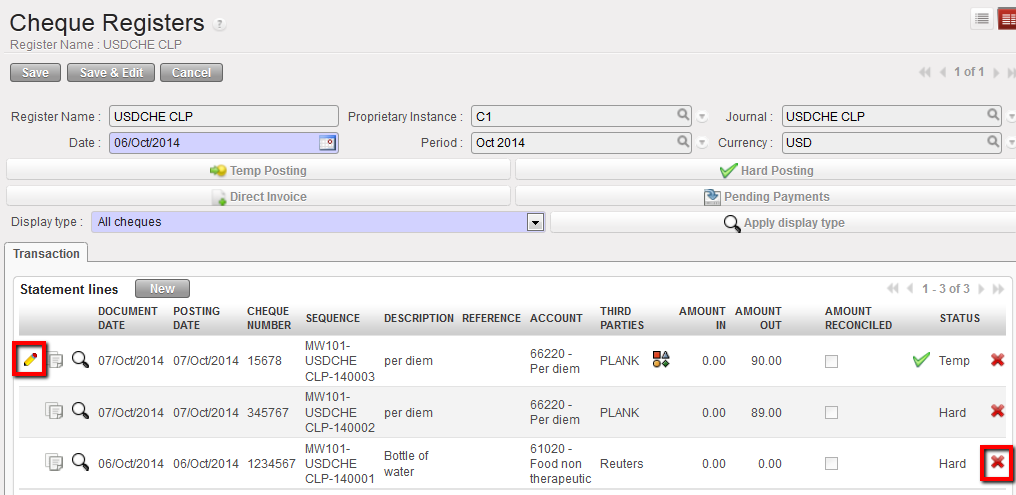
Direct entries in {Draft} or {Temp} status can be edited or deleted. Click on the  pencil to edit the relevant fields. To delete a direct entry, click on the Red Cross
  . Deleting temp posted entries will also delete the associated journal entries and entries synchronized to other instances.
Direct entries in draft or temp status can be edited or deleted.
How to Edit and Delete Temp-Posted Direct Invoices
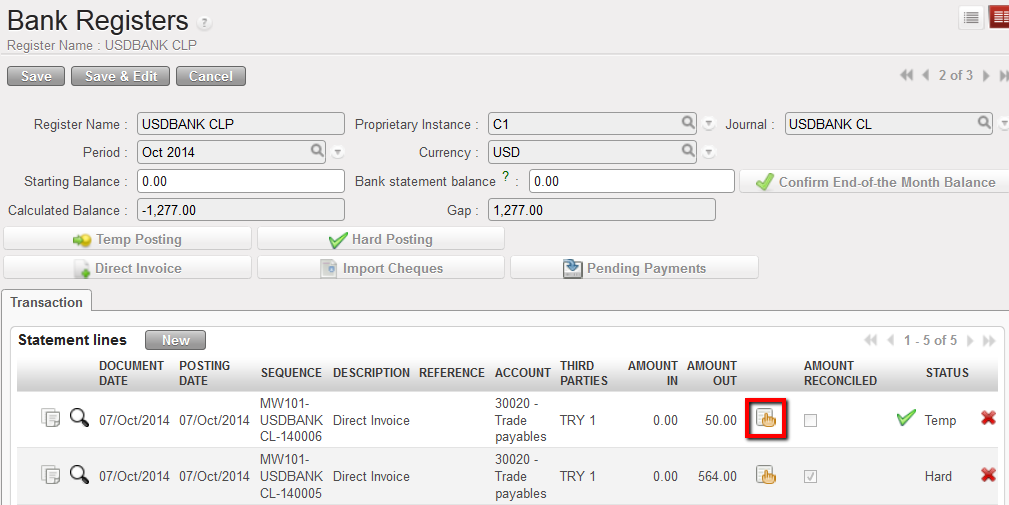
The validation of the direct invoice automatically creates a temp posted payment entry to a payable account in the register. Since the direct invoice is still in Draft status, edition can be made directly to invoice lines (description, product, price, quantity, account, AD).
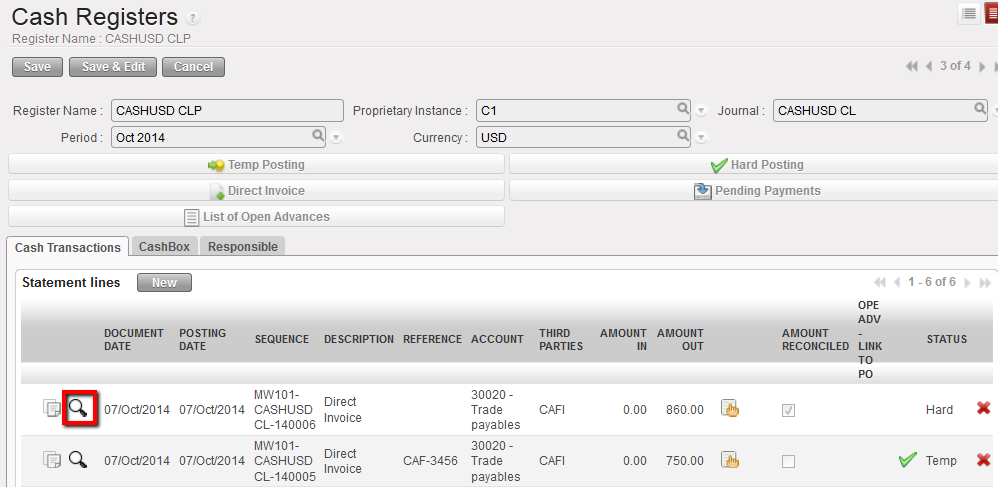
Go to: Accounting/Registers
- Search for the register entry for the imported direct invoice which needs to be corrected. Click on the invoice icon.
Open the Direct Invoice from Registers
2. A window opens displaying the Direct Invoice in Draft status. Invoice lines can be edited or deleted. Below we want to change the unit price to 6.00. After corrections are made, click on Compute Total and then Validate.
Edition of a draft Direct invoice and changing the unit price
3. The register line is updated.
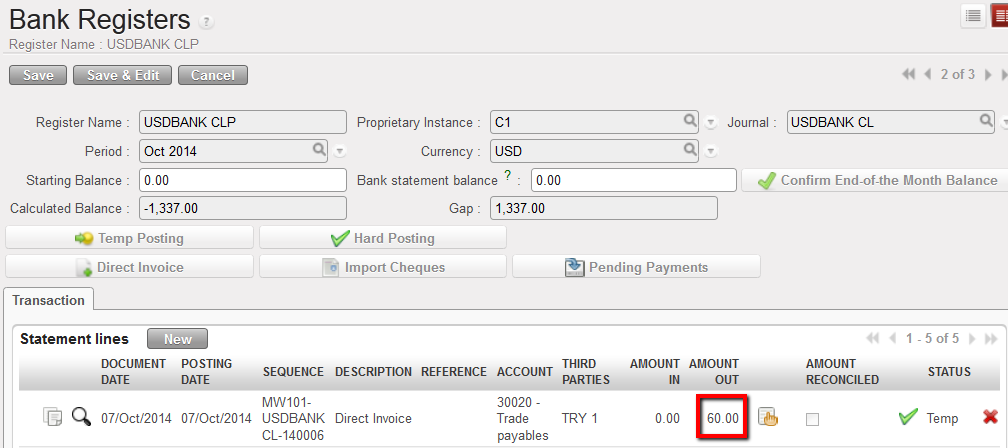
Register amount is updated
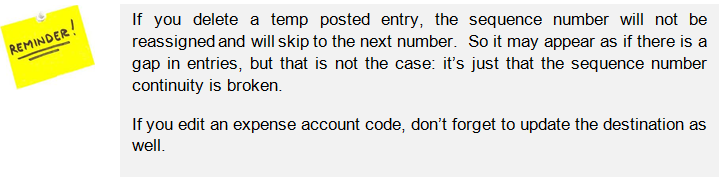
If you need to delete the Direct Invoice in {Temp} state, you must select the  on the register line.
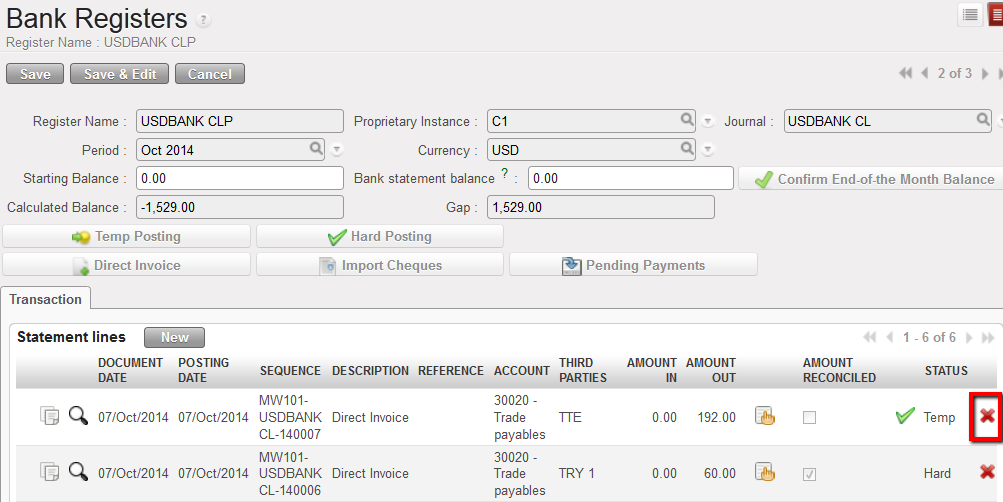 Deletion of a Direct Invoice in Temp state in a register
How to Edit Temp-Posted Imported Cheques into a Bank Register
If an incorrect cheque has been imported into the bank register and in Temp status, then the register entry simply needs to be deleted and the correct cheque imported.
Go to: Accounting/Registers/Bank Registers
- Open the bank register in edit mode. Search for the register entry that was imported incorrectly. Click on the red cross
 to delete.
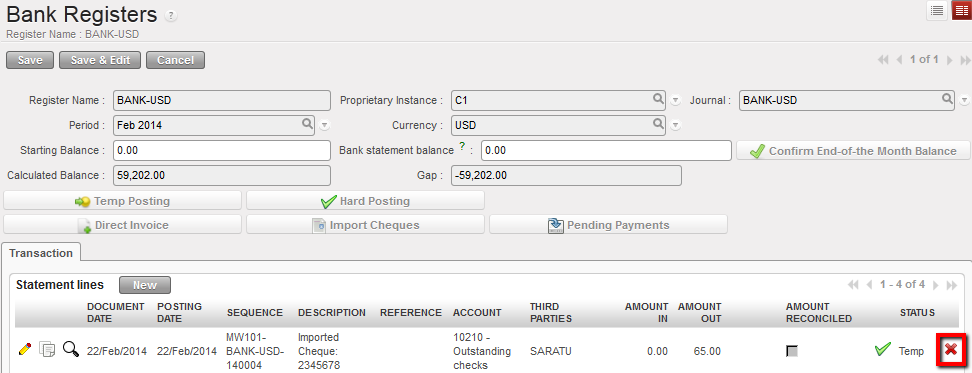
Delete the incorrectly imported cheque
2. The incorrect cheque is deleted from the bank register. Click on {Import Cheques}. Notice that the incorrect cheque is available again to import. Select the correct cheque to import.
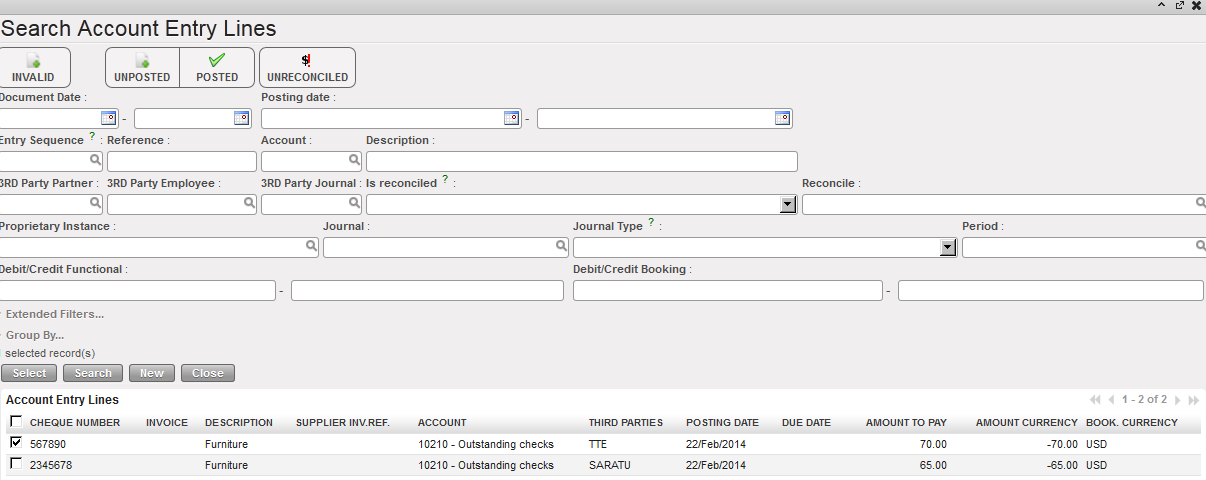
Select the correct cheque to import
How to Duplicate Register Entries
Go to: Accounting/Registers
- Select the register where the entry to be duplicated is booked
- Click on the
 icon located on the entry line you want to duplicate.
The register line is duplicated
 Duplicate an existing line
3. The analytical information is also duplicated. If required, edit the new entry.

How to View the Analytic Distribution of a Register Entry
Go to: Accounting/Registers
- Locate the register where you want to see the analytic distribution
- Click on the
 icon
icon
 Magnifying glass to open the analytic journal items view
The analytic journal items window opens
 Analytic journal items search view
{Employee Analytic reallocation} Wizard
Analytical re-allocation completed on national staff

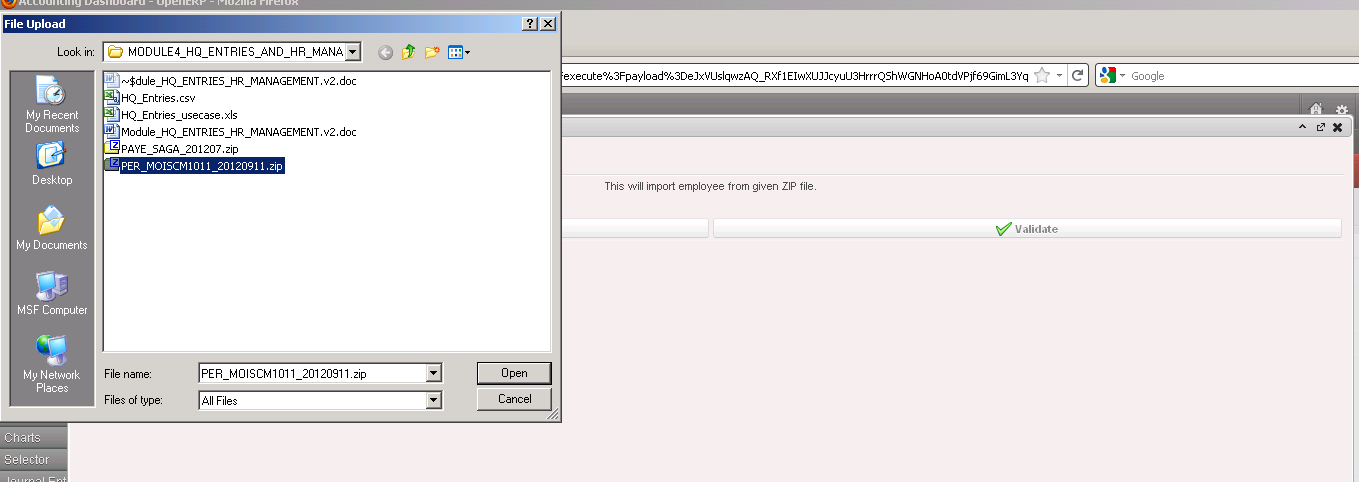 Importing Employees files
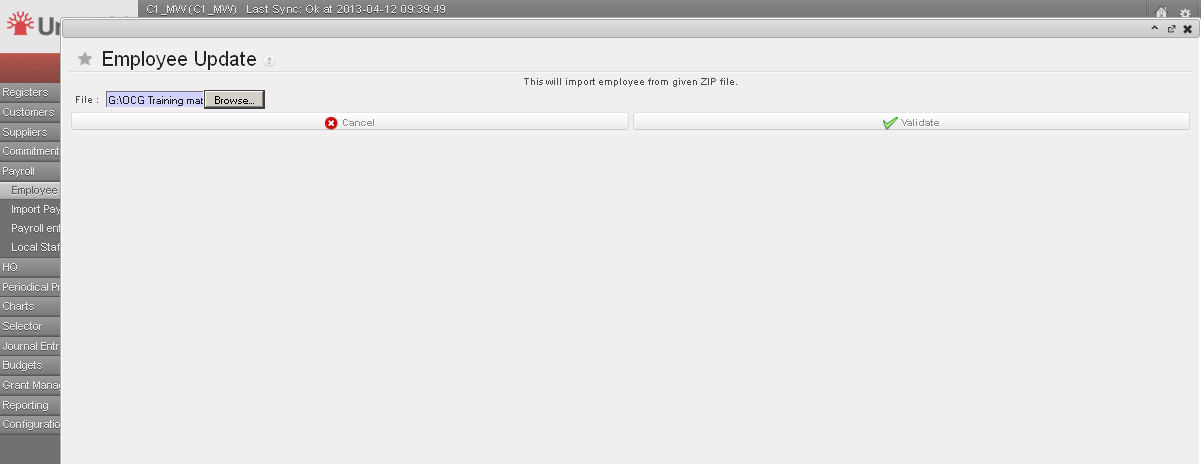 Import files validation
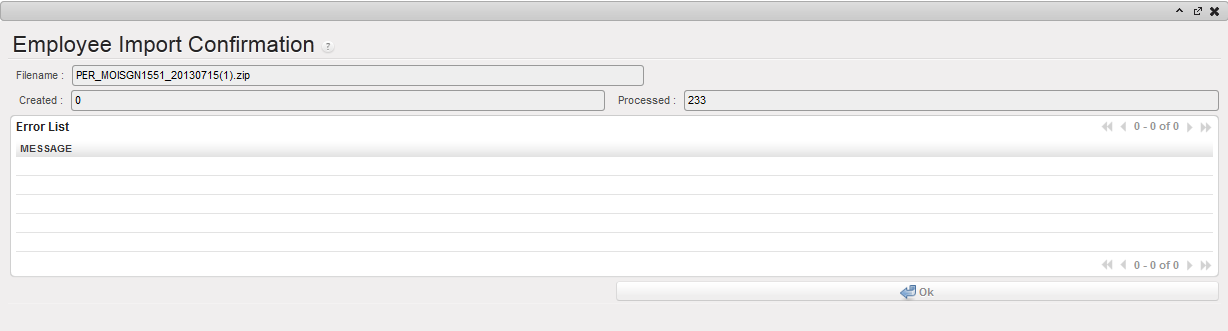 Employee Import confirmation wizard showing an empty Error List view
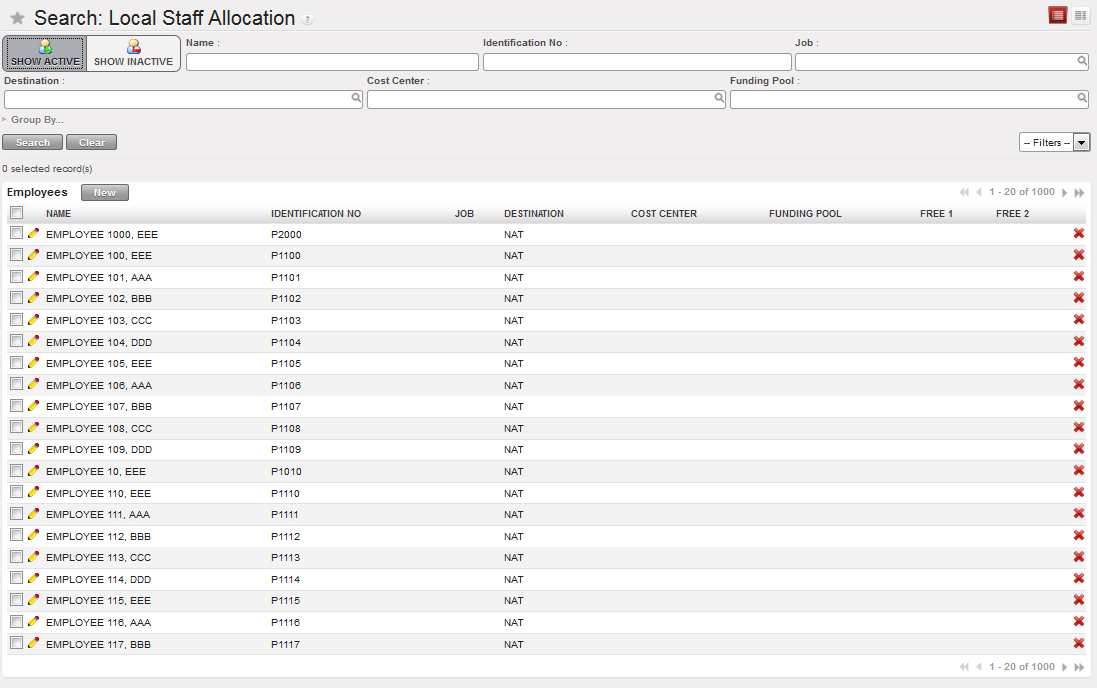 The list of active national staff is loaded
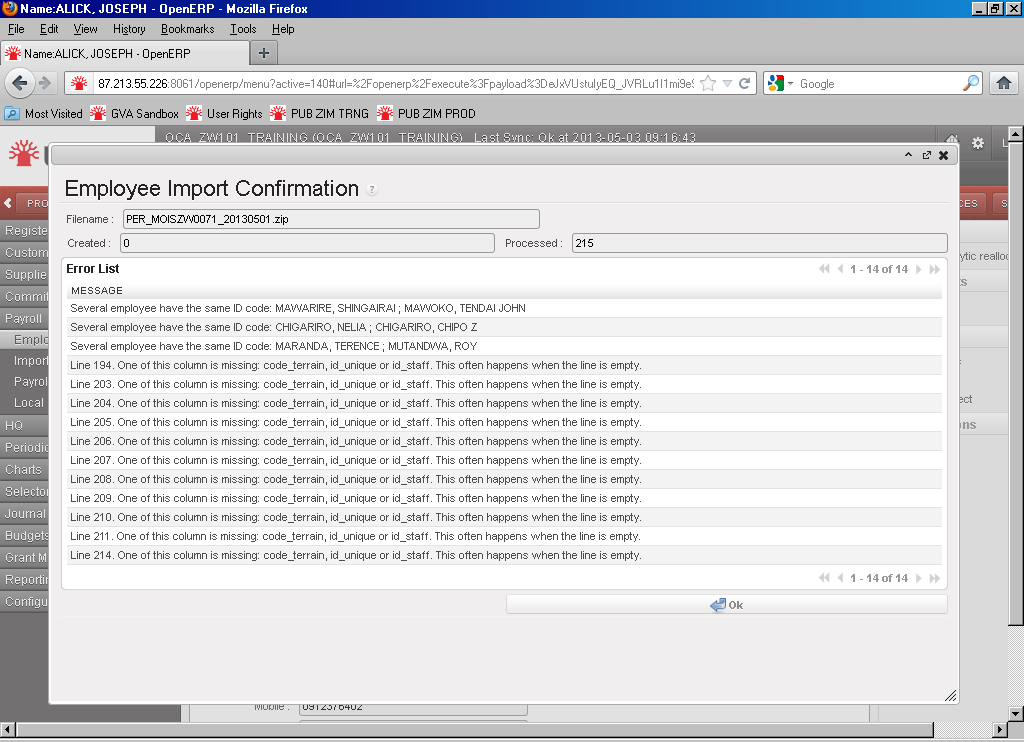


 Note: If no third party is added to the tax configuration, tax lines will take the supplier invoice third party.
 Withholding tax booked on the credit side as any other payables account
 Setting a withholding tax with negative amount
 Withholding tax applied to a supplier invoice